Use Instagram’s built-in captions when your Reel needs subtitles inside the app. If you’re searching for an Instagram subtitle generator that also saves editable text, Microsoft Clipchamp’s free subtitle generator provides SRT files and captioned video, so you don’t finish editing with the wrong deliverable.
An export paywall is a poor ending to a captioning session. I consider a transcript unfinished until it reaches the place you need to use it. That means checking the output before spending time correcting names, pauses, and line breaks. I’ll separate the mobile and external workflows, then explain how to check the finished captions and keep text you can reuse.
Choose a Free Subtitle Workflow Before You Start
Instagram’s built-in captions suit a Reel you want to finish on your phone; Clipchamp suits a project that needs both a video and a reusable subtitle file. Choose the output first, then check the account and export conditions for that route.
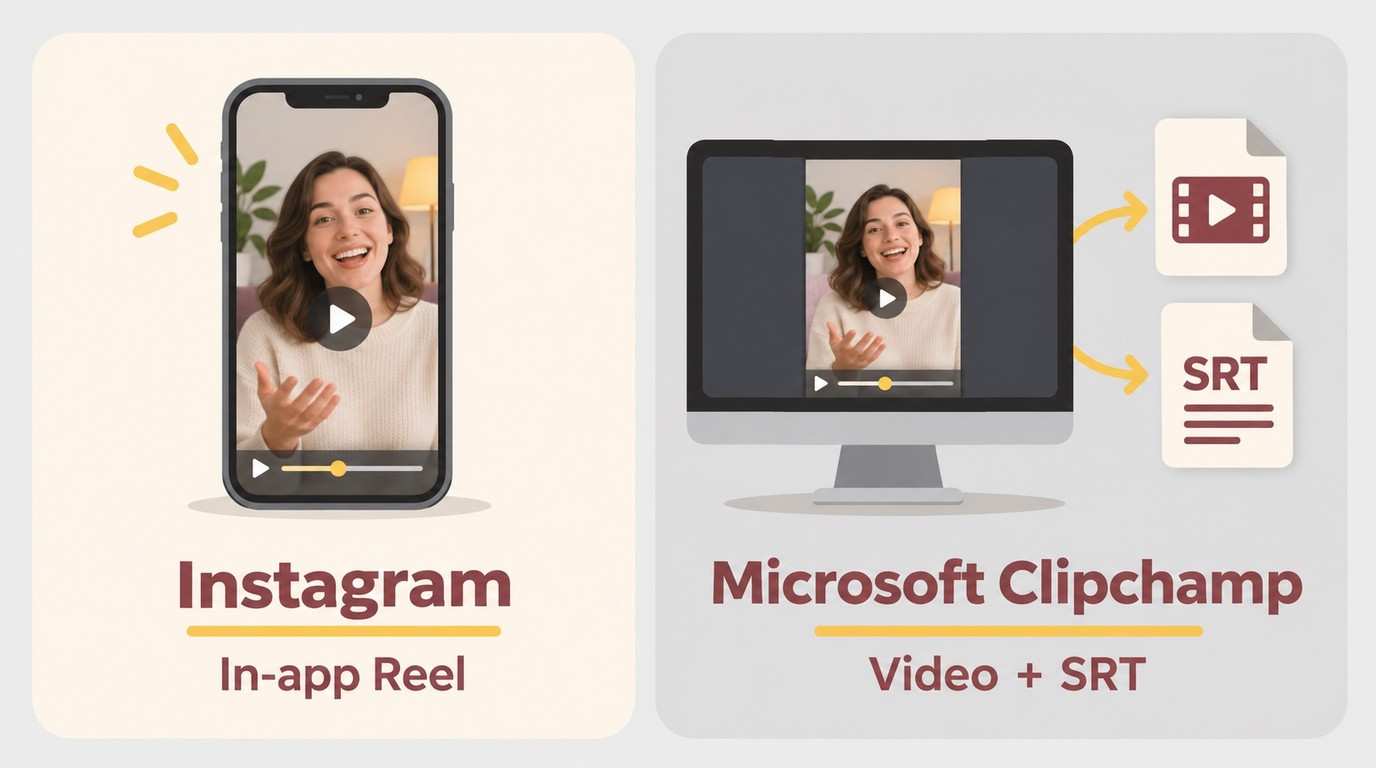
Here, “captions” means the words spoken in your video, not the post description underneath it. You need speech recognition, correction, and a usable result. A tool that writes catchy post copy solves a different problem.
Free generation and free delivery are different promises. A Reddit poster in r/InstagramMarketing asked, “Are there any apps which give auto caption on the free tier without all the watermark?” In r/VideoEditingTips, another described wanting to “export it without a paywall or infinite friction just to generate captions and/or export”. Those are individual experiences, but they explain why the export conditions deserve attention before the first edit.
Instagram requires your Instagram account, and its caption features aren’t available to everyone. Clipchamp’s personal workflow uses a Microsoft account. Neither route here is presented as a no-sign-up service.
| Option | Output | Cost | Best fit | Trade-off |
|---|---|---|---|---|
| Instagram built-in captions | In-app Reel captions | Included in app | Mobile publishing | Feature access differs by account |
| Microsoft Clipchamp personal | Captioned video and SRT | $0 personal tier | Editable video and text | Free export up to 1080p |
Source: Instagram’s Help Center and Microsoft Support, as of November 2026.
I’d keep a phone-only Reel in Instagram, and choose an editor when the text needs a life beyond that post. That is a practical fit decision, not a ranking of the best free subtitle generators.
Clipchamp’s free exports are watermark-free when your project uses included features and assets. Premium stock or features require an upgrade before export; they don’t simply add a watermark. A free AI subtitle generator is useful when the entire route fits your project, including the save. The two tutorials below are alternatives, not consecutive assignments.
Generate Subtitles With Instagram’s Built-In Captions
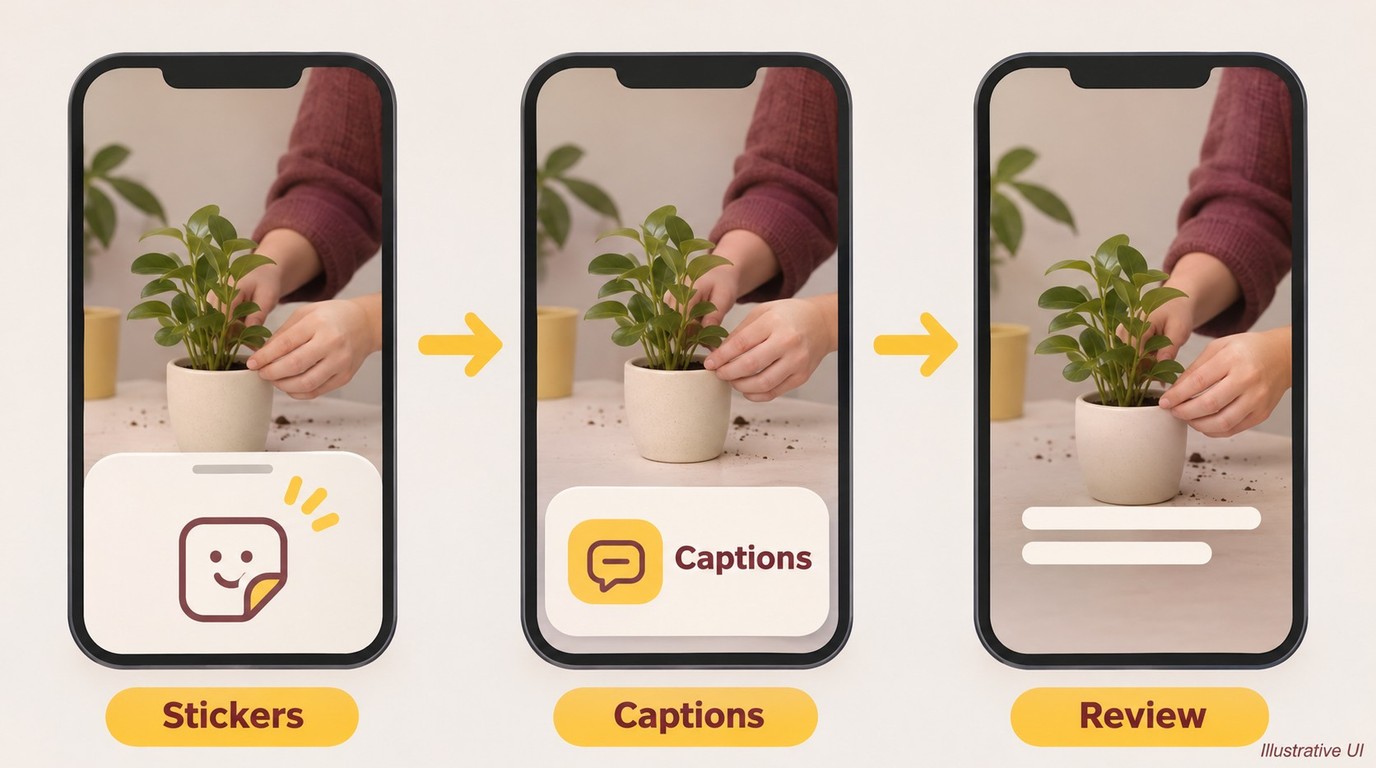
To generate subtitles in Instagram, select your spoken-word video, open stickers, and choose Captions if that feature appears on your account. Review the generated words and preview before sharing; the separate closed-caption controls manage switchable captions rather than the sticker workflow.
Prepare a Reel With Clear Spoken Audio
Start with a clip whose speech you can hear clearly. Have the video ready in Instagram’s mobile app and make sure the voice is present in the version you select. A music-only montage has no spoken transcript to recover. Adding a post description won’t create synchronized subtitles.
The menu names below follow Instagram’s iPhone help flow. On Android, look for the corresponding caption feature in your mobile app rather than treating the iPhone labels as an identical menu map. Instagram’s computer help directs this caption-management task to mobile, so these steps aren’t a desktop-browser tutorial.
Use the final spoken edit where possible. Removing an introduction after you’ve corrected its captions creates extra work and makes the timing harder to follow. Keep a copy of the original clip as well; it gives you a clean starting point if you later choose the external workflow.
Use the Captions Sticker and Review the Result
Keep the sticker route separate from closed-caption settings. I would not combine the two sets of controls into one tutorial: they change different caption layers, and that distinction matters when you preview the Reel.
- Select your clip in Instagram’s mobile upload flow. Choose the video containing the speech you want displayed, rather than a silent alternate cut.
- Open stickers and choose Captions. If the sticker isn’t listed, use the missing-feature guidance in the FAQ instead of hunting through unrelated settings.
- Let Instagram generate the words, then review them. Listen against the text and correct errors using the caption-editing controls available in your app.
- Preview the Reel before sharing. Confirm that the intended words appear with the right speech and remain visible over the image.
The useful result is readable speech, not merely a generated text layer. The phone-readability section below gives you a shared review standard for this route and the external editor, without repeating the same checklist in both tutorials.
The sticker workflow suits a mobile post you want to finish inside Instagram. If your next step is handing editable subtitle text to someone else, use the file-oriented route instead. Don’t treat an in-app preview as an SRT export.
Manage Closed Captions for New and Posted Reels
Switchable closed captions have their own controls. For a new Reel, continue to More options, where Instagram provides Enable closed captions and Translate closed captions controls. Keep this branch separate from selecting a Captions sticker.
For an already posted Reel, use that Reel’s edit controls to manage its closed captions. Don’t replay the new-upload menu sequence on a published post. The creator’s setting determines what they enable for the Reel; a viewer’s caption preference is a separate choice.
Viewer preferences include Always show closed captions and Never show closed captions. The default caption language follows device language settings. That doesn’t make a viewer preference a tool for rewriting your spoken script or correcting the text you’ve already placed in the image.
Before changing a setting, identify which layer you want to change: a caption sticker, creator-enabled closed captions, or your own viewing preference. That keeps a small correction from turning into a search through unrelated menus. If Instagram gives you the result you need, stop here; Clipchamp is the alternate route for preparing files outside the app.
Create an Instagram Video With Microsoft Clipchamp Autocaptions
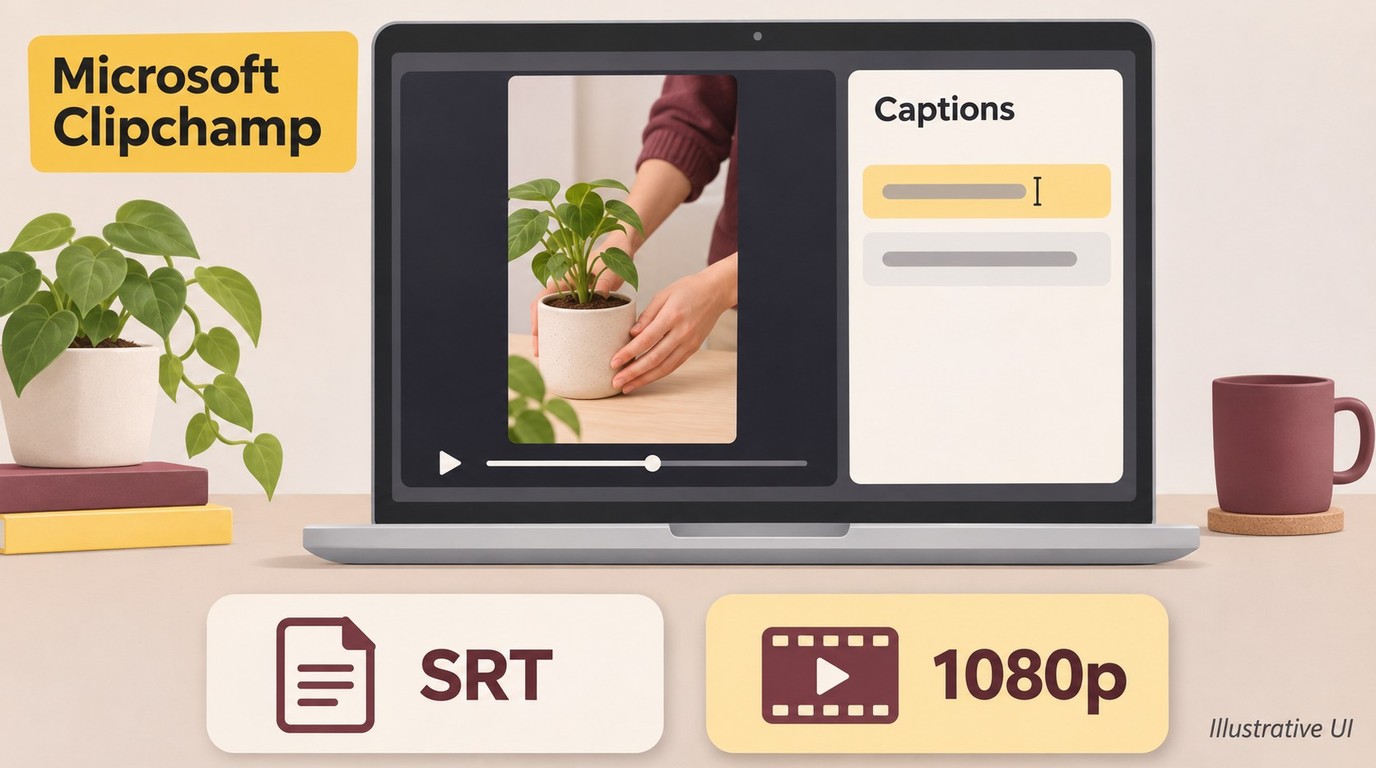
Microsoft Clipchamp lets you generate a transcript, correct it, download SRT, and export a video displaying captions. Use its personal free tier with included assets for this workflow; you don’t need to complete the Instagram tutorial first.
Set Up Your Clip and Transcription Language
Have your source video and personal Microsoft account ready. Use Clipchamp in a supported desktop browser, such as Edge or Chrome, or its Windows app. Keep a working internet connection: autocaptions use Azure Cognitive Services to process the audio, so this isn’t a fully local transcription workflow.
A voice recording also works as a transcription input. For an audio-led Reel, give that narration an appropriate visual track in your project. Speech recognition provides the words; it doesn’t create the pictures that make an audio file into a video.
- Create the project and import your clip. Place it on the timeline and set the project to the vertical 9:16 layout for your Reel. Check the crop before placing captions.
- Open Captions and select the transcription language. Choose the language spoken in the recording. This tells recognition what to listen for; it isn’t a translation instruction.
Set the framing early. A horizontal shot cropped around a speaker leaves different space for text than the original image. Leave room for the caption placement you intend to use rather than correcting an entire transcript against the wrong composition.
Generate Autocaptions and Correct the Transcript
Treat the generated transcript as an editable draft. I’d judge an external editor by the corrected video and text it hands over, not by whether its recognition button produced words.
- Select Transcribe media. Let the captions appear in the preview and transcript panel.
- Correct the transcript against the audio. Double-click incorrect words to rewrite them. Work from what the speaker says, including names and words that change the meaning.
Finish the spoken edit before polishing its transcript. Suppose you decide to remove a repeated sentence from an introduction. Make that decision in the project, then review the captions against the resulting cut. A tidy paragraph attached to an obsolete edit is the wrong version.
Use the preview to assess the caption appearance as well. Font, contrast, and position should serve the image you’re delivering. The recognition language sets the transcription task; the text styling determines how that result reads on screen.
Export the Captioned Video and Keep the SRT
Save both deliverables when you need an editable record. The video carries what viewers see; the subtitle file preserves text and timing for a later handoff.
- Download the captions as an SRT file. Save it with a name that matches the current video edit, so it doesn’t get confused with an earlier transcript.
- Keep captions visible, preview, and export the video. Choose a free resolution up to 1080p for this route, then save the resulting MP4 to your device.
Open the saved MP4 before uploading it to Instagram. Confirm that the captions are actually in the picture, rather than visible only inside the editing project. If you hid captions while working, restore their display before exporting the version meant to show them.
Keep the exported video, corrected SRT, and project associated with the same edit. A simple shared filename makes the handoff clearer than a folder of unrelated “final” versions. If someone receives the subtitle file later, they should know which video its timings describe.
This workflow fits a reusable text-and-video delivery. For a post you’re finishing entirely on your phone, moving the clip through a desktop project adds a transfer step; for a reusable subtitle handoff, that extra step has a purpose.
Use your own or authorized material, and take responsibility for the content rights. When using third-party tools, follow their service terms and the platform terms that apply to your use.
Make Reel Subtitles Readable on a Phone
Readable Reel subtitles preserve meaning, follow the speech, and stay clear of the image and app controls. Review the actual phone-sized result, not just the transcript panel or a large desktop preview.
In the subtitle generator’s interface, use the transcript panel to correct the wording and the video preview to check timing, contrast, and placement.
Check Meaning, Timing, and Placement Together
Complete thoughts matter more than constant word movement. I’d favor a readable phrase over rapid word-by-word animation when the animation makes the sentence harder to follow. A commenter in r/deaf put the reading problem plainly: “Personally, I find it less pleasant to read one word per line so quickly; it can be quite annoying.” That is one reader’s preference, not a universal verdict on animated captions.
Check the finished clip from these angles:
- Meaning: Compare names, numbers, and negations with the voice. “Do not crop the original” and “crop the original” give opposite instructions.
- Timing: Watch whether a phrase arrives with its speech and remains readable before the next phrase replaces it.
- Line breaks: Keep words together when separating them would interrupt the thought. Read the phrase as a viewer would.
- Contrast and placement: Check changing backgrounds, faces, demonstrations, and Instagram’s visible controls. Move text that obscures the action.
- Silence and music: Remove invented dialogue where nobody speaks. A generated sentence still needs to match an audible source.
I would approve the sentence and its timing together. Correct spelling doesn’t rescue captions that trail behind the speaker or disappear before the thought is complete.
For an illustrative line break, consider “Keep the original clip / until the captions are approved.” Each part carries a useful piece of meaning. Breaking it as “Keep the / original clip until the / captions are approved” interrupts the phrase. This is an editing example, not a measured reading-speed rule.
Check the vertical version after reframing. Text that looked clear in a landscape edit can land over a face or outside the useful picture in a Reel. When you add text to video, placement is part of the composition, not a finishing decoration. No fixed pixel margin replaces checking the image and controls on your phone.
Choose Between SRT Files and Captions Rendered Into Video
An SRT file stores subtitle text and timing separately; rendered captions become visible parts of the video image. Keep SRT for further editing, and deliver a captioned video when the next step needs words already on screen.
Keep Subtitle Files for Editing and Reuse
SRT preserves an editable text-and-timing layer. You can correct the wording or hand it to an editor that accepts the format without treating the exported video as your only record. Keep it beside the matching video. An SRT timed to the uncut recording won’t automatically match a shorter social edit.
VTT is another timed-text format, commonly used for web captions. A tool offering SRT doesn’t thereby promise VTT, and a video editor that accepts one format doesn’t automatically accept every subtitle format. Choose the file your next application actually imports.
A dedicated SRT file generator addresses the editable-text side of that handoff. It doesn’t settle the appearance of the words in your finished Reel. Font choice and final placement belong to the stage that displays or renders the captions.
Deliver a Video That Actually Displays the Captions
Visible captions and an accompanying text file are different deliverables. I wouldn’t call the Reel ready merely because an SRT exists: if the publishing handoff needs visible words, open the delivered video and confirm they’re there.
The three states are worth keeping distinct. Instagram’s closed captions are a switchable display layer. An SRT is a separate file for a compatible editor or player. Rendered captions are part of the picture, so a viewer’s closed-caption toggle won’t remove them.
To add subtitles to a video from a separate file, your next editor needs to accept that file and produce the intended captioned output. Don’t assume the mobile Reel upload screen accepts an SRT attachment. The external workflow above finishes by exporting the captioned MP4 for that reason.
Keep a clean source alongside the captioned version. Changing a rendered misspelling means producing a new video from the project, while keeping the project and corrected text gives you a clearer revision path. For a file-based workflow, the next question is which tool supplies that subtitle handoff.
When UniFab Subtitle Generator AI-Fabcloud Fits an SRT Workflow
UniFab’s Subtitle Generator AI-Fabcloud fits you if you need an SRT file for the next editing stage on Windows or macOS. It serves a subtitle-file handoff, separate from the free mobile-publishing and Clipchamp routes above.
Supported Systems, Source Resolution, and SRT Output
Subtitle Generator AI-Fabcloud supports Windows and macOS, source video up to 4K, and SRT output, so you can prepare timed text from your desktop footage for a compatible editor. The 4K specification describes source support, not an Instagram playback setting.
Keep the handoff focused:
- Prepare the source and choose its audio-track language. Match the setting to the speech you want transcribed.
- Generate the subtitles and review the text. Keep corrections tied to the version of the video you’ll edit next.
- Download the SRT for that edit. Subtitle downloading includes a batch-download option for collecting subtitle outputs.
Batch downloading helps collect files; it doesn’t describe batch recognition. The useful result here is the text-and-timing file you’ll carry into the next stage.
Decide Whether the File-Based Handoff Fits Your Reel
I’d add this step when the subtitle file itself is the deliverable, rather than treating a file download as a finished Reel. The SRT still needs a compatible editor to become visible text in the exported video; carry it into that editing stage for the final render.
Start your desktop subtitle handoff with Subtitle Generator AI-Fabcloud, then keep the downloaded text with the source edit it belongs to.
Frequently Asked Questions About Instagram Subtitles
Missing controls, duplicate text, and mixed-language speech require different fixes. I’d identify the caption layer or input involved before regenerating the whole Reel.
Why Are Two Sets of Captions Showing on My Reel?
Answer: Text already rendered into the video can appear alongside Instagram’s switchable closed captions. A caption sticker is another layer to inspect. Find out which text belongs to the image before changing a toggle. Creators manage their Reel’s caption settings; viewers manage their own display preferences. Turning off closed captions won’t erase words already in the video pixels. Keep the readable layer you intend to deliver rather than generating another set over it.
What Can I Do if the Captions Sticker Is Missing?
Answer: Instagram says captions aren’t available to everyone, so an absent sticker doesn’t prove your video is defective. Check that you’re working in the mobile app and looking for the sticker rather than the separate closed-caption controls. If that sticker still isn’t offered, use the external-editor workflow in this guide and upload the captioned video. I wouldn’t make reinstalling the app, changing regions, or switching accounts part of a promised fix.
Can a Subtitle Generator Translate a Bilingual Reel?
Answer: Transcription and translation are different tasks. Selecting a source language tells recognition what speech to interpret; it doesn’t request a second-language subtitle track. Clipchamp’s documented transcription flow uses one language per video. For mixed-language speech, review each passage against the original and correct it. If you need translated captions, choose a workflow that explicitly supports the required language pair, then review the translation for meaning. Don’t treat source-language selection alone as translation support.
Do I Need to Give a Subtitle Tool My Instagram Password?
Answer: Not for the Clipchamp source-file workflow described here. You import the recording and sign into Clipchamp with a Microsoft account; Instagram publishing happens separately. Uploading your own clip to an editor is different from connecting a social account. Use the named service’s own sign-in flow, and distinguish the account needed for editing from any optional publishing connection. That keeps the task focused without treating every established subtitle tool as an account-security problem.