Here's the short answer: make a video clearer by identifying the damage first. Sharpen slight softness, denoise grain, retrieve a compressed original, or upscale low-resolution footage. The most reliable route preserves the original and uses the lightest fix that addresses the cause.
What Video Clarity Can and Cannot Recover
Before opening any tool, match what you see on screen to what caused it. Enhancement estimates plausible detail from learned patterns; it does not restore information the sensor never captured. In my experience, the most common failure is treating missed focus like light noise and burning hours on a clip that a reshoot or the original file would have solved in minutes.
📺 If you'd rather watch than read, the demo below covers it in about 2 minutes:
Make Your Videos Clearer with UniFab
- Upscale low-resolution video to 4K
- Reduce noise and restore detail
- 30-day free trial, full features, no watermark
UniFab All-In-One
Make Your Videos Clearer with UniFab
- Upscale low-resolution video to 4K
- Reduce noise and restore detail
- 30-day free trial, full features, no watermark
UniFab All-In-One for Mac
Match the Symptom to the Fix
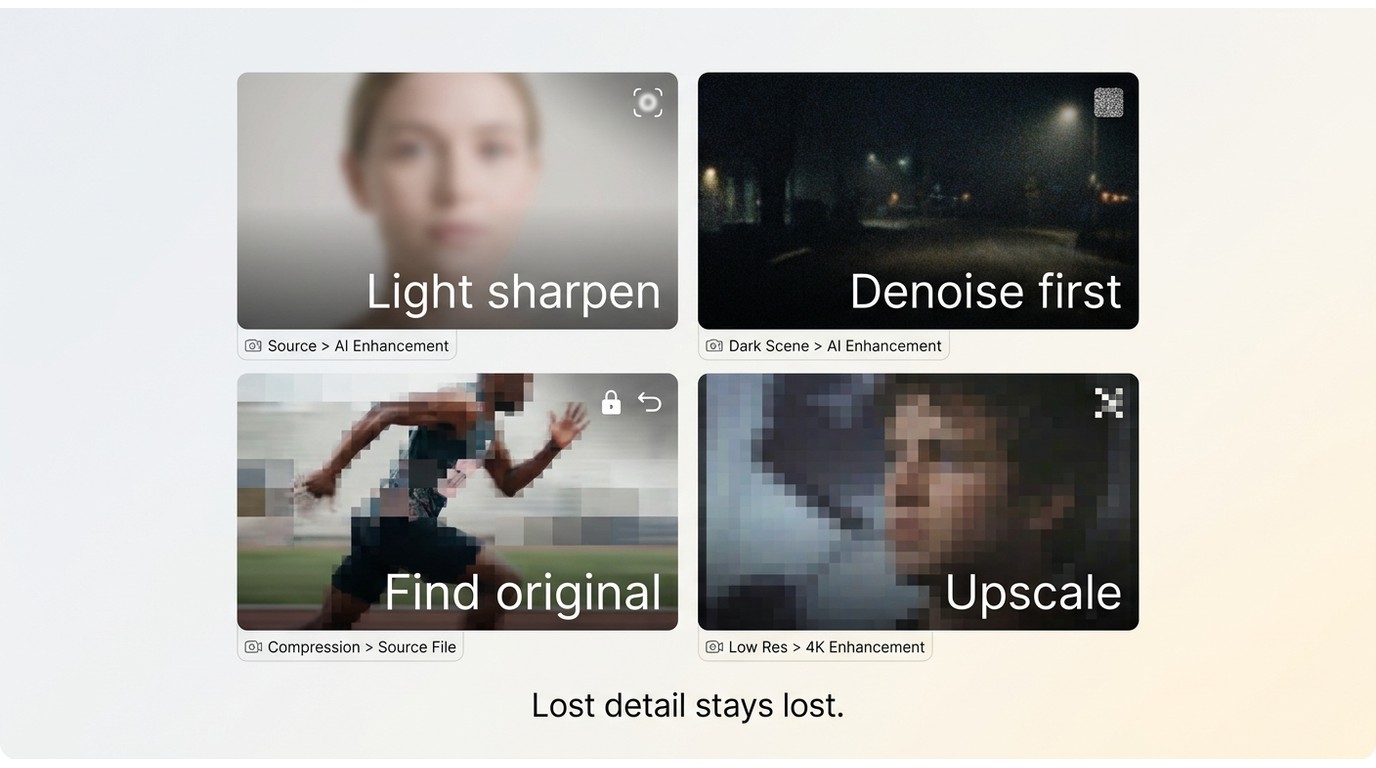
| What you see | Likely cause | First action | Realistic limit |
| Slight softness | Light diffusion or mild focus miss | Gentle sharpening | Cannot restore genuinely missed focus |
| Missed focus or motion blur | Capture issue | Find the original or reshoot | Absent detail cannot be recovered reliably |
| Grain in dark areas | High ISO or low light | Denoise, then sharpen lightly | Heavy denoising removes fine texture |
| Blocky patches or mushy motion | Export or upload compression | Request the original | Enhancement estimates discarded detail |
| Pixelation at normal zoom | Low resolution or digital zoom | Upscale for the needed target | Low-resolution sources remain limited |
| Shake or poor exposure | Handheld motion or exposure error | Stabilize or correct color | Warp and clipped highlights remain |
My working rule: if the source never held the detail, no workflow can invent it honestly. Retrieving the original or reshooting beats enhancement whenever it's an option.
Slight Softness Versus Missed Focus
Traditional sharpening raises contrast at edges to suggest clarity; it doesn't add new information and creates halos when pushed. AI enhancement infers plausible detail from training data, which can look convincing on faces and text but is still an estimate, not a recovery. For a controlled sharpen pass on a mostly good clip, a dedicated video sharpening walkthrough covers the parameter choices that keep edges natural.
Compression, Noise, and Low Resolution
Grain from high ISO responds to spatial and temporal denoising, meaning noise reduction within individual frames and across adjacent frames, before any sharpening. Over-compression is different: the encoder already discarded detail, so re-exporting a compressed copy at a higher bitrate will not bring it back. AI upscaling helps low-resolution sources by predicting texture, but the results depend on how much real information survived; for old tapes and heavily degraded reels, purpose-built AI video restoration software can address interlacing (alternating scan lines), chroma bleed (color spreading beyond edges), and persistent grain patterns.
Make a Video Clearer Online in Three Steps
For a quick browser fix, upload the clip, adjust or enhance it, preview the result, and export a new copy. This route is best for short, mildly unclear clips you're comfortable uploading; it's not ideal for sensitive footage, long files, or heavily damaged material where a local workflow gives you more control.
Upload, Adjust, Preview, and Export
- Open a browser video editor and upload the clip (or paste a link if the tool supports it).
- Adjust sharpness, contrast, and brightness, or trigger a one-click AI enhance if available.
- Preview the same frames before and after; toggle the effect on and off to check for halos or over-smoothing.
- Export a new copy at the source resolution — don't overwrite the original.
Browser Tools for Manual and AI Fixes
KAPWING offers slider-based sharpness, contrast, and stabilization with 4K export on paid tiers; free exports carry a watermark. Clideo runs a lightweight brightness and contrast pass on MP4, MOV, and MKV files without a dedicated sharpen control, and a full Clideo review covers where its free plan ends. Flixier adds a sharpen filter alongside color adjustments with cloud processing from PC, Google Drive, or Dropbox. Media.io runs an automatic AI enhancer on shorter clips, with plan-dependent pricing across subscriptions, credits, and duration-based video-enhancer options.
Free-Plan Limits and Privacy
Browser tools compress uploads, cap file size or length on free plans, and often stamp a watermark unless you subscribe. They also require you to upload the video to a third-party server, which matters for anything you wouldn't want stored off-device. For privacy-sensitive material, or when you need finer control, a local workflow avoids the upload entirely.
Desktop Tools for Harder Footage
Desktop software handles longer clips, larger files, and heavier damage without upload limits. Choose local AI when the source is genuinely degraded, or a manual editor when you want frame-level control over every filter.
Local AI for Difficult Footage
UniFab All-In-One is a desktop app for Windows and Mac that processes video locally, supports MP4 and MKV output up to 4K, and pairs upscaling with dedicated denoising for grain-plus-low-resolution cases that can overwhelm single-purpose filters.
Key capabilities relevant to clarity work:
- AI upscaling to targets up to 4K for low-resolution footage
- AI noise reduction for grain from high ISO or low light, run before any sharpening pass
- Local GPU processing on Windows and Mac, so the file stays on your machine
How to make a video clearer with UniFab
30-day Free Trial for full features, without watermark!
- Step 1Import Your Video
Open the UniFab software > choose one model > upload an unclear video for enhancing.
- Step 2Customize Output Settings
Now, start customizing various parameters, such as frame rate, resolution, bitrate, etc., to define the output profile. Otherwise, you can also select default settings to avoid manual customization.
- Step 3
Finally, select the “Start” option to initiate the video upscaling process of your selected unclear video.
Best for: low-resolution or grainy sources where you want a controlled local pass without uploading anything.
Not ideal for: footage where focus was missed at capture, or clips already crushed by platform re-encoding, because AI estimation cannot rebuild information the source never held. You can test standard paid functions up to three times without a watermark.
Manual Filters and Professional Editors
When you'd rather set every parameter yourself, HandBrake, DaVinci Resolve, and Premiere Pro cover the same clarity work with different levels of control. I reach for a manual editor whenever the clip is important enough that I want to see a preview at every filter step rather than trust a one-click enhance.
- HandBrake (Windows, Mac, Linux, free): open the source, enable Sharpen (Unsharp or Lapsharp) and Denoise (NLMeans) under Filters, then use Rate Factor under Video to balance quality against file size. Preview, then Start Encode.
- DaVinci Resolve (Windows, Mac, Linux, free tier): on the Color page, use Blur/Sharpen for Mid Detail and Sharpen, and the spatial/temporal Noise Reduction controls for grain.
- Premiere Pro: Effects → Video Effects → Blur & Sharpen → Sharpen, or Unsharp Mask for Edge-level control, or Lumetri Color → Creative → Sharpen inside a grading pass.
Playback-Only Fixes
VLC can improve how a clip looks during playback via Tools → Preferences → Input / Codecs → Video Codecs and a small sharpen adjustment under Video Effects. This changes only the playback view; it does not save an enhanced output file, so use it when you just need to watch, not to save or share.
Phone Fixes Without Duplicate Device Steps
Most phone workflows share the same sequence on iPhone and Android: make a small adjustment, preview the result, and export a copy without unnecessary resolution changes. The real differences are which built-in controls exist and which apps ship on each platform.
Built-In Controls for Mild Softness
On iPhone, open the clip in Photos, tap Edit, then nudge Sharpness gradually with small lifts to Brightness and Contrast; Noise Reduction is available on newer iOS versions. Tap Done. Android built-in editors vary by manufacturer but expose a similar Sharpen or Detail slider inside the Gallery editor. Best for slightly soft clips; anything heavier needs an app.
Mobile Apps for Stronger Cleanup
- CapCut (iOS and Android, free): Import → Adjust → increase Sharpen gradually; the AI Enhance option under Video Quality helps with mildly unclear clips. Export at the source resolution.
- PowerDirector (iOS and Android): the AI Video Upscaler runs a one-tap enhance and uses AI credits on the free tier.
- InShot (iOS and Android): Filter → Adjust → raise Sharpness and Contrast, then export at maximum quality.
Best for: quick cleanup on clips you'll share from the phone. Not ideal for long, degraded, or archival footage — those belong on a desktop workflow.
Which Workflow Fits Which Damage
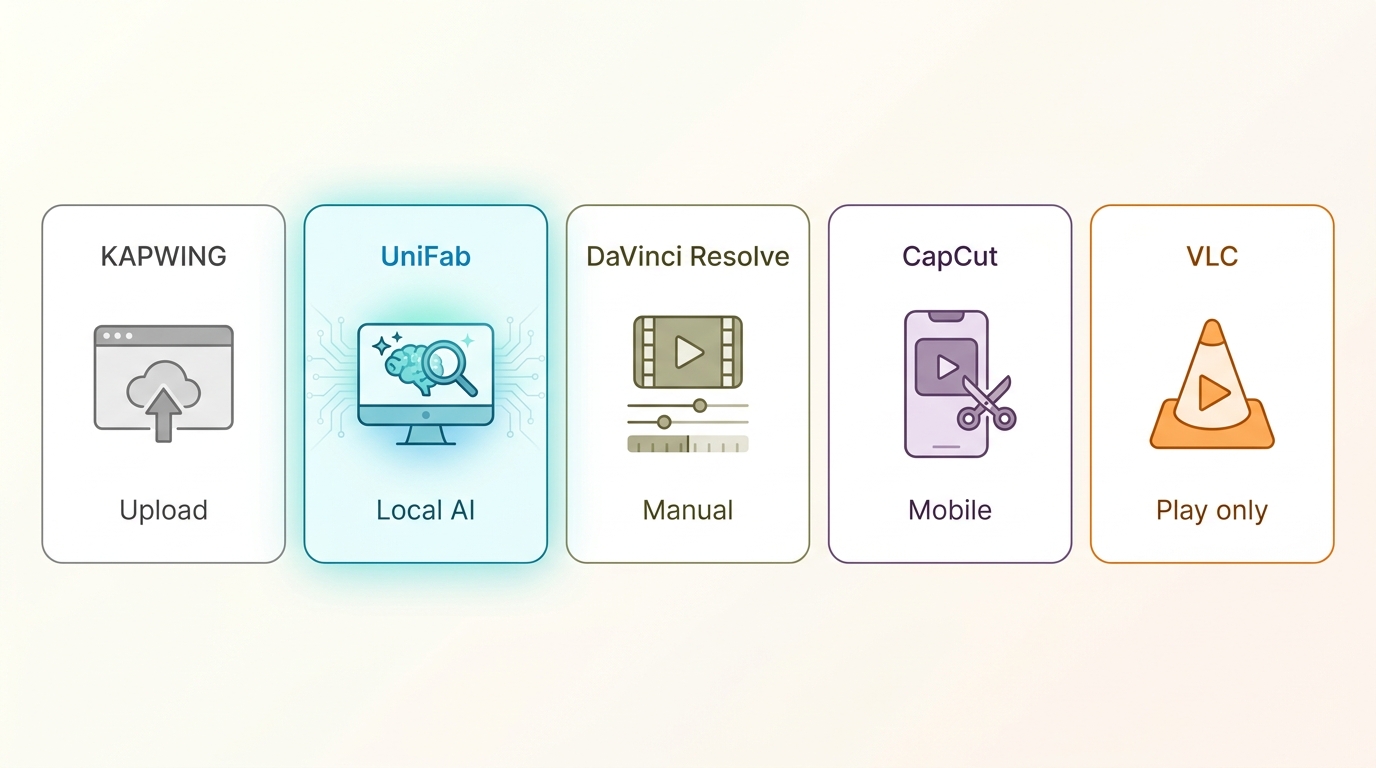
| Workflow | Best-fit symptom | Upload required | Export control | Main limitation |
| Browser adjustment (optional AI) | Mild softness, short clips | Yes | Preset-driven | Watermarks or length caps |
| Local AI | Low resolution, grain, harder damage | No | Tool-dependent | Cannot restore absent detail |
| Manual desktop editor | Precise sharpen, denoise, or grade | No | Frame-level | Steeper learning curve |
| Mobile app (optional AI) | Quick share-ready cleanup | No | Preset-driven | Limited for degraded footage |
| Playback-only | Viewing without saving | No | None | No enhanced output file |
Fix Transfer and Platform Compression
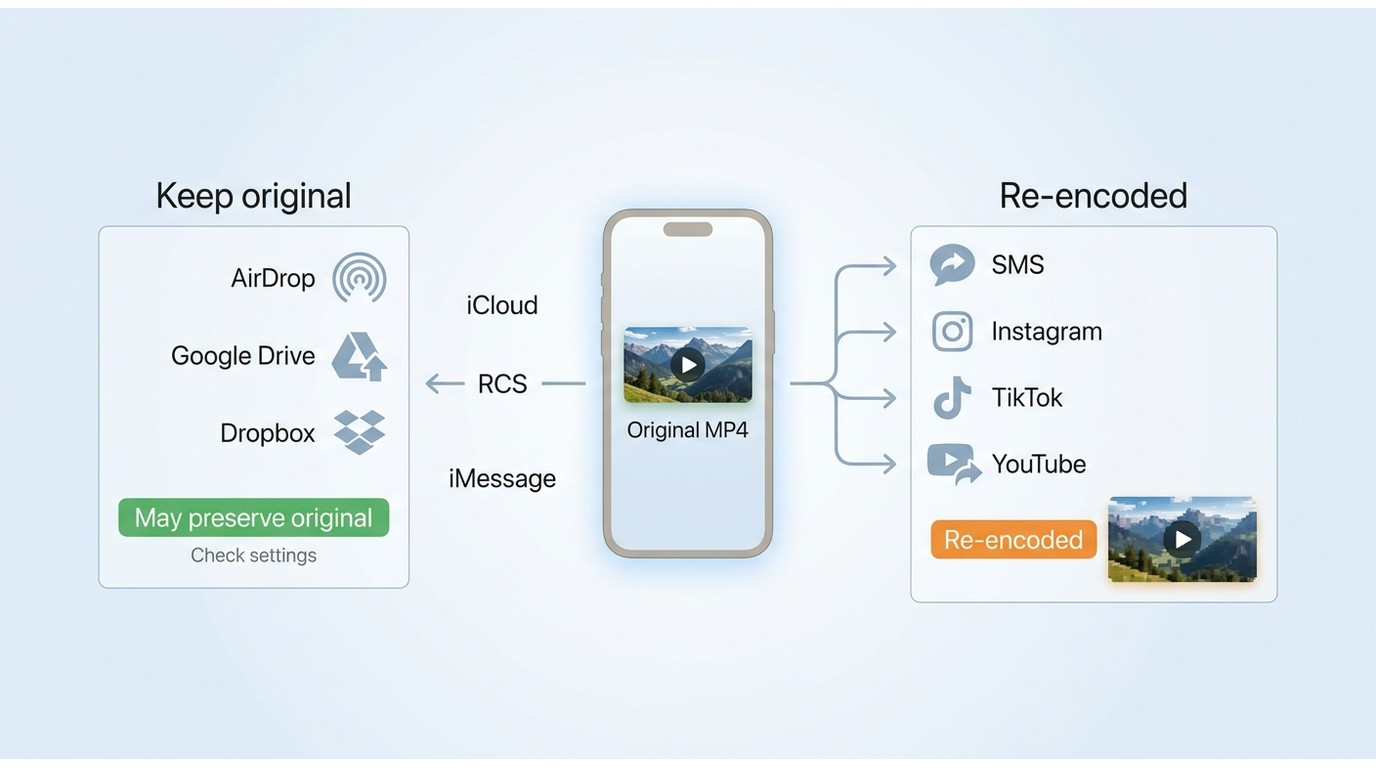
If a clip only looked blurry after texting or a cross-device transfer, the file you have is a recompressed copy — not the master. Enhancement of that copy is a fallback; retrieving the original is faster and cleaner.
Retrieve the Original Before Enhancing
Ask the sender to resend the video through AirDrop between Apple devices, a cloud link (iCloud, Google Drive, Dropbox), RCS between Android devices, or iMessage between Apple devices. SMS/MMS crushes video hard; any of the alternatives preserves far more detail. Only enhance the compressed copy if the original truly cannot be recovered.
Test Uploads From Another Account
Instagram, TikTok, and YouTube re-encode uploads. If a master looks clean locally but blurry after upload, upload the same file from a second account or a different device to confirm platform compression is the cause. Export at the platform's recommended resolution (1080p for Instagram and TikTok, 1080p or 4K for YouTube) with a modestly higher bitrate to leave more headroom for the transcode.
Save MP4 Without Losing Clarity
MP4 alone does not determine quality; codec, bitrate, resolution, frame rate, and source quality do. The cleanest enhancement can be undone by a careless export, which is why I always preview before overwriting anything.
Codec, Bitrate, and Frame Rate
- Codec: H.264 gives you the widest compatibility. H.265 (HEVC) delivers similar quality at a lower bitrate, but not every player and older phone handles it cleanly.
- Bitrate: raise it above the encoder default when clarity matters. Choose a bitrate that preserves visible detail without creating an unnecessarily large file. Higher isn't infinitely better — past a point you just add file size.
- Frame rate: keep the source frame rate. Converting 24 fps to 30 fps introduces judder; converting 60 fps down to 30 fps discards temporal detail.
Resolution, File Size, and Preview
Don't upscale on export unless the workflow specifically needs it — and if you do, choose a target you'll actually use. If you need a refresher on which target sizes are appropriate, this video resolution reference explains the practical differences. File size follows bitrate and length; preview the exported file on the device where it'll be watched before you delete the master, and avoid repeated re-encoding — every generation loses more.
Validate Results Before You Export
AI enhancement is an estimate based on learned patterns; results vary by source. A credible clarity test compares the same frames at the same scale and reports both improvements and remaining artifacts.
Compare the Same Frames at 100 Percent
Pick two or three representative frames — a face, a text panel or logo, and a moving element. View them at 100 percent zoom before and after processing. If you're seeing a difference only at fit-to-window zoom, you're probably seeing scaling, not real clarity gains.
Check Halos, Noise, and Invented Detail
Look for a bright fringe around high-contrast edges (halos from over-sharpening), plastic-looking skin (too much denoising), sudden noise that flickers frame to frame, color casts that shifted from the source, and hallucinated detail on text or fine patterns — hair follicles that shouldn't be that sharp, or letters that changed shape between frames. My honest verdict rule: name what improved and name what didn't. If the source was too damaged to hold detail, the enhancement will show it here, and that's the moment to accept the limit rather than push another pass.
Prevent Blur Before Recording
Every fix above is easier when the source is clean. Treat these as lessons the repair workflow taught, applied back at capture time.
Lighting and Focus
- Shoot near Windows or in well-lit rooms; use soft diffused light rather than harsh direct light indoors.
- Avoid backlighting that silhouettes your subject.
- On phones, tap and hold to lock focus and exposure so autofocus doesn't drift mid-take.
Stability and Motion
- Use a tripod or gimbal for anything you'd hate to reshoot.
- Enable optical image stabilization if your device has it, and brace your elbows for handheld shots.
- Use a faster shutter speed to reduce motion blur on moving subjects.
Capture Resolution and Exposure
- Record at the highest resolution your device supports, then step down deliberately only when file size or storage matters.
- Keep ISO as low as the scene allows; more light beats more gain.
- If you need to remove grain from video later, denoise before sharpening; for pixelated blocks, an AI upscaler predicts texture rather than simply enlarging (see also how to depixelate video).
Common Questions About Clearer Video
Can ChatGPT make a blurry video clearer?
ChatGPT is a text assistant — it doesn't process video frames itself. It can help you plan a workflow, suggest bitrate settings, or explain the difference between sharpening and denoising, but the actual work happens in a browser tool, a desktop app, or a phone editor. For hands-on cleanup, pick the route above that matches your damage type.
Can I clear a video online without a watermark?
Free-plan limits vary by provider. Some browser tools watermark the free tier, others cap file size or duration, and a few reserve certain filters for paid plans. Check the specific tool's current plan page before uploading; if your clip is short and mildly unclear, a trial or the free tier of a paid tool is usually enough — heavier work belongs on a desktop.
Are MP4 files always high quality?
No. MP4 is a container that holds video, audio, and subtitle streams; the visible quality comes from the codec (H.264, H.265), bitrate, resolution, frame rate, and — above all — the source. A low-bitrate H.264 MP4 will look worse than a well-encoded MOV of the same clip. Judge by encoding settings, not the file extension.
Should I edit the original video or a copy?
Work on a copy whenever possible. Duplicate the source, run your enhancement and export on the duplicate, then compare against the original at the same frames and same zoom before you replace or share the file. If the export looks worse than the source in any way, you still have the master to fall back on.
The Right Workflow Depends on the Damage
No enhancement workflow reliably recovers detail the source never captured, so match the fix to the damage. If the original still exists somewhere — a sender, a card, a reshoot — get it before you enhance. For mild softness or a quick share, a browser adjustment or a phone app is enough. For low-resolution or grainy footage where you want control and privacy, UniFab handles the local AI pass; for frame-level control over sharpen, denoise, and grade, a manual editor like DaVinci Resolve or Premiere Pro is the better fit. Whichever route you take, judge by the exported file at the same frames and same zoom as the original — that comparison shows whether a video quality enhancer improved your file without introducing new artifacts.