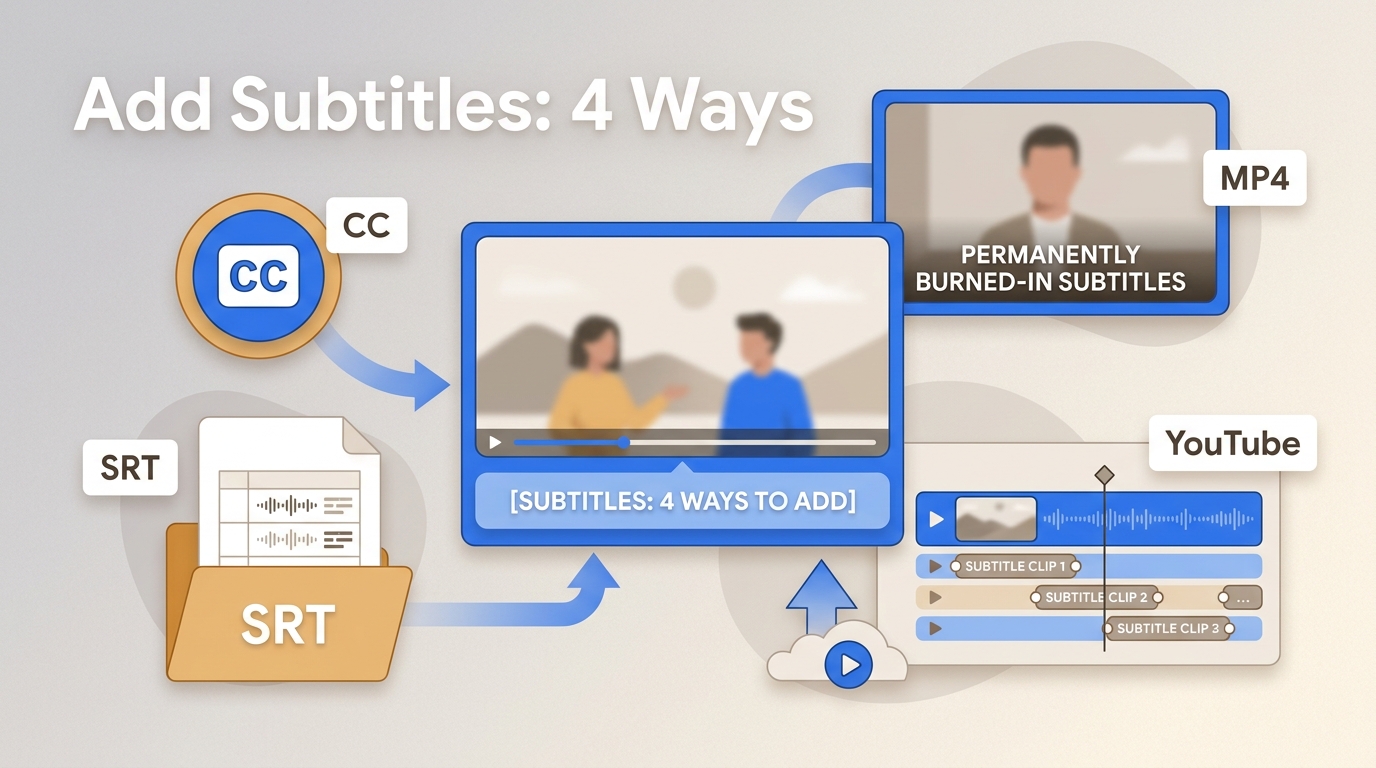
To add subtitles to a video, decide how viewers should receive them, then choose a tool, generate or enter the text, review every caption, and export. The key decision is whether you need burned-in text, a toggleable track, a separate file, or platform-native captions.
My editorial rule is simple: choose the delivery format before the software. That prevents a polished edit from becoming unusable on the viewer's player, TV, website, or social platform.
Why Subtitles and Captions Matter
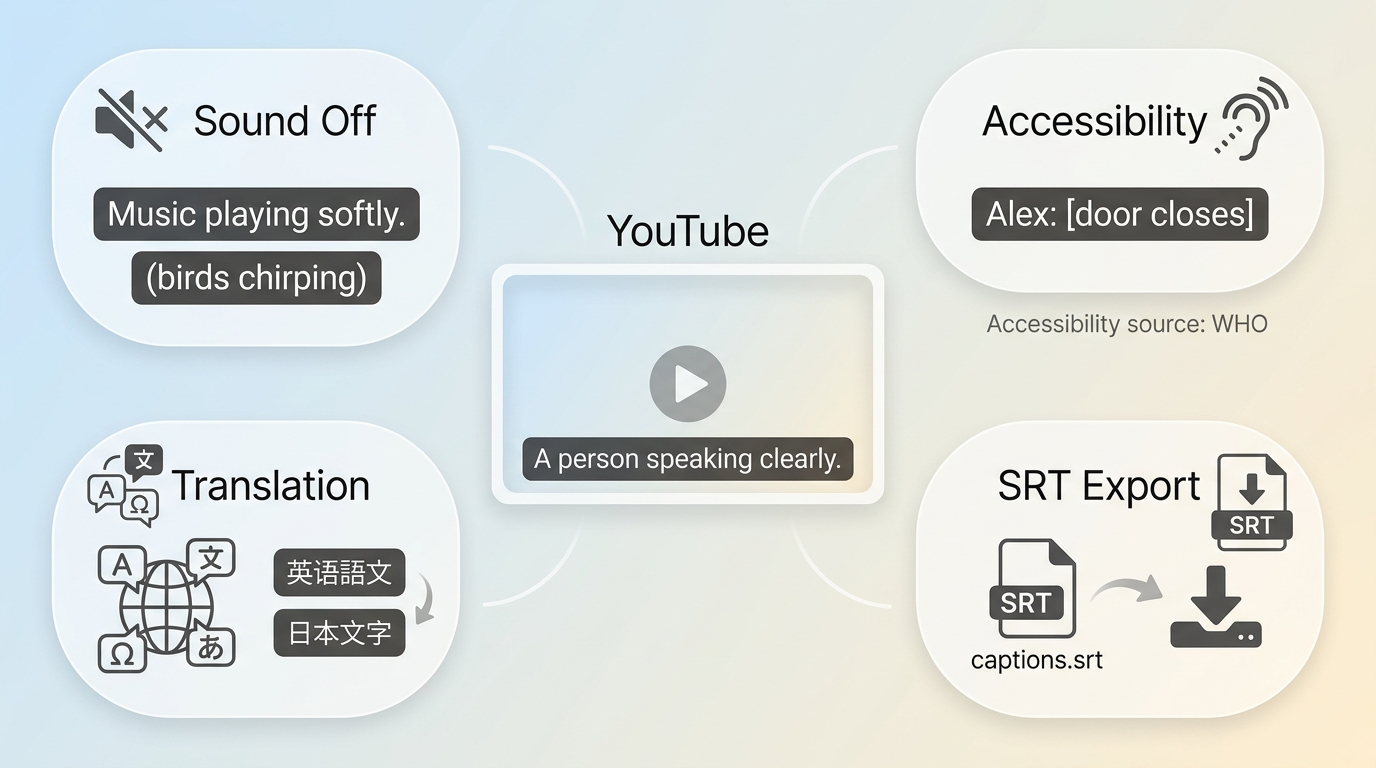
Subtitles make dialogue easier to follow, while captions add speaker labels and meaningful sound cues for caption accessibility. If you add captions to video, treat the transcript as a draft that still needs a human review.
As of July 2026, WHO reports that 430 million people require rehabilitation for disabling hearing loss and projects that more than 700 million may do so by 2050. Clear captions can support more viewers, but text alone does not address every accessibility need.
- Comprehension: Viewers can follow names, technical terms, and speech in noisy or sound-off settings.
- Accessibility: Captions can identify speakers and include useful cues such as [music] or [door closes].
- Localization: A reviewed transcript can support a separate translation workflow without mixing that larger task into the initial caption edit.
- Reuse: A clean transcript can be delivered as a subtitle file, embedded track, or rendered text.
Choose the Right Subtitle Output
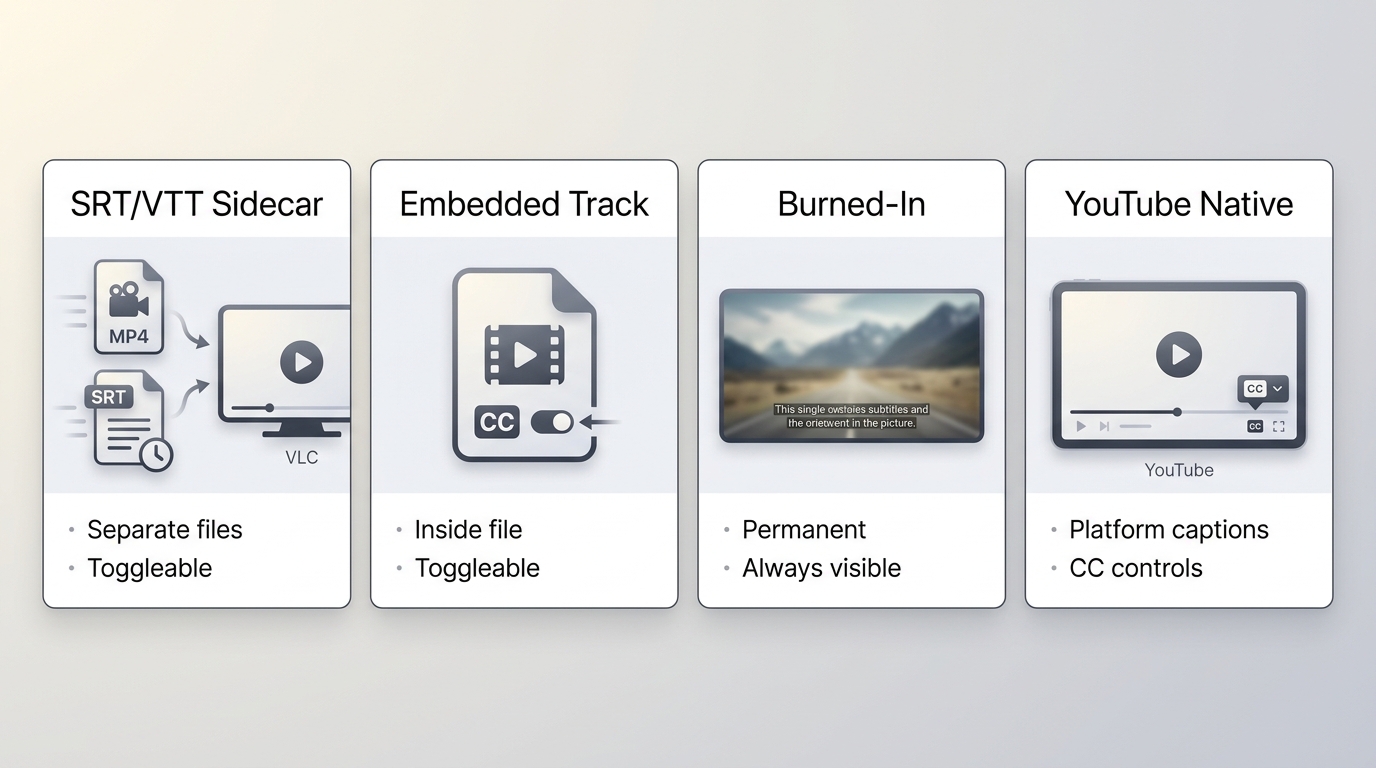
Subtitle file formats determine whether viewers can turn text off, whether the video must be encoded again, and how easily the wording can be revised later. Decide among burned-in subtitles, soft subtitles, sidecar files, and platform-native tracks before editing.
| Output | Can viewers turn it off? | Video re-encoding? | Typical compatibility | Future editing | Accessibility use | Best-fit scenario |
| Separate SRT or VTT | Yes, when the player loads the file | No | Depends on player or platform support | Easy to replace or revise | Good when the platform exposes caption controls | Web publishing, YouTube, and editable delivery |
| Embedded soft track | Yes | Usually not for the video image itself | Good on players that support the embedded track | Replaceable with the right container tools | Useful when controls and metadata are supported | Local libraries with known player support |
| Burned-in captions | No | Yes | Visible wherever the video plays | Requires editing the source and exporting again | Always visible, but not equivalent to a selectable caption track | Social clips, TVs, or unknown playback environments |
| Platform-native captions | Yes | No | Limited to the hosting platform | Editable in the platform interface | Often the strongest choice for platform accessibility features | YouTube and other hosted-video publishing |
Burned-In Captions
Burned-in subtitles become part of the video image, so they remain visible in an MP4 even when the player has no subtitle controls. This broad compatibility costs flexibility because changing the text requires another export.
For MP4 subtitles intended for social feeds, presentation screens, or an unfamiliar TV, burned-in text is often the safer delivery choice. Keep a reviewed subtitle file and editable project so later corrections do not start from scratch.
Toggleable Tracks and Sidecar Files
Soft subtitles and toggleable captions let viewers show or hide the text. A separate SRT subtitle file is widely useful, while a VTT subtitle file is common in web workflows.
Sidecar files are easy to revise, but the recipient must keep the video and subtitle file together, and the player must support the format. An embedded track reduces file-management mistakes, though compatibility still depends on the container and playback device.
Compare Four Subtitle Workflows
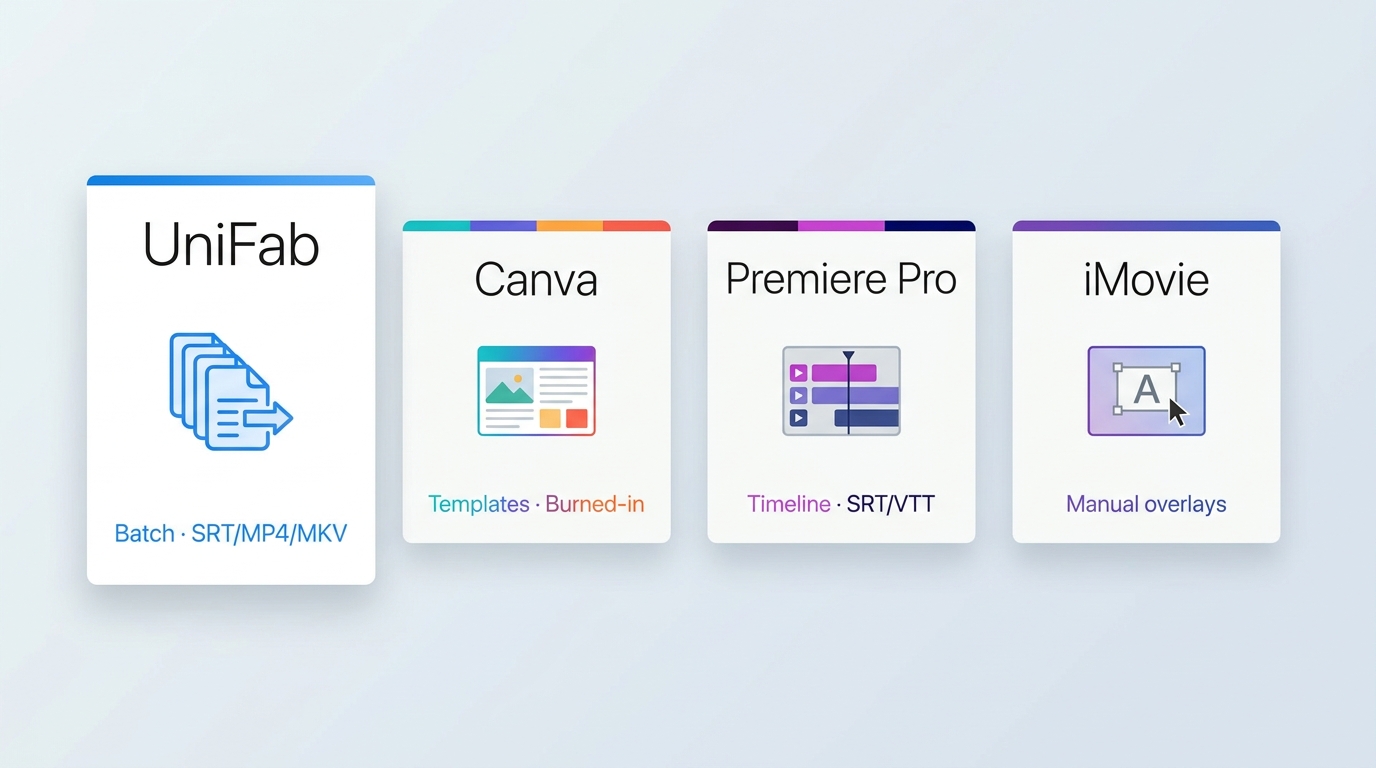
There are four practical ways to approach how to add subtitles: a subtitle-focused generator, a browser design editor, a full timeline editor, or manual text overlays. The right choice follows the required output and review depth, not a generic ranking.
| Workflow | Best-fit workflow | Automatic transcription | Manual transcript editing | Timing controls | Subtitle-file import | Separate subtitle export | Burned-in video export | Batch suitability | Learning curve | Cost model |
| UniFab AI Subtitle Generator | Local Windows or Mac subtitle generation for repeated files. Not ideal for mobile-only work or frame-level creative editing. | Yes | Review before delivery | Correction is part of the review workflow | Generate from source media in this workflow | Subtitle download supported | MP4 and MKV output | Yes | Guided subtitle workflow | Commercial desktop software |
| Canva | Short visual projects that combine captions with templates. Not ideal for subtitle-dense batch delivery. | Available in its subtitle workflow | Yes | Visual caption adjustments | Not used in this workflow | The rendered-video workflow is covered here | Yes | Project-based | Approachable for template editing | Account-plan model |
| Adobe Premiere Pro | Projects already being edited on a full timeline. Not ideal for a quick one-video caption task. | Yes | Yes | Detailed timeline control | Supported caption workflow | SRT or VTT delivery | Yes | Project and sequence based | More setup and editing depth | Subscription |
| iMovie | Short Apple-device projects needing visible text overlays. Not ideal for toggleable captions or subtitle-file delivery. | No | Manual text entry | Title-clip duration | No dedicated subtitle-track import | No dedicated subtitle-file export | Yes, as rendered text overlays | No dedicated batch workflow | Direct for short edits | Included with supported Apple devices |
For a broader cost-focused tool comparison, keep that research separate from this workflow decision. Platform-specific social captions and video translation also deserve their own instructions rather than being compressed into this guide.
Add Subtitles with UniFab AI
The UniFab subtitle generator is a video subtitle generator for Windows and Mac that can create subtitles, support batch subtitle processing, and deliver subtitles with MP4 or MKV video workflows. Generated text still needs editorial review.
Where UniFab Fits
UniFab fits teams or creators handling repeated local files when automatic video captions can shorten the first-draft stage. Batch processing is useful when review ownership is assigned, delivery format is agreed in advance, and names, speaker labels, and sound cues are checked.
- Best fit: Windows or Mac users preparing subtitles for multiple authorized local videos and delivering subtitle files or MP4/MKV outputs.
- Not ideal for: Mobile-only workflows or projects that need the frame-level compositing and creative controls of a full timeline editor.
- Important limitation: AI-generated wording and timing are not publication-ready without human subtitle quality control.
A browser-based subtitle generator online is available for a lighter upload workflow. This guide does not assume that its controls or batch behavior match the desktop product.
Generate, Review, and Export Subtitles
A reliable UniFab workflow separates generation from approval: create the draft, correct the language and timing, then choose the output. My preference is to name the reviewer before starting a batch, because automation without ownership simply moves errors downstream.
- Import an authorized video on Windows or Mac and start subtitle generation.
- Review the transcript for names, terminology, punctuation, and missing speech.
- Correct caption boundaries, line breaks, and reading order while playing the video.
- Add speaker identification and meaningful non-speech cues when accessibility is part of the brief.
- Choose a supported subtitle download or an MP4/MKV video output, then export and watch the delivered result.
30-day Free Trial for full feature, without watermark!
- Step 1
Download UniFab software and launch it, select the Subtitle Generator module. Then, upload the video file for which you want to create subtitles or any SRT file with subtitles.
- Step 2
From the 30+ available options, select the language into which you want to translate the video subtitle. UniFab will then automatically generate the subtitles in your selected language.
- Step 3
Select the “Start” option to auto-generate the subtitles. Then, you will have a clear and editable .srt file with subtitles. Use UniFab Video Converter to add subtitles to your desired video.
Add Subtitles with Canva
Canva subtitles suit short, design-led videos when the captions need to match a visual template. It is a practical browser workflow for creators who want transcription and styling in one project rather than a dedicated subtitle-delivery pipeline.
Where Canva Fits
Use Canva when the final result is a short rendered video and visual consistency matters more than detailed subtitle-file management. It is less suitable for long, dialogue-heavy projects or batch subtitle processing that needs formal review and handoff.
- Best fit: Short social, presentation, and marketing clips built with templates.
- Not ideal for: Long subtitle-dense programs, repeated batches, or deliveries centered on editable sidecar files.
Add and Style Canva Subtitles
The Canva workflow combines upload, caption generation, correction, and styling. Keep the text readable before adding decorative elements; the subtitle should remain clear over changing backgrounds.
- Open a video project and upload the source video.
- Choose the subtitle feature and generate captions from the audio.
- Correct the transcript, then adjust font, size, color, placement, and background treatment.
- Play the complete video, fix timing or crowded lines, and export the finished video.
Canva Subtitle Limitations
Canva's strength is visual assembly, not deep subtitle operations. A long transcript can make review cumbersome, and a template-led rendered-video workflow may not fit a client who expects separate SRT/VTT files or detailed timing handoff.
If the task is really general text animation rather than dialogue captions, the dedicated guide to add text to a video keeps that separate intent focused.
Add Captions with Premiere Pro
Premiere Pro captions fit editors who are already finishing picture and sound on a timeline. Its value is the ability to correct the transcript, refine timing, style captions, and choose between a caption file and a rendered video in the same project.
Create and Export Premiere Pro Captions
Create Premiere Pro captions after the edit is stable enough for timing review. Major picture changes made after captioning can create avoidable synchronization work.
- Import the video, place it in a sequence, and open the Text or Captions workspace.
- Transcribe the sequence in the spoken language.
- Correct the transcript before creating caption clips.
- Create captions, then inspect line breaks, timing, placement, and style on the timeline.
- Export a caption file such as SRT/VTT or render the captions with the video, depending on delivery requirements.
Premiere Pro Caption Tips
Subtitle timing correction is most efficient after transcript errors are fixed. Otherwise, an editor may carefully time wording that later changes and creates another pass.
- Save a caption style for repeat projects, but check contrast against each scene.
- Split or merge captions at natural phrase boundaries rather than forcing uniform blocks.
- Review long, subtitle-dense sequences in sections, then complete one uninterrupted final playback.
- Use Premiere when timeline control justifies the setup; use a focused subtitle workflow for a quick standalone job.
Add Subtitles with iMovie
iMovie subtitles are manual title overlays rather than a dedicated toggleable caption track. This method fits a short video when the editor already uses iMovie and the final text should stay visible in the rendered video.
Create Timed Text in iMovie
Build the subtitles as repeated title clips, keeping placement and styling consistent. Because each line is entered and timed manually, finish the spoken edit before starting this pass.
- Import the video into an iMovie project and place it on the timeline.
- Choose a restrained title style positioned where it will not cover important content.
- Drag the title above the video, enter the caption text, and adjust its duration to match the speech.
- Repeat for each phrase, then play the complete project and correct timing and line breaks.
- Export the video with the text overlays included.
iMovie Subtitle Limitations
iMovie does not turn the overlay workflow into a separate SRT/VTT delivery or a viewer-controlled caption track. Manual entry also scales poorly as dialogue length grows.
- Best fit: Short projects with a limited amount of dialogue and a burned-in result.
- Not ideal for: Long programs, automatic transcription, multilingual track management, or toggleable-caption delivery.
Add Captions in YouTube Studio
YouTube subtitles can be added as a platform-native track by uploading a file or reviewing automatic video captions. This keeps captions toggleable and editable without changing the uploaded video image.
Upload an SRT or VTT File
An existing SRT subtitle file or VTT subtitle file is useful when the captions were reviewed outside YouTube. Confirm that the timing matches the final uploaded edit.
- Open YouTube Studio and select the video.
- Choose Subtitles, add the language, and select the upload option.
- Upload the timed subtitle file and preview the result.
- Correct any timing or text issues, then publish the caption track.
Review YouTube Auto-Captions
YouTube's automatic captions are a starting point, not final copy. Review names, punctuation, speaker changes, and timing at normal playback speed before publishing an edited version.
A timing error can hide the meaning of a good transcript, especially when a caption appears after the relevant action or speaker. Correct the words first, then adjust the cue boundaries.
Subtitles on Videos You Do Not Own
Ordinary viewers cannot directly add a subtitle track to another channel's YouTube upload. The channel owner or manager controls subtitles and can invite an authorized Subtitle Editor.
Who Can Edit a Channel's Subtitles
YouTube Community Contributions ended in 2020. Today, subtitle changes must come through the channel's own permissions, so send a corrected transcript or subtitle file to the owner rather than expecting to alter the public upload yourself.
Local Options for Personal Viewing
For lawful personal viewing, you can load a subtitle file beside a local copy you own, are authorized to use, or may use under applicable law and the source platform's terms. This does not change the creator's upload or grant permission to republish it.
This guide does not cover defeating encryption, subscription gates, or access controls. Responsibility for the content, rights, and permitted use remains with the user.
Add Subtitles to Downloaded Videos
For a downloaded video, apply the earlier output decision: use soft subtitles when you control the player and want future edits, or burned-in subtitles when the text must appear on a TV or unknown player.
Before editing, confirm that you own the video, have permission, or are otherwise allowed to make a personal viewing or backup copy under applicable law and the source terms. Do not share or commercially reuse material without the necessary rights.
Load an External Subtitle File
An external SRT keeps the video stream unchanged and lets the viewer turn subtitles off. Name the video and subtitle files consistently, keep them in the same folder, and select the track in a compatible player such as VLC.
- Open the authorized local video in the player.
- Choose the subtitle-track command and load the SRT file.
- Check character display, synchronization, and line breaks during playback.
This is the most editable local option, but it depends on the recipient keeping both files together and using a compatible player.
Burn Captions into an MP4
Burned-in MP4 subtitles trade editability for predictable visibility. The video must be encoded again, so keep the source project and use export settings appropriate to the original video.
- Use burned-in text when a TV, USB playback device, or recipient's player may ignore separate subtitle files.
- Confirm that accented and non-Latin characters display correctly before encoding the full video.
- Watch the exported MP4, because correct timing in the editor does not guarantee a correct final file.
Review Subtitle Quality Before Export
Subtitle quality control should cover the words, timing, readability, accessibility details, and final playback. Automatic output is an efficient draft, but approval requires watching the delivered version from start to finish.
Check Text, Timing, and Line Breaks
Correct the transcript before fine subtitle timing correction. Then review each caption in context rather than judging isolated lines.
- Verify names, brands, technical terms, numbers, and punctuation.
- Align each cue with the spoken phrase and avoid captions that linger into the next speaker.
- Break lines at natural phrase boundaries and avoid separating short grammatical units.
- Keep text readable with sufficient contrast and safe placement away from important on-screen information.
- Complete a normal-speed playback of the exported file or published track.
The most common failure I would guard against is trusting the auto-caption screen without reviewing the final video. A clean transcript can still fail through timing drift, crowded lines, or poor contrast.
Add Speakers and Non-Speech Cues
Captions intended for deaf and hard-of-hearing viewers should go beyond dialogue. Identify speakers when the voice is unclear and include meaningful sounds that affect understanding.
- Use concise labels such as [Alex] when a speaker cannot be identified visually.
- Include relevant cues such as [alarm sounds], [applause], or [soft music].
- Avoid describing sounds that add no useful context.
Choose a Workflow That Fits
Choose by output first, then editing depth, project volume, and review responsibility. UniFab can suit Windows or Mac users handling repeated subtitle files, Canva fits short visual work, Premiere Pro fits timeline-heavy projects, and iMovie fits brief manual overlays.
UniFab is not the right fit for a mobile-only workflow or a project that needs detailed creative compositing. Whichever method you choose, assign a reviewer and test the final delivery on the device or platform the audience will use.
{{FREE_TRIAL_BTN_1}}
Subtitle FAQs
These answers cover common export and troubleshooting decisions without repeating the full workflows above.
Why Are My Automatic Captions Out of Sync?
Speech recognition and timing segmentation are separate steps. Correct the transcript first, then adjust caption boundaries while watching the full video at normal speed. If the video was re-edited after transcription, regenerate or retime the captions against the final cut.
Will Adding Subtitles Reduce Video Quality?
A separate SRT file or toggleable soft track does not change the video image. Burned-in captions require a new video export, so aggressive encoding settings can affect quality. Keep the original and review the rendered MP4 before delivery.
Can I Edit Subtitles After Exporting?
Sidecar files and toggleable tracks can usually be revised or replaced. Burned-in text is part of the image, so you need to edit the source project and export the video again.
Do I Need Captions as Well as Subtitles?
Use accessibility captions when viewers need speaker identification and meaningful non-speech audio in addition to dialogue. Dialogue-focused subtitles may be enough for translation or comprehension, but they do not cover the full caption accessibility task.