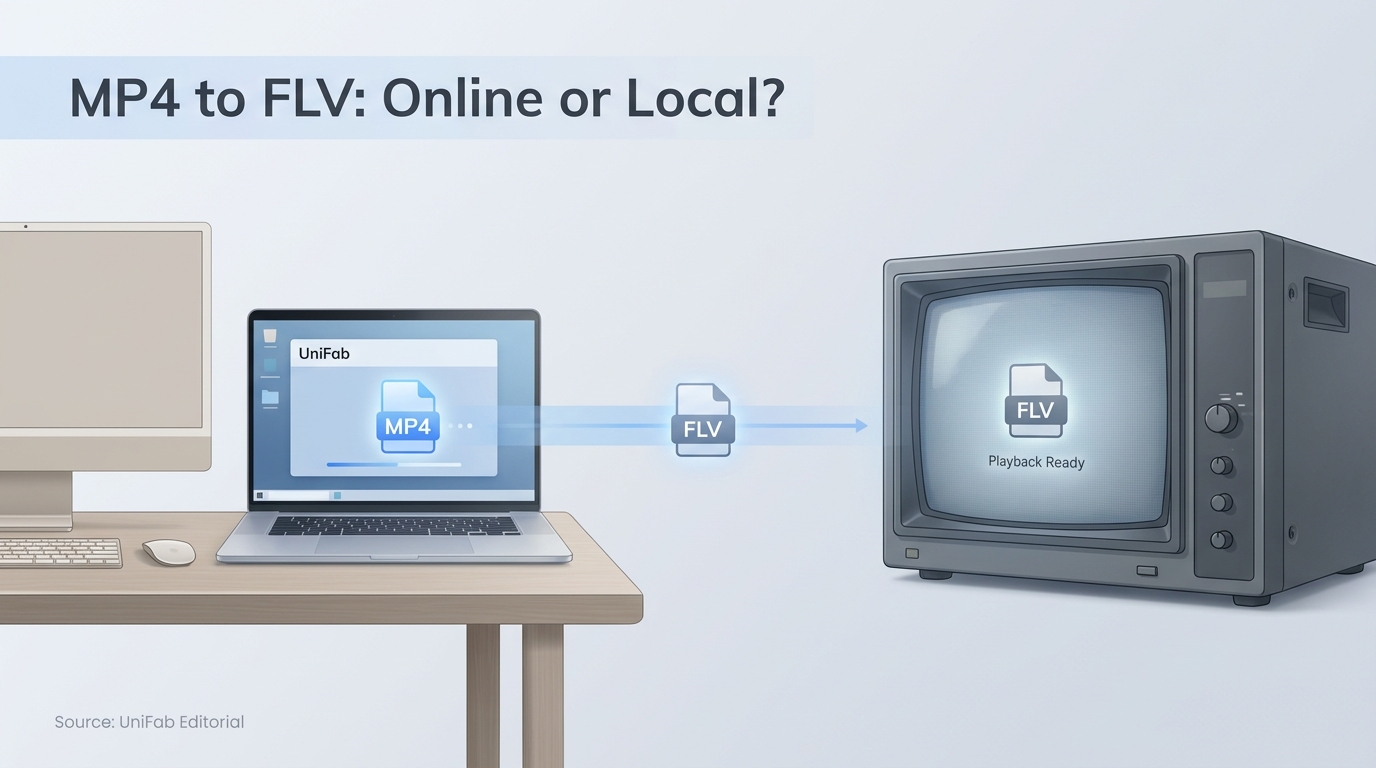
When a training portal, firewall, or older publishing system requires FLV, the goal is compatibility, not a quality upgrade. Converting MP4 to FLV requires loading the MP4, selecting FLV with compatible settings, saving the output, and checking playback on the receiving system.
I treat FLV as a narrow delivery format rather than a modern default. The practical goal is to preserve the audio, frame size, and playback behavior that the receiving system expects.
- Select an online MP4 to FLV converter or a local converter.
- Load the MP4, using the local conversion steps when the file should remain on your device.
- Select FLV and settings compatible with the destination.
- Convert, download or save the file, and test playback on the receiving system.
MP4 and FLV: What Changes During Conversion
If you are deciding how to convert MP4 to FLV, expect the container to change and the video or audio streams to be re-encoded when the target profile requires it. FLV still makes sense only when a legacy player, training platform, or publishing workflow requires it; otherwise, MP4 is normally the more flexible delivery choice, and converting an existing FLV file to MP4 may be the more practical direction.
When a Legacy System Still Requires FLV
FLV was built around Flash-era web video, so it survives mainly in older systems and controlled workflows.
A September 2018 workplace report described HD training videos that had to be converted from MP4 for an older Adobe Connect setup behind a company firewall. That is the right mental model: FLV is a compatibility target chosen by the destination, not a badge of higher quality.
My editorial rule is simple: confirm the receiving system first, then choose the output settings. If the target accepts MP4, converting to FLV adds an avoidable compatibility layer.
Container, Codec, and Quality Settings
A container is the file structure that holds video, audio, timing, and metadata. A codec is the method used to encode the video or audio inside that structure. Changing “.MP4” to “.flv” in a filename changes neither, so it does not perform a real conversion.
The conversion tool may need to re-encode one or both streams. Stream copy preserves the encoded video and audio when the FLV container and receiving player accept those streams. If either is incompatible, re-encoding is required. Match the destination’s accepted video codec, audio presence, frame size, and frame rate instead of selecting the largest available resolution. A 4K source does not make a 4K FLV useful if the legacy player expects a smaller frame, where a 4K-to-1080p conversion may be more appropriate.
Prerequisites Before You Convert
Before you open an MP4 to FLV converter, confirm five details:
- The MP4 plays correctly, including its audio track.
- The target system’s required FLV codec, frame size, and audio format.
- Enough free storage for the new file and a temporary working copy.
- Whether the job is a one-off file or a batch queue.
- A way to test the finished FLV on the actual destination.
These checks prevent the most expensive mistake: completing a conversion that looks fine in a desktop player but fails inside the system that requested FLV.
Online vs. Desktop MP4-to-FLV Converters
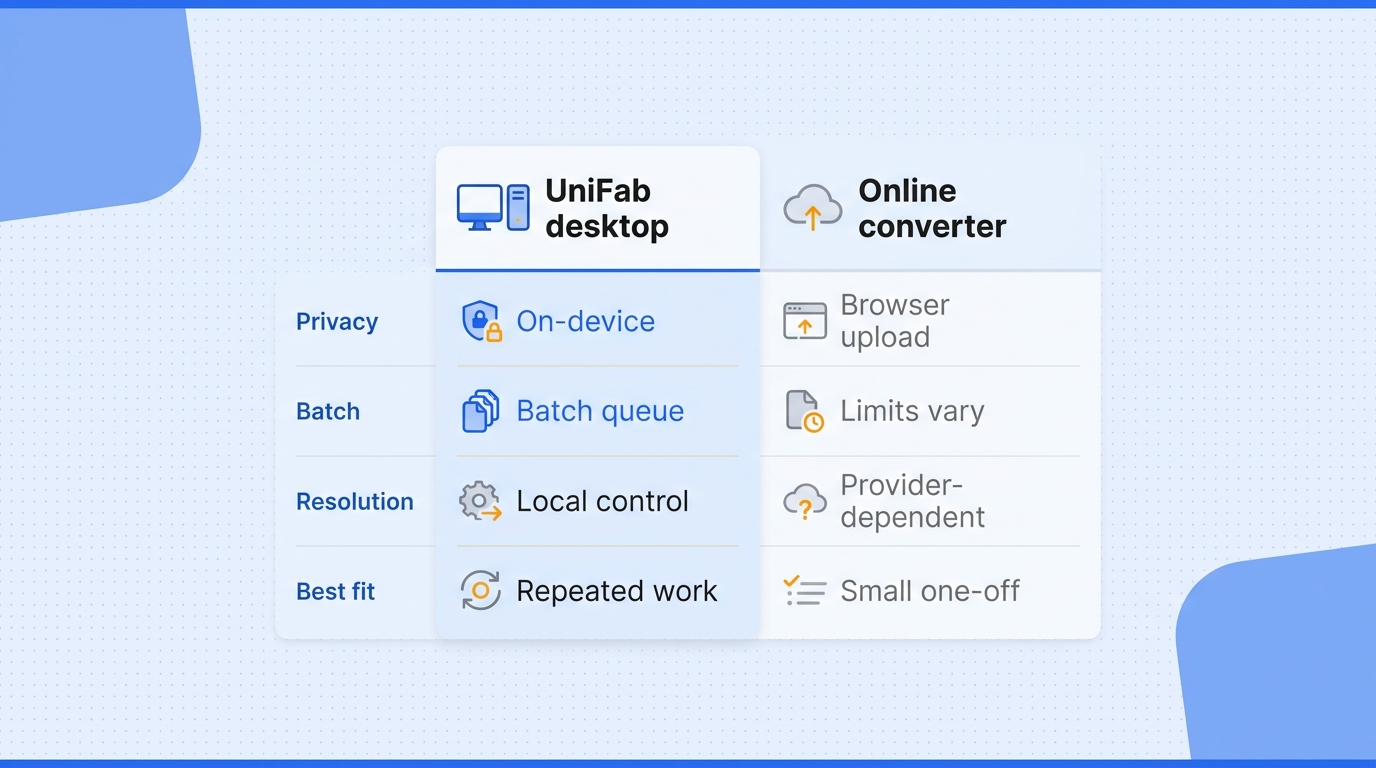
An online MP4-to-FLV converter is the quickest fit for a small, non-sensitive, one-off file. A desktop app is the better fit when local file handling, large files, batch processing, or repeatable settings matter more than installation and local storage use.
Choose Online for a Small One-Off File
Browser conversion removes the setup step. You select a file, choose FLV, wait for the service to process it, and download the result. That short path is useful when you do not need a custom preset and the source is appropriate for upload.
The tradeoff is control. Upload limits, queues, network interruptions, and provider-specific codec choices can affect the handoff. Treat the service’s privacy policy and terms as part of the tool, not as fine print after the fact.
Choose Desktop for Privacy, Batch Jobs, or 4K
Local processing keeps the source on your device and makes repeated jobs easier to reproduce. It also avoids re-uploading a large library every time a destination system asks for a different FLV profile.
Desktop does not mean “use the highest setting.” The destination still decides the useful frame size and codec. A tool that supports 4K output may be able to handle a 4K source, but that is a capability ceiling, not a recommendation for every FLV workflow.
Decision Table: Online or Local
| Factor | Online converter | UniFab desktop |
| File handling | Upload required | Installed app; local storage required |
| Batch jobs | Limits or queues may apply | Batch processing supported |
| Upload and queue | Network upload and service queue | Local file processing |
| Acceleration | Provider-controlled | Supported GPU paths; software fallback |
| Best fit | Small, non-sensitive one-off | Private, large, repeated, batch |
The practical verdict is not “online is bad” or “desktop is always better.” Use the browser route when the file is small and ordinary; move locally when upload exposure, queue time, or repeat work changes the cost of the decision.
Convert MP4 to FLV Online
The browser workflow is usually four actions: choose a reputable service, upload the MP4, select FLV with destination-aware settings, then download and test the result. The prerequisites are a playable source file, an authorized right to process it, and a destination that genuinely requires FLV.
Please note: Review the converter's terms and privacy policy before uploading. Process only material you own or are authorized to use, keep personal files for their intended lawful use, and choose a local workflow for confidential footage. Unauthorized distribution of copyrighted video is illegal, so do not use conversion to enable it.
Step 1: Select a Reputable Browser Converter
Check that the service explicitly lists FLV as an output, explains its upload limits, and exposes the settings you need. A page that accepts MP4 but silently returns another container is not an MP4 to FLV converter for this job.
Step 2: Upload the MP4 File
Open the converter and choose the MP4 from local storage. If the upload fails, check the file’s playability and size before trying repeatedly. A damaged source, a browser timeout, or a service ceiling can look like the same generic error.
Keep the original file until the FLV has passed the destination test. If the source contains private interviews, internal training, or client footage, this is the point at which a local workflow may become the more responsible choice.
Step 3: Choose FLV and Set Video and Audio Options
Select FLV as the output container, then match the destination’s requirements in this order:
- Frame size: use the target system’s supported dimensions, not automatically the source maximum.
- Video codec: choose the codec documented by the legacy player or platform.
- Audio: keep an audio stream if the destination needs sound, and select a compatible audio codec.
- Frame rate and bitrate: keep them close to the source unless the destination specifies another range.
If the service offers only a few presets, choose the one that names the destination’s compatibility profile. “High quality” is not a technical specification, and it cannot fix a codec mismatch.
Step 4: Convert, Download, and Test Playback
Start the conversion and download the FLV to a known folder. Then check the file in a desktop player and on the actual target system.
Verify the picture, audio, duration, lip sync, seeking, and any required captions. If one check fails, keep the source and adjust one setting at a time rather than converting blindly with a new preset.
Common Online Conversion Limits
Online tools can impose file-size ceilings, waiting queues, limited presets, or repeat-upload friction. Before uploading, check the file-size ceiling, queue policy, retention and deletion terms, and batch allowance. They are also dependent on the connection for both upload and download. Those limits are manageable for a one-off clip, but they become workflow overhead for a library or a recurring publishing task.
Convert MP4 to FLV Locally with UniFab
To convert MP4 to FLV locally, use UniFab Video Converter on Windows or macOS so the source stays on your device. As of September 2026, it is available at no cost and supports batch conversion and up to 4K output. UniFab Video Converter uses hardware acceleration on supported processing paths and software processing when hardware acceleration is unavailable; select a compatible output profile and continue local conversion using only the profile your destination supports.
Step 1: Add One MP4 File or a Batch
Install UniFab Video Converter, open the converter module, and add one MP4 file. For repeated work, add the files as a batch so the same destination profile can be applied across the queue.
This local path suits private footage and long-running jobs because the source remains on the device. It is less convenient when you only need to convert a single small clip on a borrowed computer.
Step 2: Select FLV and Match the Destination
Choose FLV from the output-format menu and open the profile settings. Set the frame size, video codec, audio codec, frame rate, and bitrate to the requirements of the receiving platform or player.
For an older receiver, a conservative profile is often more useful than the largest available frame because successful playback is the acceptance test.
Step 3: Review Output and Start Local Conversion
Review the destination folder and audio setting before starting; Video Converter lists no watermark.
Step 4: Check the FLV File on the Target System
Open the finished FLV in a desktop player, then place it in the destination workflow. Check video, audio, sync, duration, seeking, and any platform-specific metadata before clearing the MP4 source. Compare the audio in both playback environments because a track may work in one player but not in the receiving system.
That final check keeps the online and local methods comparable. Conversion is complete only when the receiving system accepts the file, not when the progress bar reaches 100 percent.
MP4-to-FLV Conversion FAQ
These questions cover compatibility problems that remain after the basic online and local workflows. The short answers keep the focus on playback, real conversion, and choosing the right tool for the destination.
Can VLC Play Both MP4 and FLV Files?
Yes. VLC can generally open both containers, so it is useful for a first playback check. That does not mean VLC creates the FLV profile required by another platform; use a converter when the destination needs a specific container or codec.
Can Adobe Media Encoder Still Export FLV?
Do not assume an older Adobe Media Encoder workflow still exposes the same FLV export path. A November 2016 Adobe Community discussion describes FLV encoding as having been removed. If FLV is required, look for it in the installed application’s Export Format menu or use the local conversion route described above when it is absent.
Why Doesn’t Renaming .MP4 to .flv Convert the File?
Renaming changes the extension only. It does not rewrite the container, video stream, audio stream, or metadata, so a player may reject the file or report misleading information. A real conversion must parse the MP4 and write a new FLV structure.
Why Is My Converted FLV Silent or Out of Sync?
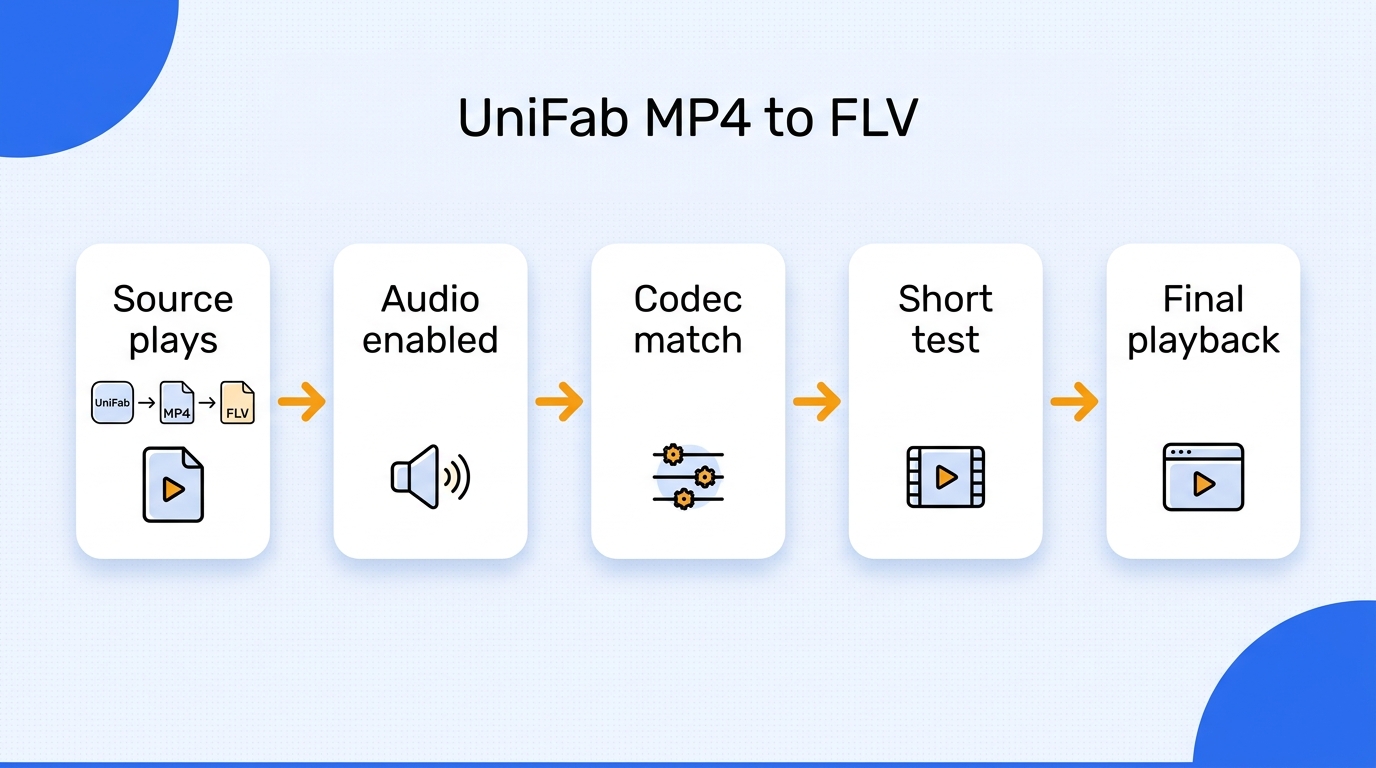
Work through this order:
- Play the original MP4 and confirm that audio is present and synchronized.
- Reopen the output settings and confirm that an audio stream is enabled.
- Match the destination’s supported audio codec and frame rate.
- Convert a short test segment, then check sync before processing the full file.
If the short segment works but the full file does not, review the source for variable frame rate or damaged sections. When audio plays in one player only, inspect the output audio track and match its codec to the destination. When sync drifts, compare the source and output timing and re-encode a short segment with destination-compatible frame-rate settings.
Can FFmpeg Convert MP4 to FLV?
Yes, FFmpeg can convert between containers when the command specifies compatible video and audio settings. Inspect the source video and audio codecs, then select output codecs accepted by the destination before choosing stream copy or re-encoding. It suits advanced users who want repeatable scripts or batch automation. A graphical converter is usually easier when you need to inspect profiles, queue files, and adjust settings without memorizing command options.
Bottom Line
Choose an online MP4 to FLV converter for a small, non-sensitive, one-off file. Choose local conversion with UniFab when privacy, batch work, large files, or repeatable settings matter. In both cases, the destination system’s playback test outranks the source file’s resolution or the converter’s marketing label.