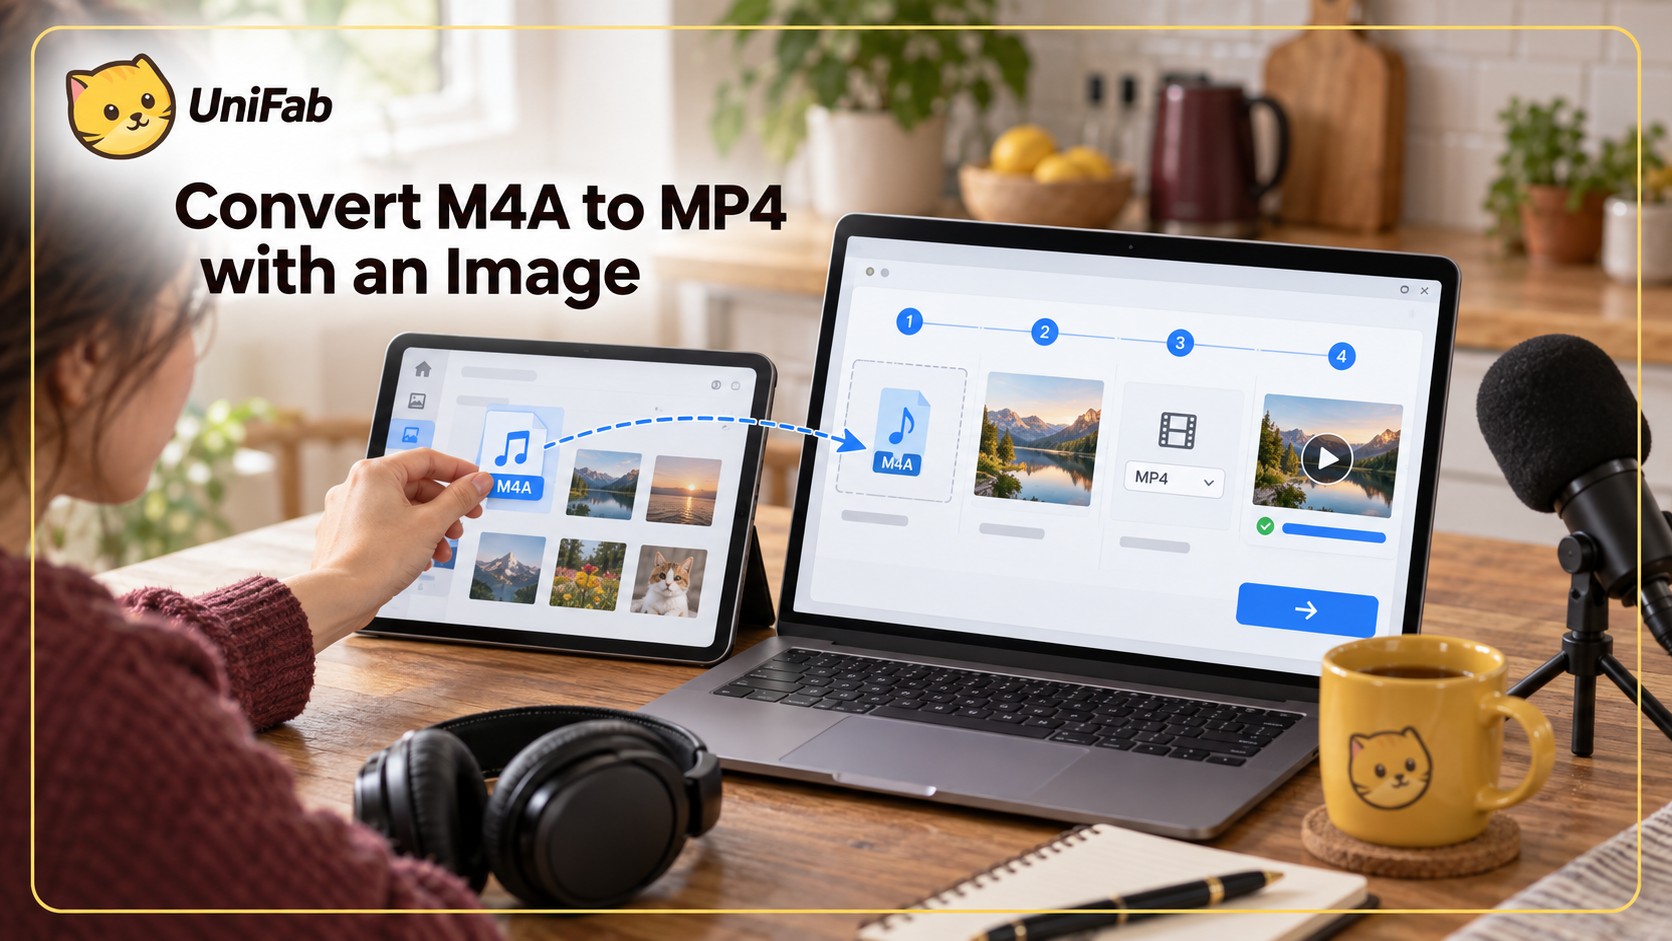
M4A to MP4 in 4 Steps: Add an Image summarizes the video-upload route: pair the M4A audio with a timed image track, export MP4, and verify both streams. If the destination accepts audio-only MP4, use compatible stream copying instead.
M4A and MP4 share the MPEG-4 family name, but they serve different jobs. MP4 can contain audio without a video track, so the correct workflow depends on the destination. Stream copying can place compatible encoded audio in an MP4 without re-encoding; adding a still image creates frames for destinations that require video. The workflow below explains both output choices, then focuses on creating an image-backed video through a quick browser route or a private, repeatable desktop route.
How to Convert M4A to MP4 in Four Steps
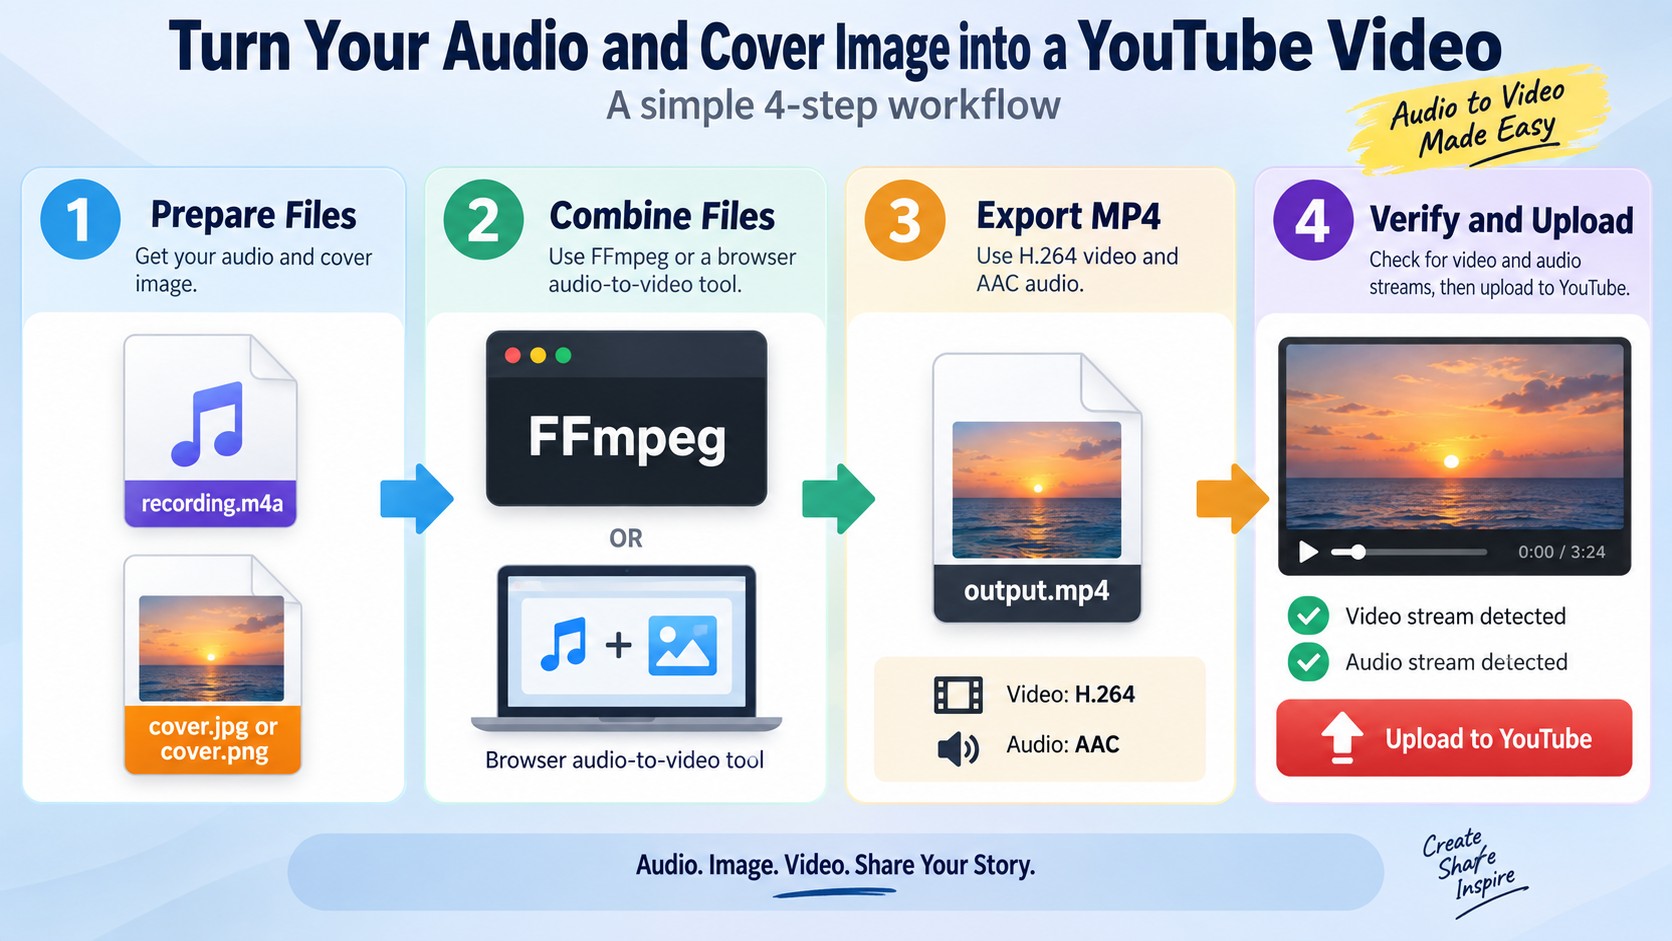
To convert M4A to video for an upload, combine the audio with a still image or video background, then export a new MP4 with compatible video and audio streams. The simplest route is a browser audio-to-video tool for one non-sensitive file, while FFmpeg provides a repeatable local workflow for private or repeated work.
Work through these four actions in order:
- Prepare the M4A audio and a still image or video background.
- Add both files to a browser tool or the same local FFmpeg working folder.
- Select MP4 with compatible video and audio codecs.
- Export the file, play it, and test the intended upload.
Use note: Process only recordings or media you own or are authorized to edit, and follow the selected service's terms.
Before You Start: Choose the Visual and Conversion Route
First decide what the destination requires. A container-only MP4 keeps audio-only playback and can use stream copying when the encoded audio is compatible. An image-backed MP4 supplies the timed frames required by video upload destinations. For the local route, prepare FFmpeg with libx264 support, the M4A recording, and a JPG or PNG image. Choose a browser service for an occasional, non-sensitive file. Choose local processing when the recording is private, the upload is large, or the job will be repeated.
The visual is not optional when the destination requires video. A linked r/shutterencoder thread describes the same remuxing problem. The poster writes: "I'm just trying to remux the audio to video file so I can upload it to my YouTube channel. Any advice please? Thank you." Remuxing can move existing streams into another container, but it cannot invent the missing video stream.
Step 1: Add the M4A File and a Visual
For the local FFmpeg route, place the M4A file and the JPG or PNG in the same folder, then open a terminal in that folder. Use quoted filenames such as "recording.m4a" and "cover.jpg" so spaces do not break the command. For a browser workflow, upload the same two files to the selected audio-to-video tool. Add a still image, waveform, solid background, or existing clip as the visual layer. A cover image embedded inside an M4A file is metadata; the converter must turn that image into frames that last for the full audio track.
For a simple upload, keep the visual static and avoid transitions that add processing without helping the listener. For a podcast or music post, add a title and creator credit inside the frame rather than relying on the filename to explain the content.
Step 2: Select MP4 and Compatible Codecs
Choose MP4 as the output container. For broad device and upload support, H.264 video with AAC audio is a practical combination. M4A commonly contains AAC or ALAC audio, so inspect the source codec if the tool shows it. In FFmpeg, -c:v libx264 selects H.264 video, while -c:a aac -b:a 192k creates AAC audio at an example output bitrate.
If the source already uses AAC and the destination supports that stream, replace -c:a aac -b:a 192k with -c:a copy to preserve the encoded audio without encoding it again. Do not use audio copying for an incompatible source codec such as ALAC when the destination requires AAC. If passthrough is unavailable, keep the new audio setting close to the source rather than raising the bitrate and expecting added detail; 192 kbps is an output setting, not a way to recover lost quality.
Step 3: Set Resolution, Bitrate, and Duration
Match the visual resolution to the destination and intended screen size. A static image does not gain useful detail from an excessive video bitrate, but an unnecessarily large setting can make the MP4 slower to create and upload.
Run this command in the folder containing cover.jpg and recording.m4a. It loops the image, creates H.264 video with AAC audio, and stops the output when the shorter stream ends:
ffmpeg -loop 1 -framerate 30 -i "cover.jpg" -i "recording.m4a" -map 0:v:0 -map 1:a:0 -vf "scale=trunc(iw/2)*2:trunc(ih/2)*2" -c:v libx264 -tune stillimage -pix_fmt yuv420p -c:a aac -b:a 192k -shortest "output.mp4"Make the visual track exactly as long as the audio. Confirm that the project starts at the beginning of the M4A and does not leave silence or a frozen tail after the recording ends. For speech, prioritize clear audio over decorative motion; for music, use artwork that remains readable on a phone screen.
Step 4: Export and Verify the MP4
Export the project, then check the result before deleting or moving the M4A source:
- Play the beginning, middle, and end.
- Confirm that picture and sound start together.
- Check that the total duration matches the source.
- If there is an unexpected silent tail, check the source for silence and align the visual end with the audio.
- Open the file properties and confirm both video and audio streams.
- If an upload has sound but no picture, confirm that the MP4 contains an actual video stream.
- If the image looks stretched, preserve its aspect ratio and add padding instead of forcing it to fill the frame.
- Upload a copy to the intended destination and check acceptance.
For a video upload, the decisive check is not whether the filename ends in .mp4. It is whether the container holds a valid video stream alongside the audio and whether the destination can decode both.
When a Desktop M4A to MP4 Converter Makes More Sense
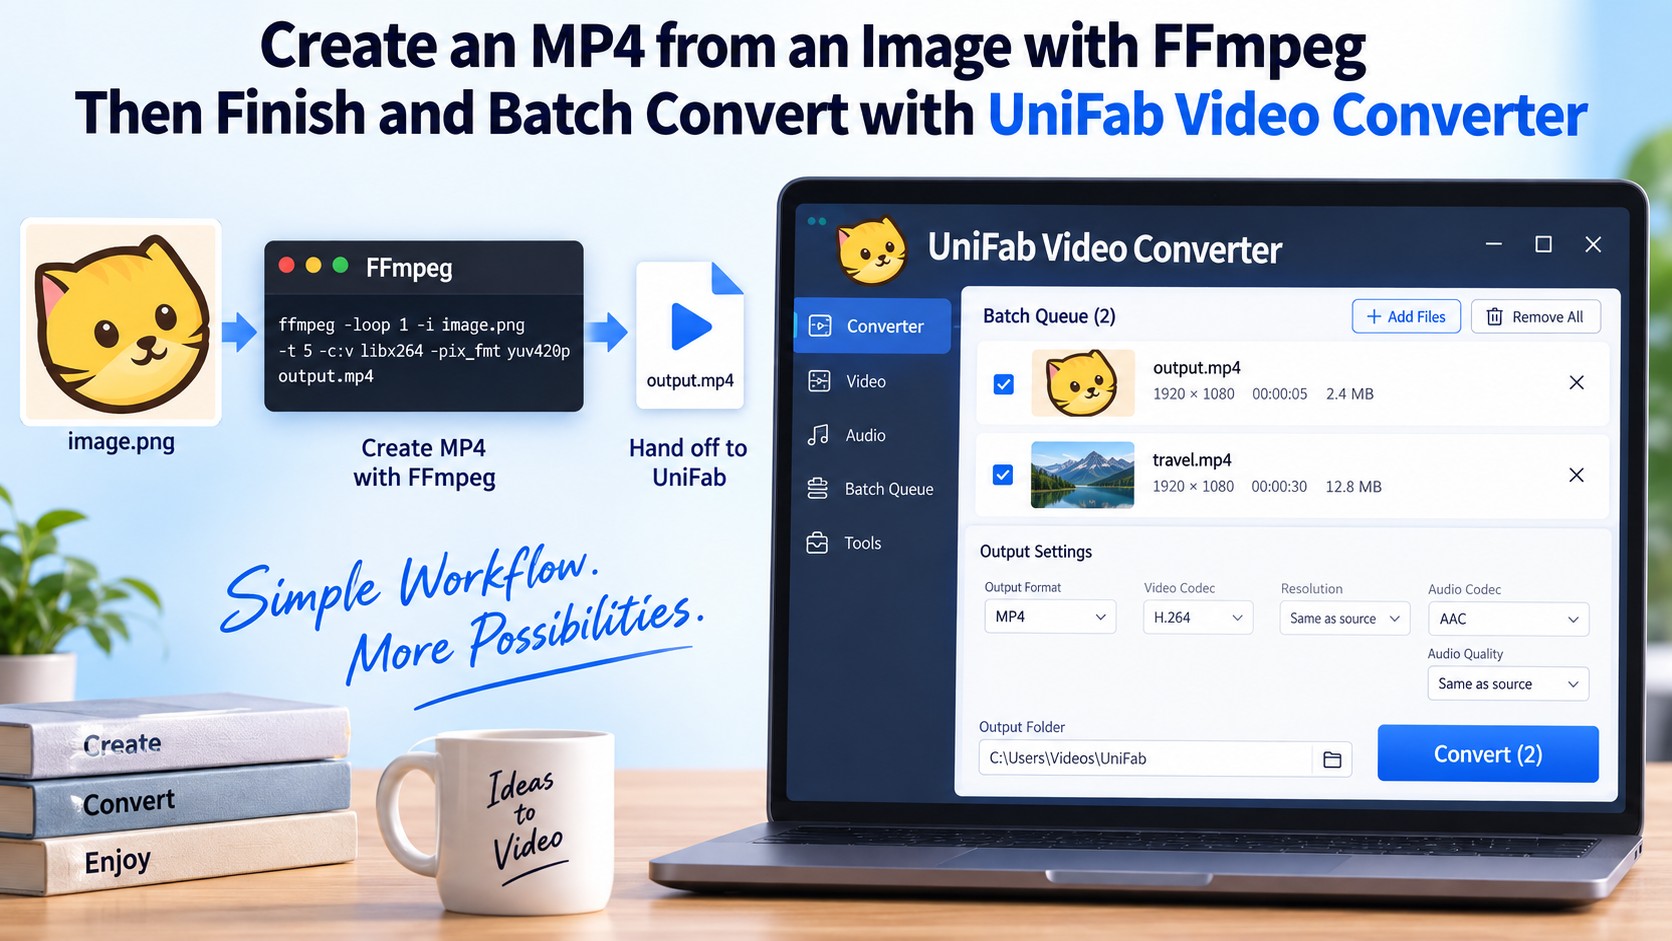
For sensitive or repeated work, keep media local. Use a browser tool for one non-sensitive file; for a repeatable local workflow, create the image-backed MP4 with FFmpeg, then use a desktop converter for supported-video format changes, batch work, or finishing.
Choose Local Processing for Privacy and Batch Work
A linked r/software thread asks for one-click YouTube conversion. The practical split is sensitivity and repetition. A browser workflow uploads the source files, while FFmpeg can create the image-backed MP4 locally. In Windows 11 PowerShell, use .\ffmpeg.exe when the executable is in the current folder but not on PATH; in macOS Terminal, use ffmpeg after installation.
Online vs. Local M4A-to-MP4 Workflows
| Workflow | File handling | Starting input | Result |
| Browser audio-to-video | Remote upload | M4A and image | Video MP4 |
| Local audio-plus-image | Local processing | M4A and image | Video MP4 |
| UniFab video finishing | Local processing | Created and supported video | Converted or edited video |
Use UniFab Video Converter on Windows or Mac
UniFab Video Converter runs locally on Windows and Mac and supports video conversion, batch processing, and built-in editing. After FFmpeg creates the image-backed MP4, open the supported video in UniFab Video Converter for local finishing. Its supported-video conversion is permanently free and exports without a watermark.
FAQ About Changing M4A to MP4
Choose the output by destination: an audio-only MP4 can carry audio without video, while a video upload needs a real video track, such as a timed image.
Can I Rename an M4A File to MP4?
Answer: Renaming alone does not convert the file. Changing recording.m4a to recording.mp4 alters the label, not the container contents or encoded streams. Some players may still recognize the audio by inspecting the file, but a video platform can reject it because there is no video stream. If your destination requires video, create a new MP4 with a still image or video background instead.
How Do I Make an MP4 With a Static Image?
Answer: Add the M4A and a JPG or PNG to an audio-to-video editor, extend the image to the end of the audio, and export MP4. A waveform or title card is optional. The important part is that the image becomes a timed video track rather than remaining embedded cover art inside the audio file.
Will Converting M4A to MP4 Reduce Audio Quality?
Answer: The MP4 container does not reduce quality by itself. Quality can change when the tool re-encodes the audio. Copying an existing AAC stream avoids another lossy encode; re-encoding either ALAC or AAC creates a new encoded copy. Keep the audio codec and bitrate close to the source unless the destination requires another setting. I would preserve an existing AAC stream rather than re-encode it at a higher advertised bitrate, because a higher number cannot recover detail already removed by lossy encoding.
Can I Convert M4A to MP4 on an iPhone?
Answer: Yes, with a mobile editor or browser service that can combine audio with an image and export MP4; if the destination accepts audio instead, converting M4A to MP3 may be the more direct route. For private recordings or several files, moving them to a computer may be easier. A linked r/applehelp thread shows that phone-to-Mac workflow: "I'm trying to convert a voice memo recorded in .m4a on my iPhone to either .MP3 or .MP4. The voice memo was created on phone; I air-dropped it to my Mac and am trying to convert it there."
Is It Legal to Convert an M4A File to MP4?
Answer: Converting a recording you created or a file you are authorized to edit is generally a normal format-change task. Do not use conversion to publish or redistribute material without permission; unauthorized distribution can be illegal. A browser service may also impose its own terms for uploaded files, so use media you can lawfully process and share.
Match the output to the destination, and keep the original M4A until the finished file passes both playback and upload checks.