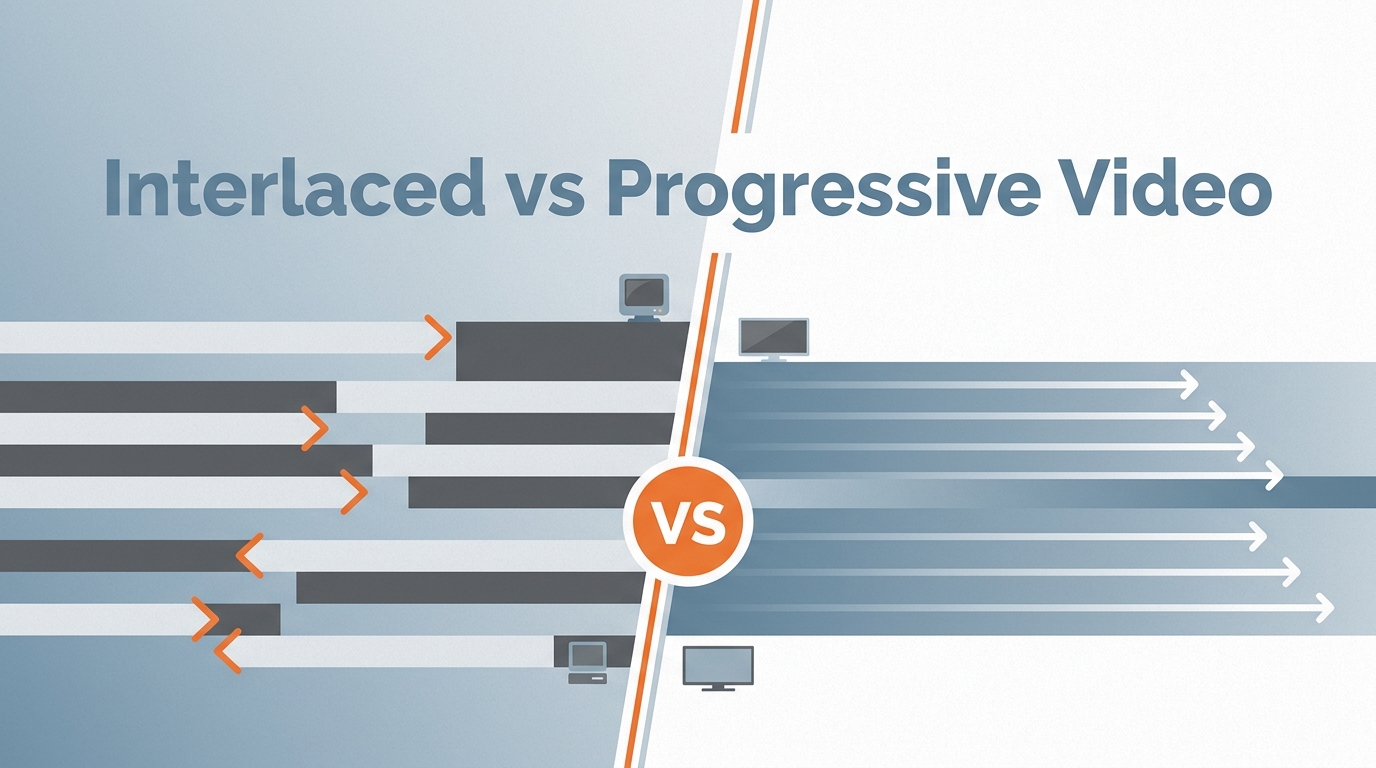
The short answer
Quick answer: interlaced vs progressive video should be chosen or configured by matching the source, viewing device or platform, quality target, privacy needs, and export limits. Test a representative clip, compare the result at full size, and avoid settings that add artifacts or unnecessary recompression. The latest GSC comparison shows that the optimization priority is clicks and impressions softened while weighted average position moved down, so the page needs stronger query coverage and snippet relevance.
Interlaced video sends two half-frames (fields) per moment; progressive sends one whole frame. That timing gap is why you see comb-teeth on moving objects when a 480i DVD or a 1080i broadcast lands on a modern 4K panel. For interlaced vs progressive video, verify this point on the actual source before processing the complete file.
The "i" versus "p" in resolution labels still matters in 2026. Interlacing should be dead by now, but archives, live sports feeds, and DVD libraries keep it alive as a working problem, not a museum piece. For interlaced vs progressive video, verify this point on the actual source before processing the complete file.
The rest of this article walks through the differences that actually matter: how fields build motion, where combing shows up, how field rate relates to frame rate, how to detect an unknown file's scan type, and how to decide between deinterlacing and inverse telecine before you convert anything. For interlaced vs progressive video, verify this point on the actual source before processing the complete file.
Interlaced and Progressive Scanning Explained
Interlaced Fields Build Motion Over Time
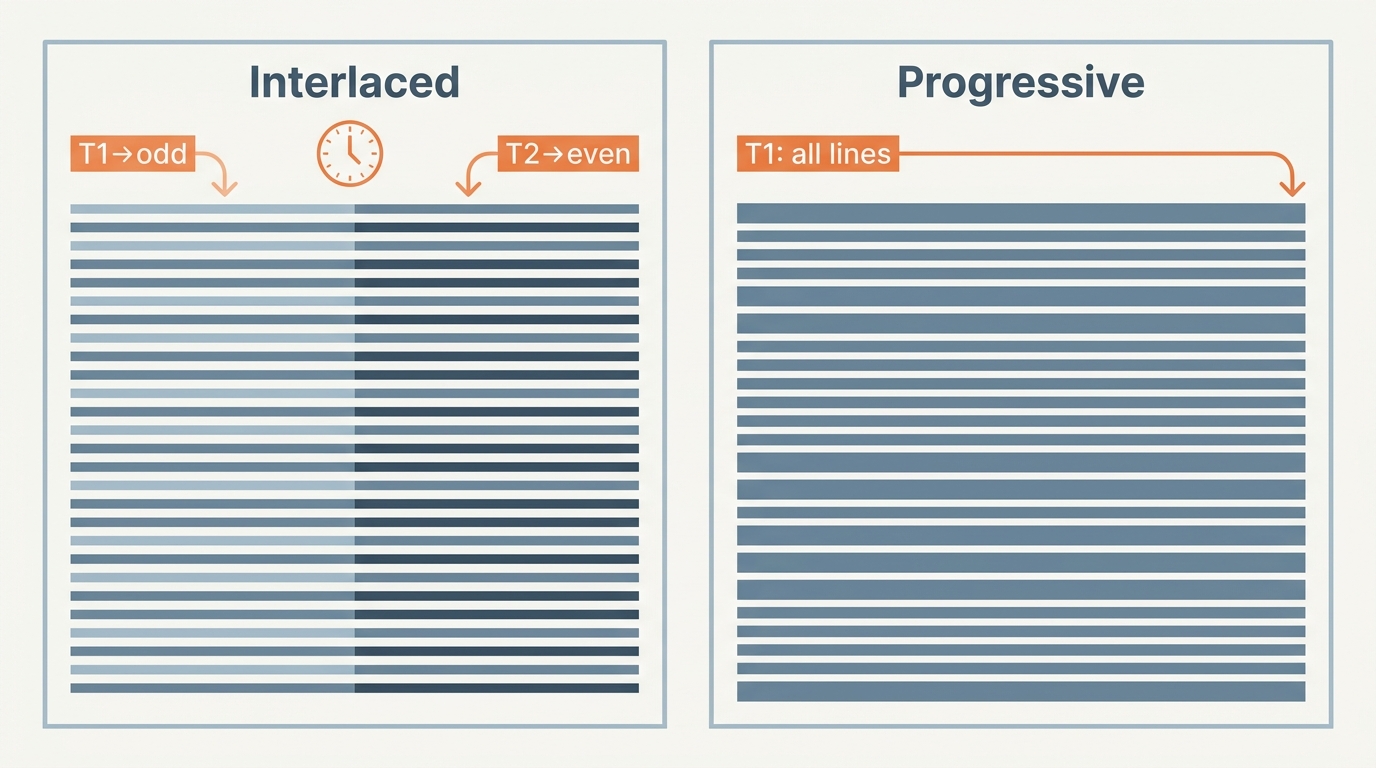
Interlacing was designed for CRT televisions. To reduce flicker and conserve broadcast bandwidth, each frame is split into two fields drawn alternately: the odd-numbered lines first, then the even-numbered lines. NTSC displays refresh at roughly 60 fields per second, PAL at 50. Your eye fuses the two half-frames into the perception of full-resolution motion, effectively doubling the perceived temporal rate without doubling the bandwidth. For interlaced vs progressive video, verify this point on the actual source before processing the complete file.
The important consequence: no full frame ever physically exists at a single instant. Each "frame" is stitched from two slightly offset moments, and that timing offset is the root cause of every interlacing artifact you'll meet later in this article. In my experience diagnosing bad conversions, a paused frame will often look fine while the moving shot two seconds later falls apart — motion is what exposes the scan type, not stills. For interlaced vs progressive video, verify this point on the actual source before processing the complete file.
Progressive Frames Draw the Whole Picture
Progressive scanning draws every line of a frame from top to bottom in a single pass, so each frame is a complete image captured at one moment. The lowercase "p" in 720p, 1080p, 2160p (4K), and 4320p (8K) signals this. Modern LCD, OLED, and QLED panels are fixed pixel grids that fundamentally want whole frames, which is why progressive delivery is generally preferred for streaming, gaming, Blu-ray, and 4K/8K workflows. For interlaced vs progressive video, verify this point on the actual source before processing the complete file.
Important container caveat: MP4, MKV, and other modern containers can carry correctly flagged interlaced video. Progressive is the delivery convention for the modern web, mobile, and streaming, but the file extension alone doesn't tell you what's inside.
Where Interlacing Artifacts Appear
Combing, Flicker, and Motion Problems
Because the two fields are captured at different moments, fast motion produces comb-like horizontal teeth: a sports player's hand or a moving car breaks into ragged horizontal slices instead of a clean Edge. Fine horizontal patterns can also shimmer or "twitter" as the alternating field draws, and on large CRTs this produced a faint full-screen flicker because only half the lines refreshed in any given field. On a modern progressive panel, combing is the giveaway — the TV either de-combs in hardware or displays the raw signal as it arrives, and the result varies widely between sets.
Legacy Sources Still Using Interlacing
Interlaced sources you still meet in 2026:
- Standard-definition DVDs — most are 480i (NTSC) or 576i (PAL)
- Live sports and news broadcasts — several networks still transmit 1080i
- Older HDV, Mini DV, Hi8, and VHS camcorders — pre-2010 home video archives
- Some Blu-ray titles — especially TV-series box sets and concert releases
- Security and CCTV systems — older analog DVRs commonly recorded interlaced 480i
Interlaced vs Progressive at a Glance
| Dimension | Progressive Video | Interlaced Video |
| Picture construction | One complete frame per pass | Two half-frames (fields) drawn alternately |
| Temporal sampling | All lines captured at the same moment | Odd and even lines captured at different moments |
| Motion artifacts | None from scanning itself | Combing on fast motion; possible line twitter |
| Field / frame notation | Frames per second (24p, 30p, 60p) | Fields per second — 1080i60 means 60 fields (~30 full frames) per second |
| Bandwidth context | Higher raw bandwidth; efficient with modern codecs | Half the raw lines per pass — a bandwidth trick built for analog broadcast |
| Modern display behavior | Native to LCD / OLED / QLED grids | Panel or player must deinterlace before display |
| Typical sources | Streaming, Blu-ray, HDTV, gaming, 4K/8K | DVDs, 1080i broadcast, older camcorders |
| Preferred delivery use | Web, mobile, streaming, modern displays | Legacy broadcast pipes and archival originals |
What the table adds up to: progressive is usually the cleaner delivery choice for anything that will be watched on a modern screen, but interlaced sources are not a mistake to "fix" blindly — they need source-aware handling, which is where field rate, detection, and the deinterlace-versus-detelecine choice come in below. For the specific 1080i-versus-1080p comparison at the same 1920×1080 resolution, see our companion breakdown of 1080i vs 1080p.
Field Rate, Frame Rate, and Refresh Rate
Reading 29.97i, 59.94 Fields, and 60Hz
The numbers on video files trip up everyone at some point, so it helps to keep three ideas separate:
- Frame rate is how many complete images per second a progressive source captures — 24p, 30p, 60p.
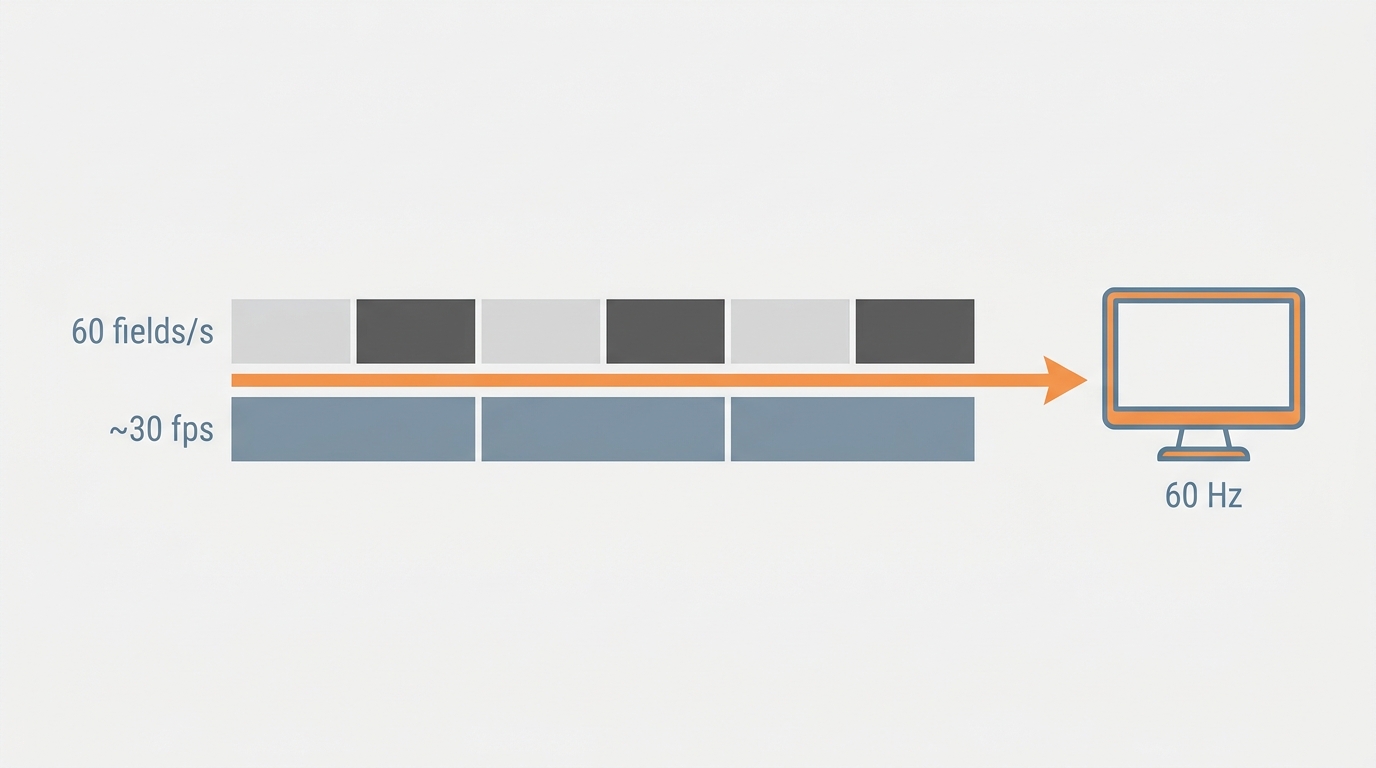
- Field rate is how many half-frames per second an interlaced source captures. 1080i60 delivers 60 fields per second, which pair up into roughly 29.97 full frames per second.
- Display refresh rate (60Hz, 120Hz, 144Hz) is how often the panel redraws itself. It is related to but not the same as the source's temporal rate.
So 29.97 by itself is ambiguous — it could be 29.97p (progressive) or the frame count derived from 59.94 fields per second (interlaced). And a 60Hz panel doesn't magically "play" 60 fields as-is; it has to reconstruct them into 60 progressive refreshes, which is deinterlacing under a different name.
Why 1080i and 1080p Differ
Both carry 1920×1080 vertical resolution, but 1080i splits each frame into two temporally offset fields while 1080p sends every line of every frame in one pass. That difference is why 1080i motion can look ragged on a modern TV before deinterlacing, and why 1080p is the safer choice for gaming, action, and any 4K-ready workflow.
Detect the Scan Type Before Converting
Check Motion, Metadata, and Field Analysis
The single most common failure mode I see is applying one filter to a whole file without checking what's actually in it. Three steps I run before touching any converter:
- Watch motion, not stills. Scrub through a fast pan or a moving subject. If you see comb-teeth appear only during motion, you're looking at true interlacing.
- Read the metadata. Tools like MediaInfo will report a scan type of Interlaced, Progressive, or MBAFF — but the flag can be missing or wrong, so treat it as a hint, not a verdict.
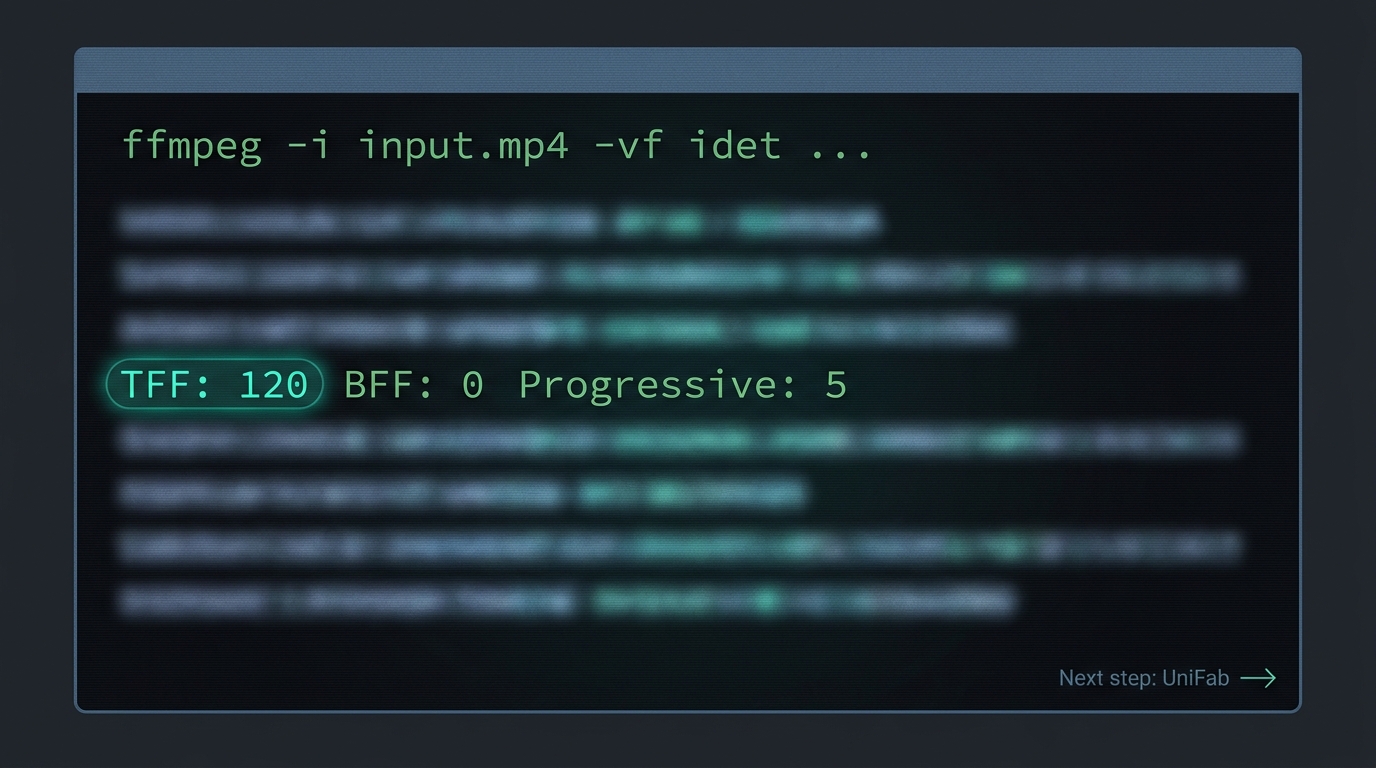
- Run a field analysis. FFmpeg's
idetfilter samples frames and reports how many look interlaced, progressive, top-field-first, or bottom-field-first. On mixed sources, the counts are what actually tell you whether cadence is uniform.
MP4 Does Not Define Scan Type
A stubborn misconception: ".MP4 means progressive." MP4 is a container; it can carry correctly flagged interlaced H.264 or HEVC just fine. The extension only tells you the wrapper, not how the pixels inside were sampled. Always diagnose the stream, not the filename.
Choose Deinterlacing or Inverse Telecine
True Interlacing Needs Deinterlacing
If idet reports a consistent interlaced pattern and motion shows combing, the video was captured with interlaced scanning and needs to be deinterlaced — the two fields are merged or rebuilt into complete frames so playback is clean on any progressive display. Classic algorithms include Bob, Weave, Yadif, BWDIF, and motion-compensated methods; modern AI/CNN approaches try to reconstruct edges more cleanly, and our companion piece on AI deinterlacing methods covers how those models differ.
Telecined and Mixed Cadence Need Care
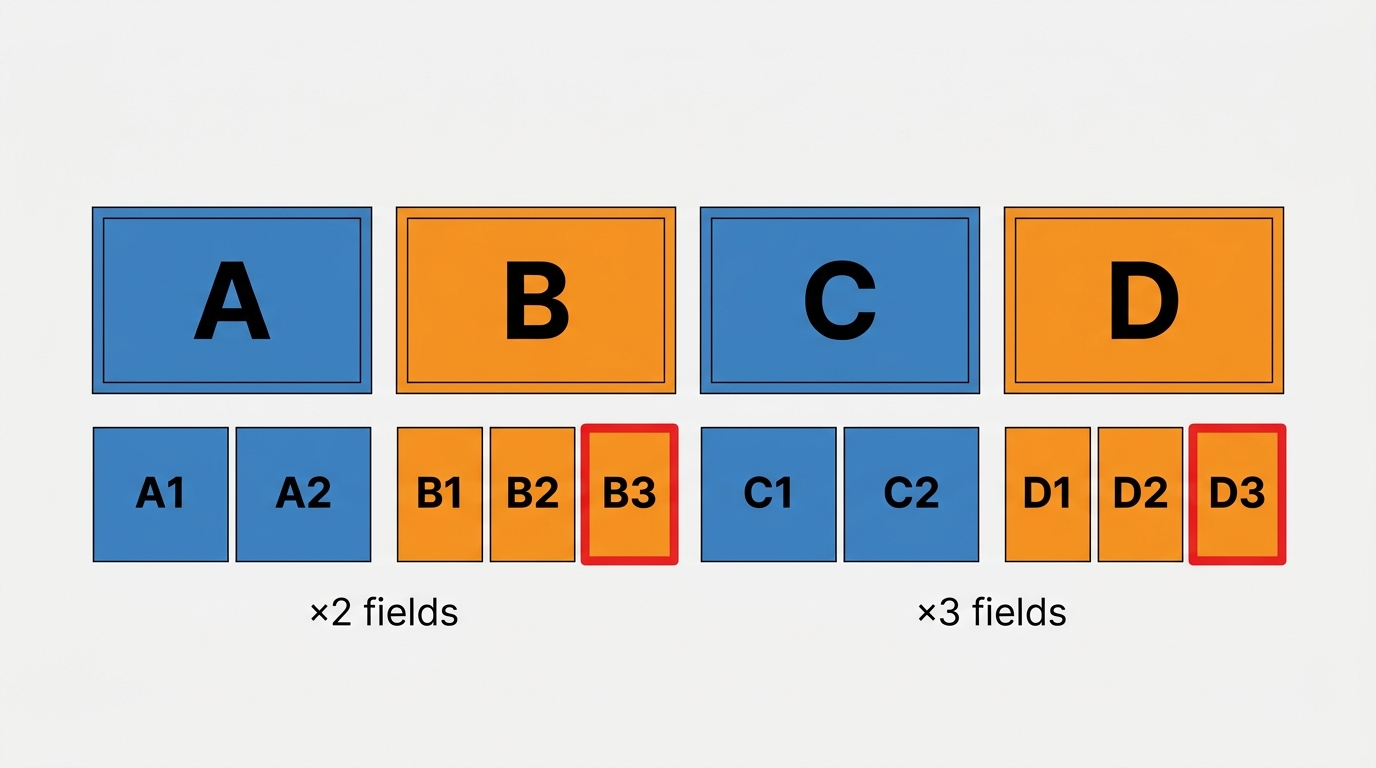
Not every "interlaced" file is truly interlaced. Film shot at 24 frames per second is often telecined into a 60i broadcast or DVD stream using a 3:2 pulldown pattern, which spreads four film frames across five interlaced frames (ten fields). Deinterlacing that footage instead of reversing the telecine (inverse telecine, or IVTC) will visibly soften and judder the picture — the fields aren't temporally offset, they're artificially interleaved and want to be rebuilt back into 24p.
The nastier case is mixed cadence: a broadcast master that switches between telecined film, true 60i video segments (ads, live inserts), and occasional glitches. There is no single filter that handles all three correctly. In practice, the fix is diagnosing segment-by-segment, testing a short motion-heavy sample first, and using adaptive handling. Blindly running one deinterlacer over the whole timeline is, in my experience, the most common failure mode people bring to a forum.
Convert Interlaced Footage with UniFab
When UniFab Fits the Job
UniFab Deinterlace AI is a local Windows and Mac tool built for the case you've just diagnosed as true interlaced content — 480i DVD rips, 1080i broadcast captures, or camcorder tape transfers that need to become clean progressive files. It processes on your own machine (no upload), and it will batch a folder of files, which matters when you're restoring an archive rather than a single clip.
Where it isn't the right first move: telecined film-on-DVD that should be handled with inverse telecine, and mixed-cadence broadcast masters that need per-segment diagnosis. Run those through a detection pass first; UniFab is for the true-interlaced portion, not a universal fix. Also worth knowing: the deinterlacer outputs MP4 or MKV with H.264 / H.265, which suits most modern delivery targets but is a narrower range than a general-purpose transcoder.
A Three-Step Conversion Workflow
Deinterlace videos with AI
- remove motion blur, fix flickering, edge blur.
- effective solution for all deinterlaced video needs.
UniFab Deinterlace AI
Deinterlace videos with AI
- remove motion blur, fix flickering, edge blur.
- effective solution for all deinterlaced video needs.
UniFab Deinterlace AI for Mac
Step 1: Open UniFab and select the Deinterlacer module.
Step 2: Import the file you've already confirmed is truly interlaced and choose the Deinterlace option. If the file turned out to be telecined or mixed, stop here and go back to the diagnosis step above — running deinterlacing on the wrong source is where most bad conversions come from.
Step 3: Click Start and save the output when it finishes. Test a short motion-heavy segment before committing a batch job — that's the cheapest way to catch a cadence problem you missed.
Progressive Delivery Fits Most Modern Screens
When Conversion Helps and When It Does Not
| Source you have | Diagnostic clue | Right treatment |
| DVD movie | idet shows the 3:2 pulldown pattern; motion looks judder-plus-comb | Inverse telecine back to 24p; deinterlace only the true-video segments |
| Home video from Mini DV, Hi8, VHS | Consistent combing on motion throughout | Deinterlace, then optionally upscale — resolution won't return, only cleanliness will |
| 1080i live sports capture | Uniform interlaced flag, no cadence pattern | Motion-adaptive deinterlacing (Yadif, BWDIF, or AI) |
| Broadcast master with ads and live inserts | idet counts flip between interlaced and progressive over time | Segment-level diagnosis; adaptive or per-segment handling |
| Analog DVR / CCTV footage | 480i with visible combing plus noise | Deinterlace first, then denoise; upscale is optional |
| Retro capture (game consoles, camcorders) | Resolution switches mid-stream, sometimes with CRT routing | Specialized capture tools; a general deinterlacer is rarely the right entry point |
My rule of thumb after running enough of these: diagnose the source, deinterlace only when the source is genuinely interlaced, reverse the telecine when it isn't, and don't expect any conversion to add resolution or detail that was never captured. If a file needs both a cadence fix and cleanup, do them as separate passes so you can see what each step is actually doing.
Frequently Asked Questions
What is the best way to use interlaced vs progressive video?
Start with the source quality, target platform, privacy requirement, and final export settings. For interlaced vs progressive video, use a short representative clip first, compare the result at 100% view, and keep the original file so you can revise the workflow without generation loss. This also applies to interlaced vs progressive.
Is interlaced vs progressive video free?
Some interlaced vs progressive video workflows are free, while others limit file size, duration, resolution, credits, watermarks, or export formats. Verify the current plan on the provider's official page because free allowances can change. This also applies to progressive scan.
Does interlaced vs progressive video reduce quality?
interlaced vs progressive video can reduce quality when it adds unnecessary recompression, aggressive enhancement, or incorrect output settings. Match resolution, frame rate, codec, and bitrate to the source and delivery platform, then inspect motion, edges, audio sync, and fine detail. This also applies to interlaced video.
Which formats or devices support interlaced vs progressive video?
Support depends on the chosen application and workflow. Check operating system, input and output formats, hardware acceleration, browser upload limits, and whether the destination platform accepts the selected settings before processing a full project. This also applies to interlaced vs progressive.
How long does interlaced vs progressive video take?
Processing time varies with duration, resolution, codec, AI model, hardware, and export settings. A short test provides the most reliable estimate; online tools also add upload and download time, while local tools depend more heavily on CPU and GPU performance. This also applies to progressive scan.
Can beginners use interlaced vs progressive video?
Yes. Beginners can use interlaced vs progressive video by following a conservative workflow: duplicate the source, choose an appropriate preset, process a short sample, compare before and after, and only then export the complete file. This also applies to interlaced video.
What should I check before choosing a tool for interlaced vs progressive video?
Compare source fit, output quality, privacy, platform support, batch capability, watermark policy, free limits, price, and control. Do not choose a interlaced vs progressive video tool only because it advertises the highest resolution, frame rate, or AI label. This also applies to interlaced vs progressive.
Is desktop or online processing better for interlaced vs progressive video?
Online processing is convenient for short, non-sensitive files, but it can impose upload, retention, watermark, credit, and resolution limits. Desktop processing is usually better for private, long, high-resolution, or batch interlaced vs progressive video work. This also applies to progressive scan.
What are the main limitations of interlaced vs progressive video?
The main limits are source quality, missing detail, motion artifacts, incompatible formats, hardware demand, upload constraints, and generation loss. interlaced vs progressive video cannot always reconstruct information that was never captured, so results should be described realistically. This also applies to interlaced video.
How does interlaced vs progressive video compare with manual editing?
Automated interlaced vs progressive video is faster and easier to repeat, while manual editing gives more local control and may avoid overprocessing. A practical workflow uses automation for the first pass and manual review for difficult scenes, transitions, faces, text, and audio sync. This also applies to interlaced vs progressive.