Why Do Videos Look Shaky?
If a clip you already recorded looks shaky, stabilize a video with post-production software: import the clip, apply stabilization, preview the result, and export. Method 6 covers this workflow, including AI video stabilization; capture techniques help prevent shake next time.
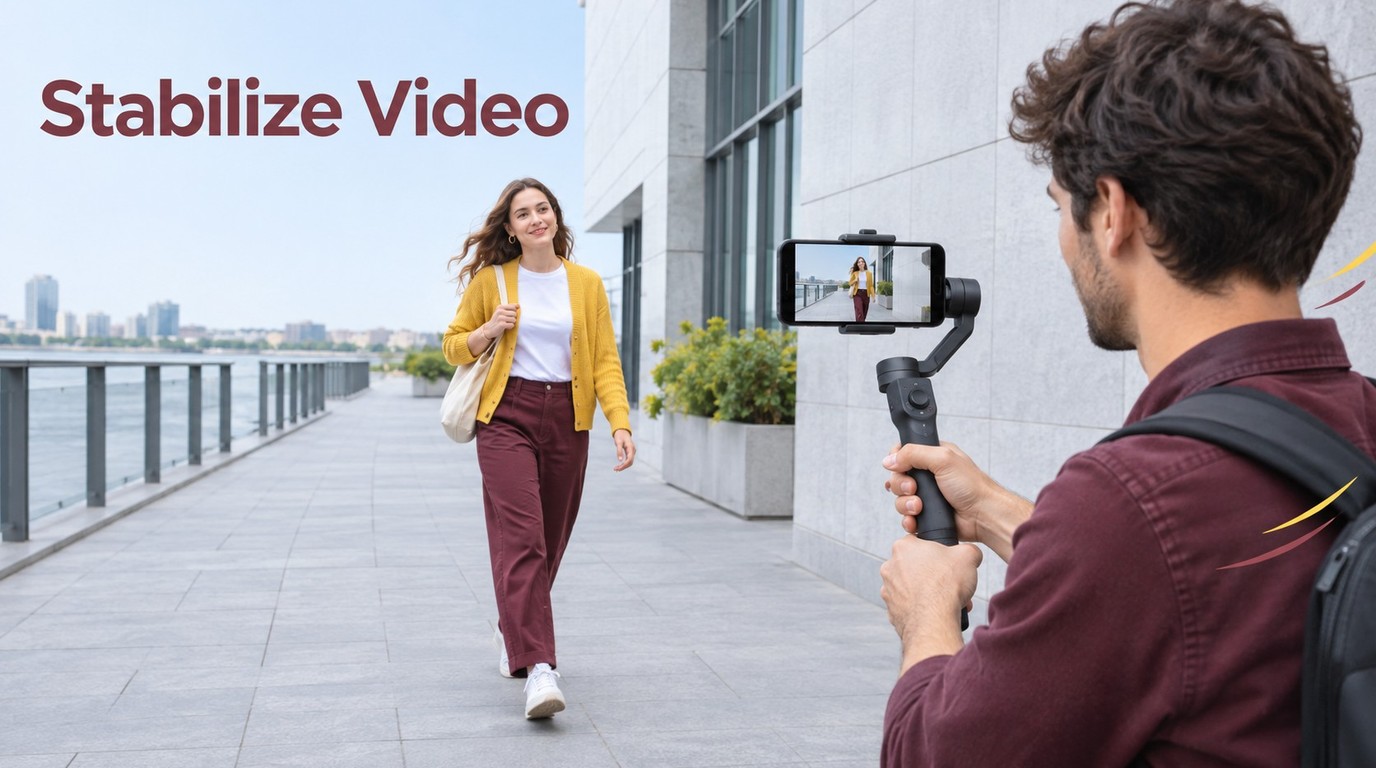
- Handheld shooting — Small, lightweight devices like smartphones and compact cameras amplify every hand movement into visible shake.
- Walking or running — Body motion creates vertical bounce and horizontal sway that transfers directly to the camera.
- Zooming during recording — Optical and digital zoom magnify small movements, making even slight shake highly visible.
- Wind and vibration — External forces push the camera or its mount, introducing irregular shake patterns.
- Lightweight equipment — Heavier cameras naturally resist movement better than phones and action cameras.
Hardware and in-camera stabilization reduce shake during recording; software stabilization can correct unwanted camera motion in an existing clip after recording. Use the scenario table under “Which Method Should You Choose?” to match your footage to an approach. These 6 methods cover both goals: rescuing an existing clip and preventing shake on your next shoot.
Method 1: Use a Gimbal
A gimbal is a motorized stabilization device that uses sensors and motors to detect and counteract camera movement in real time. It helps keep the camera level while you walk, run, or make quick movements, reducing unwanted movement during recording.
Best for: Vlogging, travel content, action shots, interview walk-and-talk.
Pros: - Reduces unwanted handheld movement. - Works in real time; residual vibration may still need software cleanup. - Available for smartphones, action cameras, and professional cameras.
Cons: - Adds weight and bulk to your setup. - Requires battery charging. - Price ranges from $50 (phone gimbals) to $500+ (professional models).
Equipment examples: Choose a phone gimbal compatible with your device; DJI RS 4 is an option for mirrorless cameras. GoPro Volta is a battery grip, tripod, and remote, rather than a motorized gimbal.
Method 2: Use a Tripod
A tripod provides stable camera support when set up securely on a firm surface. It reduces handheld shake for static shots, making it a straightforward way to stabilize a video when the camera does not need to move.
Best for: Interviews, product shots, time-lapse, any scene where the camera stays in one position.
Pros: - Provides stable support on a firm surface. - No batteries or charging needed. - Wide range of sizes and prices ($20-$500+).
Cons: - Camera cannot move during the shot (no tracking or panning without a fluid head). - Not practical for walk-and-talk or action scenarios. - Adds setup time.
Method 3: Use a Steadicam
A Steadicam is a body-mounted camera stabilization system that uses mechanical counterbalance and sometimes gyroscopic technology to absorb body movements. It allows smooth shots while walking, running, or navigating stairs.
Best for: Professional film production, documentary work, event coverage.
Pros: - Produces cinematic, floating camera movements. - No electronics or batteries (mechanical models). - Handles heavier camera rigs.
Cons: - Expensive ($200-$5000+ for professional systems). - Requires significant practice to operate effectively. - Heavy and tiring to use for extended periods.
Method 4: Use Zoom Sparingly
This is not a stabilization device but a shooting technique that dramatically reduces visible shake. The wider your lens angle, the less noticeable camera shake becomes, because a wide field of view minimizes the visual impact of small movements. Zooming in amplifies every micro-movement.
Practical tips: - Shoot at your widest focal length whenever possible. - If you need a close-up, move physically closer rather than zooming. - When zoom is unavoidable, brace the camera against a solid surface. - Apply digital zoom in post-production (crop) rather than optical zoom during recording.
Method 5: Use Built-in Phone Stabilization
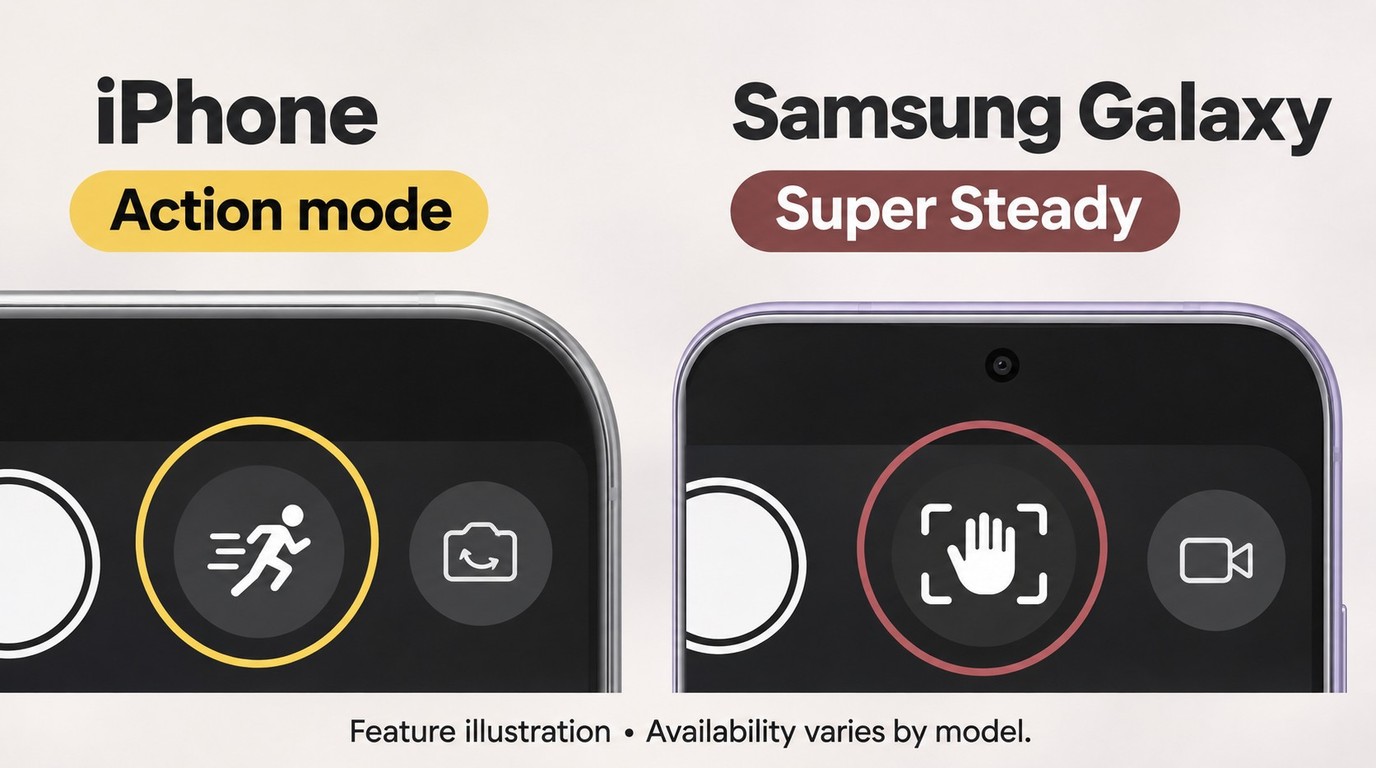
Most modern smartphones include built-in stabilization, so you can stabilize a video without any extra gear. The feature is often on by default, but it is worth checking your settings:
iPhone: - Optical Image Stabilization (OIS) works automatically on most models since iPhone 6 Plus. - Cinematic mode creates a shallow-depth-of-field effect on supported models. - Action mode provides enhanced video stabilization on supported iPhones, works best in bright light, and records at up to 2.8K (as of November 2026).
Android: - Look for video stabilization in your camera app's settings; the setting name and location vary by model. - Many flagship phones (Samsung Galaxy, Google Pixel) include both OIS and Electronic Image Stabilization (EIS). - Some models offer "Super Steady" or "Action Cam" modes for high-motion scenes.
Limitations: Built-in phone stabilization handles moderate shake well but cannot fix severe movement or replace a gimbal for professional results. These settings apply while recording new footage. To correct an existing shaky clip, use post-production software.
Method 6: Use Video Stabilization Software (Post-Production)
When you have already recorded shaky footage, post-production software is the way to stabilize a video after the fact. It can correct unwanted camera motion without reshooting, provided the software supports your clip's format and resolution.
Advantages of software stabilization: - Works on footage that was not stabilized during recording. - Fine-grained control over stabilization intensity. - Can be applied selectively to specific segments. - No additional hardware cost (software only). - Works with supported camera and phone video files.
UniFab Video Stabilizer AI
UniFab Video Stabilizer AI uses AI-powered algorithms to detect and correct camera shake, with selectable stabilization intensity. I would choose this dedicated workflow when the task is to steady an existing clip rather than build a full edit. UniFab Video Stabilizer AI offers a free trial with full features and no watermark.
How to stabilize a video with UniFab:
Keep the original file and isolate a short shaky segment before importing it.
Step 1: Open UniFab and select Stabilizer from the left panel. Add your shaky video via the "+" button or drag-and-drop.
Step 2: Choose your stabilization intensity — Mild (slight shake), Moderate (walking-level shake), or Strong (severe shake). Click Start to process.
Step 3: Compare the processed clip with the original. Inspect faces, straight edges, framing, and intentional camera movement before accepting the result.
Step 4: Export or save the processed result as a separate file, keeping the original unchanged.
The AI analyzes motion patterns frame by frame, crops slightly into the video to create an adjustment border, and counteracts detected movement by shifting each frame in the opposite direction.
Process only footage you own or are authorized to use, for lawful personal purposes, and follow the terms of the tools you use. You are responsible for securing the necessary rights to the footage.
Other software options:
- Adobe Premiere Pro — Professional NLE with the Warp Stabilizer effect. See our walkthrough on stabilizing footage in Premiere Pro.
- DaVinci Resolve — Free professional editor with built-in stabilization. Our DaVinci Resolve stabilization guide walks through the settings.
- CapCut offers mobile and desktop editing with one-click stabilization, covered in our CapCut stabilizer guide.
If you would rather not install anything, the browser-based options in 8 Best Online Video Stabilizer Tools to Fix Shaky Videos in 2026 can help smooth footage without a desktop installation. For a broader roundup of desktop and mobile choices, see our overview of video stabilization software.
Fix Warping, Residual Shake, and Excessive Cropping
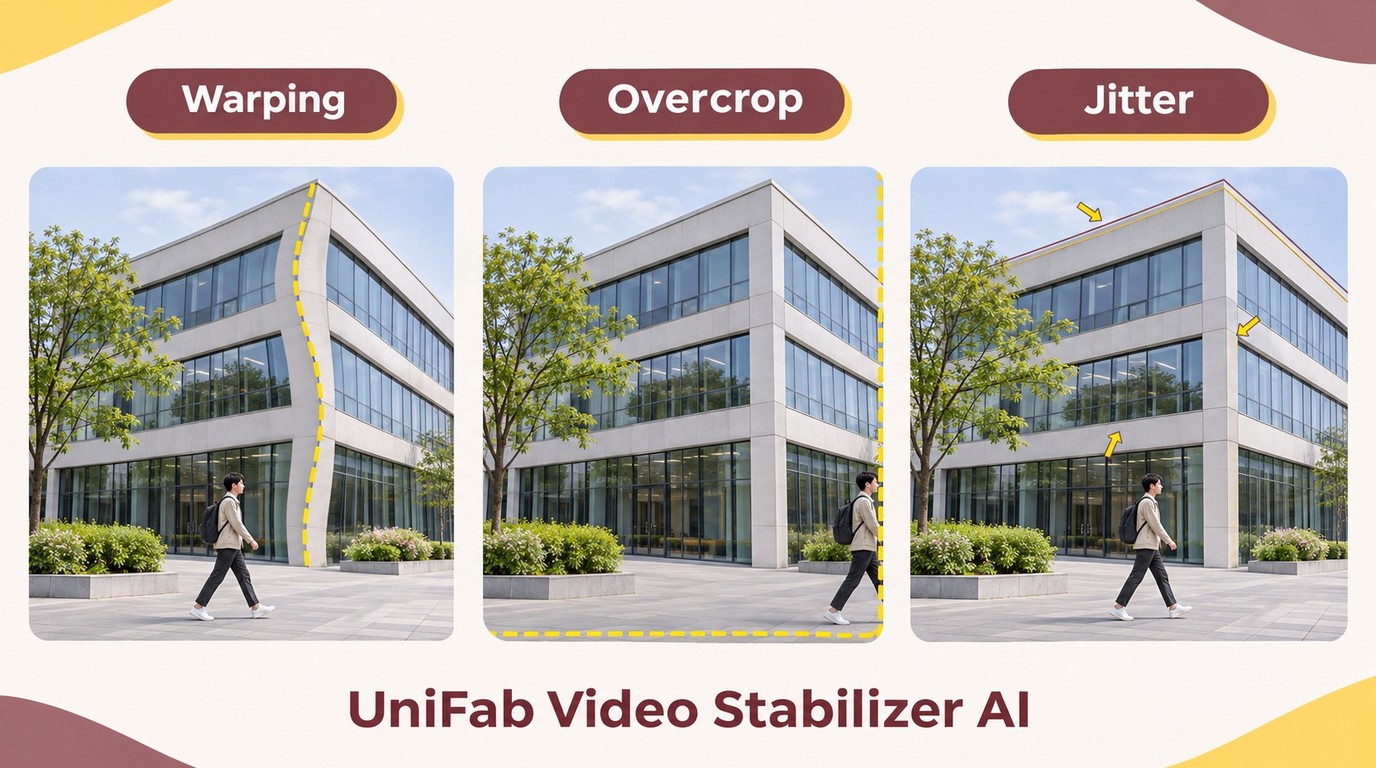
Stabilization can crop and rescale frames; scaling and geometric warping can affect detail and introduce distortion. Correcting camera motion does not reconstruct detail lost to motion blur. Start each adjustment from the original file rather than repeatedly stabilizing an already processed export.
- Jelly-like distortion: Reduce smoothing. If your editor offers motion-model controls, try a simpler model that allows fewer geometric changes.
- Excessive cropping: Lower stabilization strength, allow some residual movement, or process a shorter segment. Recording in 4K for a 1080p export can provide extra cropping room, but inspect the result for softened detail.
- Persistent jitter: Inspect the original for motion blur, wind-induced vibration, or vibration transmitted through a mount. Split troublesome sections and compare each result with the original before applying another correction. Before recording again, secure the mount and reduce its exposure to wind.
- Unnatural pans: Reduce correction so intentional camera movement remains visible instead of forcing the shot to look locked off.
- A UniFab result still wobbles: Choose a lower available intensity or isolate a shorter segment. Use the official UniFab product page linked above for the download and product help options. If your source file is not supported, use that download path to try opening the original clip in the current version.
I would favor believable motion and useful framing over maximum smoothing.
Which Method Should You Choose?
Use this table to match the right stabilization method to your scenario when deciding how to stabilize a video:
| Scenario | Best Method | Why |
|---|---|---|
| Vlogging while walking | Gimbal | Reduces movement during capture |
| Interview or product shot | Tripod | Stable support for fixed shots |
| Professional film production | Steadicam | Cinematic floating movement |
| Casual phone recording | Built-in phone stabilization | Already available, no extra gear |
| Already recorded shaky footage | Software (UniFab) | Fix it after the fact |
| Action camera on bike/helmet | Gimbal + Software | Hardware for recording, software for finishing |
For bike or helmet footage, check the mount for looseness and transmitted vibration before the next recording.
I would buy a tripod first for interviews, product videos, or tutorials filmed from a fixed position, and choose a gimbal first for moving shots. For footage already recorded, use software; for future shoots, steady camera support can reduce the correction needed afterward. When a pan is intentional, keep the software correction restrained so the movement and framing still feel natural.
Frequently Asked Questions
Can I stabilize a video for free?
Yes. DaVinci Resolve has a free edition with built-in stabilization. iPhones and many Android phones stabilize footage at no cost through built-in OIS and EIS.
How does AI video stabilization work?
AI video stabilization uses neural networks to analyze footage frame by frame, detect unwanted camera movement patterns, and calculate corrective transformations for each frame. The software then repositions every frame to cancel out the detected shake, cropping slightly to create room for the adjustment. Results depend on the source footage and the corrective transformations applied; AI stabilization can still introduce warping, so compare the result with the original and reduce correction strength if edges distort.
Can I stabilize a 4K video?
Yes, you can stabilize a 4K video if your software supports the clip's resolution and codec, the format used to encode the video. Hardware stabilizers such as gimbals and tripods work with any resolution because they act on the camera, not the file. For software stabilization, choose an editor that supports your source file and intended export resolution. Stabilizing a 4K clip and exporting at 1080p can leave more room for cropping, but a 4K export does not restore detail lost through cropping and scaling. For new recordings, Action mode on supported iPhones captures at up to 2.8K, not 4K.