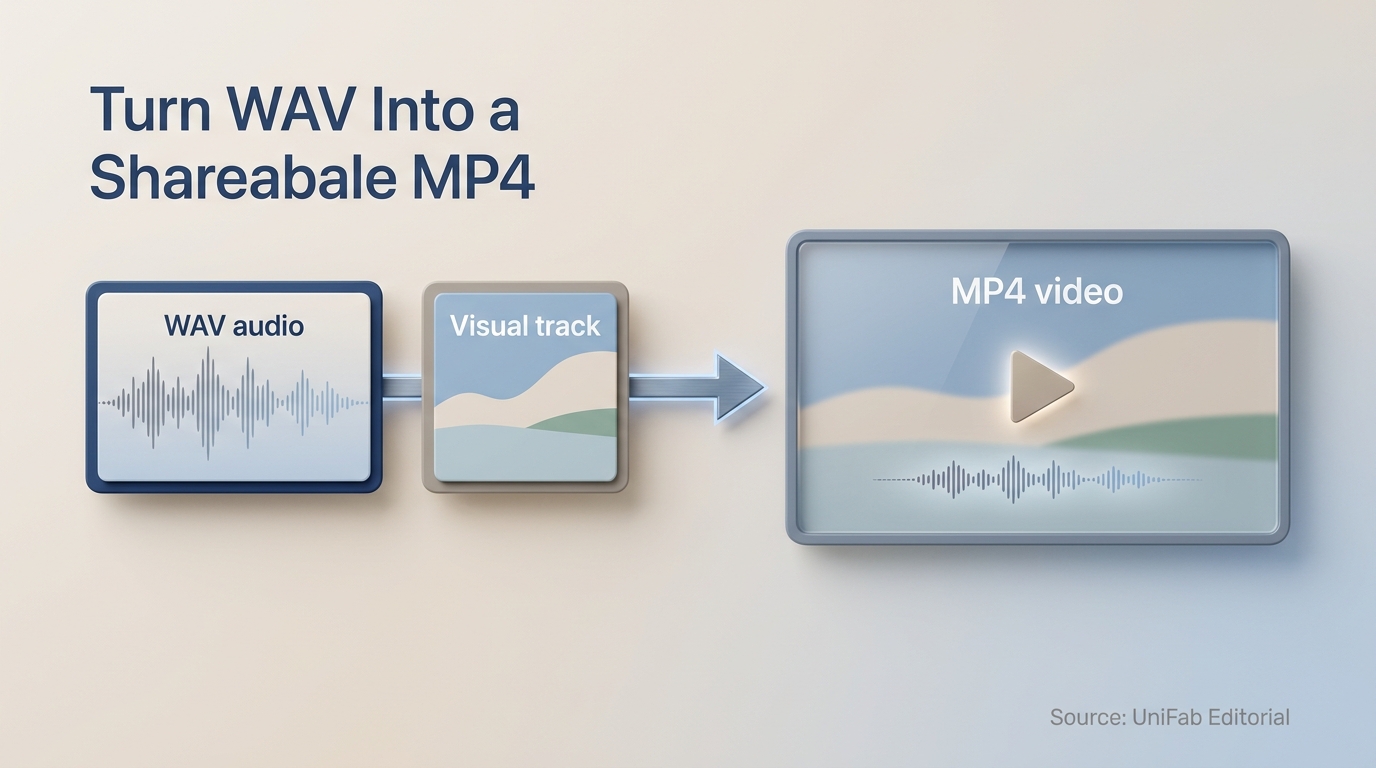
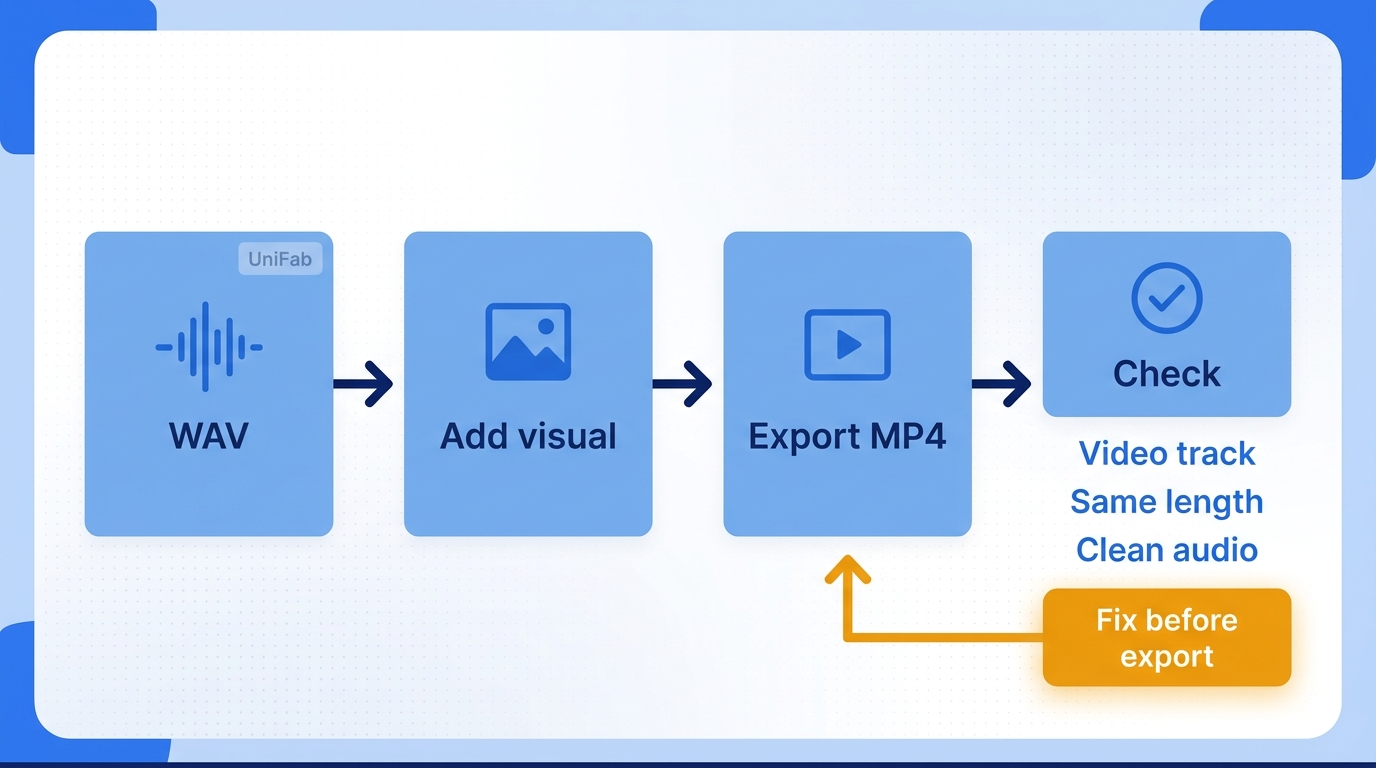
MP4 can contain audio without video. A video upload needs a video track, such as a still image paired with the WAV audio. The reliable workflow is to add the WAV, choose the visual layer, set compatible export options, and inspect the finished video before sharing.
A WAV can be perfectly usable as audio and still fail a video-only upload. I treat WAV to MP4 as a packaging decision, not a quality upgrade. The destination's requirements should decide the visual track, audio codec, and whether a desktop, browser-local, or server-upload converter fits the job.
WAV to MP4 Conversion Needs the Right Tracks
To convert WAV to MP4 for a video upload, you need an audio file, a visual layer, an MP4 export preset, and a final compatibility check. Renaming .wav to .mp4 does not create a video; the converter must render a video track, even if that track is one still image.
WAV Is Audio; MP4 Can Carry a Video Track
WAV stores audio, while MP4 is a container that can hold audio alone or audio plus video. To create a video upload from WAV, add something to show: cover art, a color background, a waveform, or a short looping clip. A still image is usually the cleanest choice for podcasts, lectures, and music uploads because it keeps the visual layer simple. An audio-only MP4 may play in some apps, but it is less predictable when the destination expects a real video track.
The Four-Step Conversion Workflow
Use this sequence to convert WAV to MP4:
- Choose the converter. Confirm that it accepts WAV and can add a visual layer. For a browser tool, determine whether processing happens on your device or on a remote server; for a server-upload service, check its upload limits and deletion policy before sending private material.
- Add the WAV. Listen to the beginning and end first. If the source is clipped or silent, MP4 export will not repair it.
- Add the visual. Use a still image, solid color, waveform, or short video. Keep the framing aligned with the destination where you plan to post it.
- Set MP4 options and export. Choose a compatible video codec (the compression format for the picture) and an audio codec (the compression format for sound), then save the result with a new filename.
The important decision happens before the Export button: decide whether the MP4 is a social upload, a presentation asset, or a simple shareable wrapper. That use case determines the visual shape and how aggressively you should reduce file size.
Large-file frustration can change the tool decision. One r/Reaper poster wrote, “I have loads of songs rendered, problem is they are wav files and YouTube doesnt let you upload wav files, wav to MP4 converters wont work as the file is too big. what is the easiest way i can get them to YouTube for free?”
Choose Audio, Video, and Size Settings Deliberately
For a YouTube-bound video, start with the compatibility settings below. The MP4 container is not a promise of lossless audio. A compressed audio track can be easier to upload, while the original WAV remains the archive. Use the WAV as your quality reference, avoid aggressive audio compression, and pick a modest visual resolution when the screen is only cover art. A 4K canvas adds pixels, not detail, to a static image; it may simply enlarge the file.
| Setting | YouTube export choice |
| Container | MP4 |
| Video | H.264 |
| Audio | AAC-LC |
| Audio sample rate | 48 kHz |
| Desktop aspect ratio | 16:9 |
Match the frame rate to the visual layer. A static image does not need elaborate motion, while a waveform or background clip needs a frame rate that plays smoothly in the target app. For a vertical-video layout, 9:16 is the common starting point, but each destination applies its own upload requirements.
Check the Result Before You Upload It
Open the exported MP4 in a player that shows track information. Confirm that a video track exists and the audio starts cleanly. Check that the duration matches the WAV, the cover art is not cropped, and the destination accepts the file. My rule is to diagnose the destination error before changing export settings; a rejected WAV often signals a container mismatch, not damaged audio.
If audible distortion appears, compare the export with the WAV master before changing the visual settings. A clean comparison tells you whether the problem came from the audio export, the source file, or the player. If playback is silent, confirm that the audio track is present and try another player before exporting again.
Create a Local MP4 with FFmpeg
Prerequisites: Install a build with libx264 and AAC support from the FFmpeg download page, then place input.wav and cover.jpg in the same folder. Use artwork you are authorized to use.
- Open a terminal or command prompt in that folder.
- If
output.mp4already exists, move or rename it so its previous contents are preserved. Run this command:
ffmpeg -loop 1 -framerate 30 -i "cover.jpg" -i "input.wav" -map 0:v:0 -map 1:a:0 -vf "scale=trunc(iw/2)*2:trunc(ih/2)*2" -c:v libx264 -tune stillimage -pix_fmt yuv420p -c:a aac -b:a 192k -shortest -movflags +faststart "output.mp4"- Open the saved
output.mp4and confirm that its duration matches the WAV and that both video and audio tracks are present.
In this documented command, -loop 1 keeps the cover image visible, -map selects the image and audio tracks, and -shortest ends the MP4 when the audio ends. The 192k AAC setting is lossy and is specific to this example, not a lossless or universal platform recommendation.
When a Local WAV to MP4 Converter Makes Sense
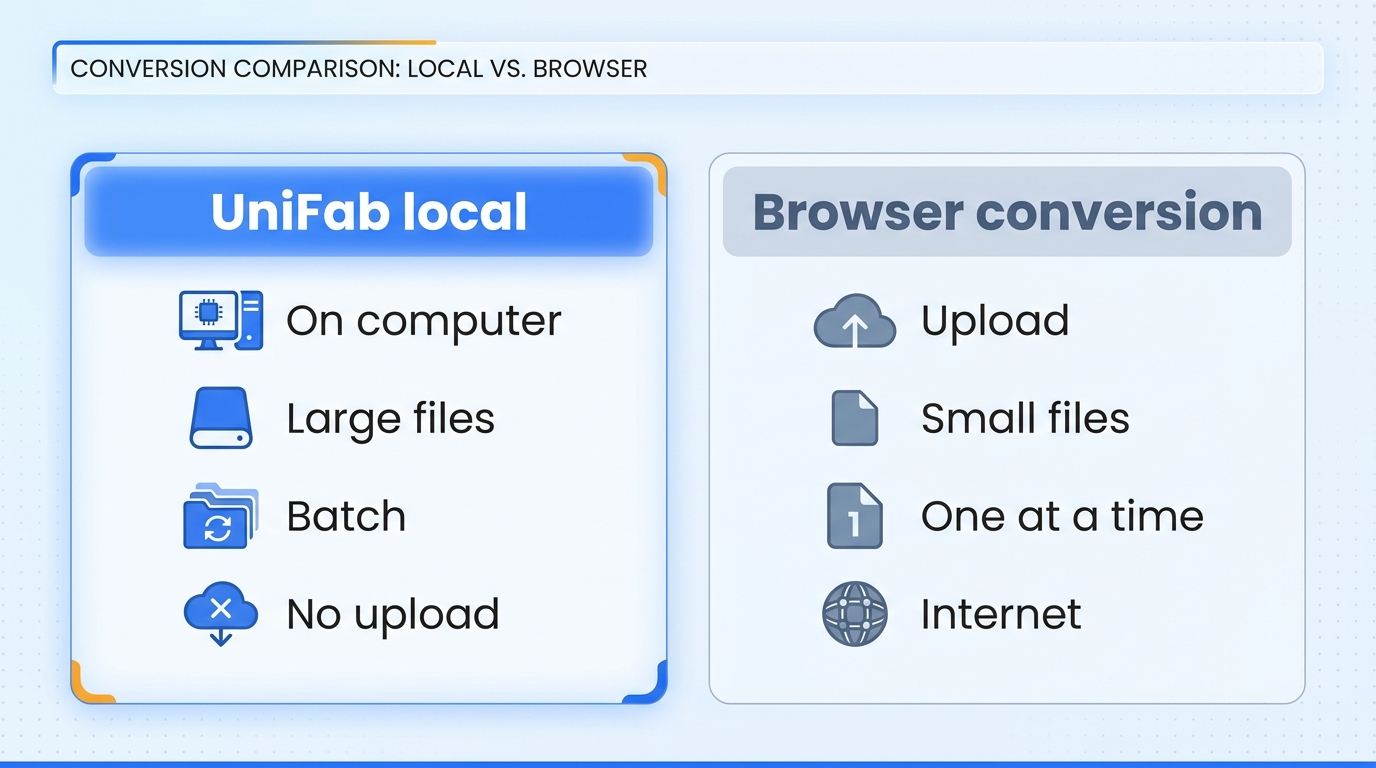
Before choosing a desktop WAV to MP4 converter, confirm WAV input support first. For private files, desktop and browser-local tools both keep processing on the device; desktop software is often the more practical fit for large or multi-file work, while server-based browser tools upload files for remote processing.
Check WAV Input First
UniFab Video Converter lists WAV among its common formats and offers local processing and batch conversion. For an audio-to-video MP4, choose a workflow that explicitly supports adding a visual track.
Where UniFab Fits Compatible Jobs
For compatible format-conversion jobs, UniFab Video Converter provides a local Windows and macOS workflow with batch processing. It is a practical fit for multi-file jobs that benefit from a graphical desktop interface; processing time and resource use depend on the source files, output settings, and computer.
Local Versus Browser Conversion at a Glance
| Dimension | Server-upload service | Browser-local processor | Desktop processor |
| File handling | Remote upload | On-device processing | On-device processing |
| Large-file constraint | Service upload limits | Browser memory and storage | Computer memory and storage |
| Batch workflow | Service-specific controls | Tool-specific controls | Tool-specific controls |
Process only authorized audio and artwork. Do not copy or redistribute material without permission; doing so may be illegal. Follow the destination’s terms and applicable law.
WAV to MP4 FAQs
To convert WAV to MP4 reliably, treat the result as a video deliverable: add a visual track and choose the audio export carefully. Then verify the destination's current requirements. My decision order is destination first, visual track second, and tool third; the extension alone should not drive the workflow.
Can a WAV File Be a Video?
Not by itself. WAV is audio-only; to make a video deliverable, place it in an MP4 container with a still image, color field, visualizer, or video clip. A black screen can be technically valid, but a visible cover usually communicates the file’s purpose better.
Will Converting WAV to MP4 Reduce Audio Quality?
It can, depending on the audio codec and quality setting. Keep WAV as the master, choose a compatible high-quality audio setting for MP4, and compare the export before deleting anything. Converting containers does not restore detail already lost in the source.
Is a Local Converter Better for Private or Very Large WAV Files?
Usually, if the file is sensitive, lengthy, or part of a batch. The source stays on the computer, so you avoid browser upload limits and repeated transfers. Online tools remain practical for a one-off small file. One r/software user described the same trade-off with old family recordings: “I have a few old audio files from me and my sister when were very young, I'd like to convert them from their original .wav file into .mp4 so I can upload them to Google Photos. I know the associated video once converted will be a black screen with the audio only, that's fine.”
Can I Use the MP4 on YouTube or Another Upload Platform?
Often, but acceptance depends on the platform’s current container, codec, duration, size, and aspect-ratio rules. Use a standard MP4 preset and keep a copy of the original WAV. Test the exported file locally before uploading. If the platform rejects it, read the exact error first; changing the visual layer may be unnecessary when the real issue is audio or file size.