If a WMV file works on Windows but not in QuickTime, or an online converter rejects it, the problem is more than the extension. WMV to MOV conversion succeeds when the tool can read the source and write a MOV file with compatible video and audio codecs.
Upload caps and privacy concerns are why a simple conversion task often turns into a workflow decision. I treat the file extension as a label, not a guarantee of compatibility; the codec inside the container does the real work. This guide moves from source checks to H.264 or ProRes, then to a short validation pass before a larger batch. That sequence saves more time than changing settings at random.
How to Convert WMV to MOV in Four Steps
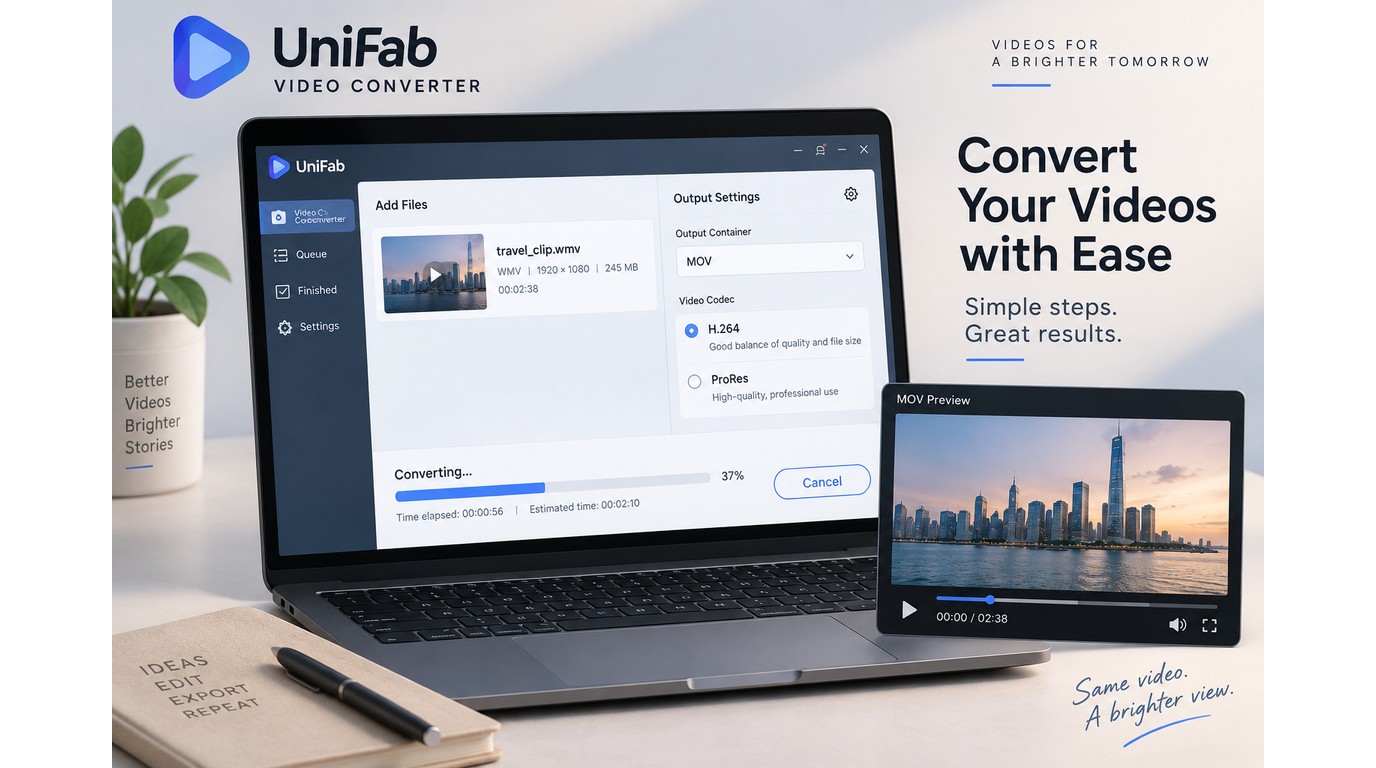
Before starting, confirm that the WMV plays, leave space for the output, and identify the destination app. The safest sequence is to choose MOV, select H.264 for playback or ProRes for editing, and verify a short sample before converting the full file or batch. Then work through these steps:
- Add or upload the WMV file.
- Select MOV as the container.
- Choose H.264 for playback or ProRes for editing.
- Convert a short sample and verify it before the full job.
Please note: Convert only files you own or are authorized to use, and follow the Terms of Use for any online service. This guide covers ordinary files, not DRM-protected media, subscription restrictions, or other access controls.
Before You Start: Check the Source File and Output Goal
Open the WMV first and note its duration, frame size, frame rate, audio track, captions, and any metadata you must keep. Decide whether the destination is a Mac player, a sharing workflow, or an editor; that choice determines whether a compact H.264 file or an editing-oriented ProRes file makes sense.
Step 1: Add the WMV File
An online WMV to MOV converter usually asks you to upload the source, while desktop software imports it from your drive. Before the file leaves the computer, consider whether it contains private footage, client material, or personal data. A user in r/videography described the practical problem plainly: “I am trying to convert a wmv file to mp4 but all the sites and apps i have gone to have a cap of 50mb or 100mb to convert.”
Step 2: Select MOV for QuickTime or Mac Playback
Choose MOV as the container, then confirm the codec inside it. If you need to convert WMV to MOV on Mac, the extension alone will not make the file playable; QuickTime compatibility still depends on the video and audio streams. The same check answers how to play WMV files on Mac: convert to a MOV combination your player or editor accepts, rather than renaming the file.
Step 3: Choose a Codec and Quality Level
For a first pass, choose H.264 for broad playback and manageable file size, or ProRes when the next step is editing. Keep the source resolution and frame rate unless you have a defined reason to change them. The codec decision is covered in detail below.
Step 4: Convert and Verify the MOV File
Run the conversion, then check the new MOV before you process the rest. Watch a scene with motion, listen for the full audio track, jump to the middle and end, and compare the duration with the WMV. If the short sample fails, changing the container again will not fix the underlying codec or source problem.
Choose MOV Settings Without Sacrificing Quality
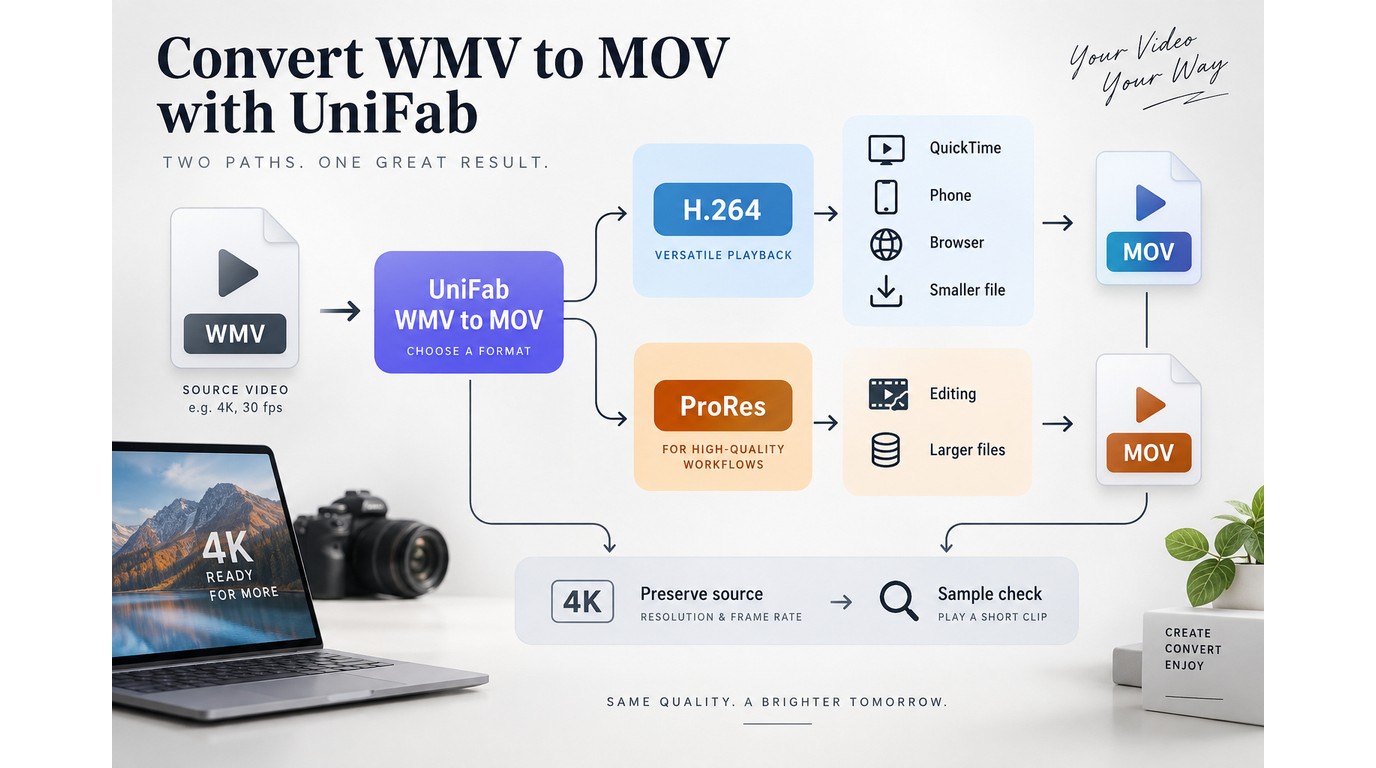
A cross-codec re-encode cannot promise bit-for-bit identity, so “without losing quality” means avoiding needless scaling and aggressive compression. Use H.264 for everyday playback and sharing, ProRes for editing when larger files are acceptable, and validate a short sample before a full batch.
Use H.264 for Everyday Playback and Smaller Files
H.264 is the sensible default for a WMV to MOV H.264 file headed to QuickTime, a phone, a browser, or general storage. It keeps the file easier to move than an editing master. Preserve the source frame size and frame rate first; lower them only when the destination requires it.
Use ProRes for Editing Workflows
ProRes fits an editing timeline that benefits from an intraframe codec, which stores each frame independently for easier scrubbing, but its files are much larger than typical H.264 exports. A user in r/shutterencoder showed why the pairing matters: “Could not find tag for codec prores in stream #0, codec not currently supported in container.” That is a codec-container mismatch, not proof that the WMV itself is unusable. Select a MOV profile that your editor accepts, then validate a short clip.
Match Resolution, Frame Rate, and Bitrate to the Source
Do not upscale a small WMV merely because the output menu offers 4K. Retain useful source characteristics and avoid a bitrate that is far below the original when detail matters. A reader trying to preserve WMV bitrate is asking the right question, but “preserve” should mean matching a sensible quality target, not treating a re-encode as mathematically lossless.
Validate a Short Sample Before the Full Job
Use a short, representative section with movement, fine text, and a clear audio cue. Check sharpness, blocking, sync, seeking, and captions if they matter to the project. My editorial rule is simple: a short validation pass is cheaper than discovering a batch-wide error after the originals have been moved or renamed.
Convert Large or Private WMV Files Locally with UniFab
Use local processing for private, browser-capped, or batched files. Online conversion fits a small, non-sensitive clip.
| Factor | Online workflow | Local workflow |
| File handling | Remote upload | On-device processing |
| Large files | Service-specific caps | No browser upload cap |
| Output control | Service presets | MOV up to 4K |
Source: UniFab’s official product page, September 2026.
When Local Processing Is the Better Fit
As of September 2026, UniFab's Video Converter is a $0 desktop app for Windows and macOS that processes WMV files locally, outputs MOV among 1,000+ formats, supports batch output up to 4K without a watermark, and can use NVIDIA, AMD, or Intel GPU acceleration up to 50×. It requires installation, and actual speed depends on hardware and settings.
A Four-Step UniFab Workflow
- Import the WMV files.
- Select MOV, then choose H.264 for playback or ProRes for editing.
- Adjust only the settings the destination requires.
- Convert, open a sample, and verify playback.
Capabilities and Practical Tradeoffs Cross-codec conversion is not automatically lossless.
WMV-to-MOV Troubleshooting FAQ
When a conversion fails, start with the source, then the codec-container pairing, then the destination app. The right fix is usually a smaller diagnostic change, not a promise that one setting will solve every legacy WMV file.
Why Does WMV Conversion Fail with a Codec or Container Error?
A WMV conversion codec error usually points to an unsupported source stream or a codec that does not belong in the selected container profile. Try H.264 in MOV for general playback, or a supported ProRes profile for editing, and test a short clip. Keep the original while you isolate the pairing.
Why Does Audio Stutter After Conversion?
Audio stutter can come from source corruption, timing differences, or an encoder issue. A user in r/handbrake wrote, “For a few frames, the audio cuts out near the end of each video of a batch of .wmv videos.” Re-run a short sample with another codec and compare the end of the timeline; if the defect follows the source, a new container will not repair it.
How Can I Preserve Metadata When Converting WMV?
Container tags, captions, and ratings do not always map cleanly between WMV and MOV. A user in r/techsupport wrote, “I've spent hours searching and trying unsuccessfully numerous apps to convert 100's of WMV files to MP4 while preserving metadata, specifically tags, captions, and ratings.” Keep the originals, identify the fields your library needs, and verify those fields on a short output before batch work.
Will the Converted MOV Work in DaVinci Resolve?
The codec inside the MOV matters more than the extension. For DaVinci Resolve, choose a compatible H.264 or ProRes profile, then test import, timeline playback, audio, and scrubbing. If the file imports but behaves poorly, try the alternate codec before changing resolution.
Can I Convert WMV to MP4 Instead of MOV?
Yes. MP4 is often the simpler choice for broad playback, while MOV can fit QuickTime or editing workflows when the codec is appropriate. The same source checks apply, so choose the container around the next app rather than treating WMV to MOV as the only valid path.