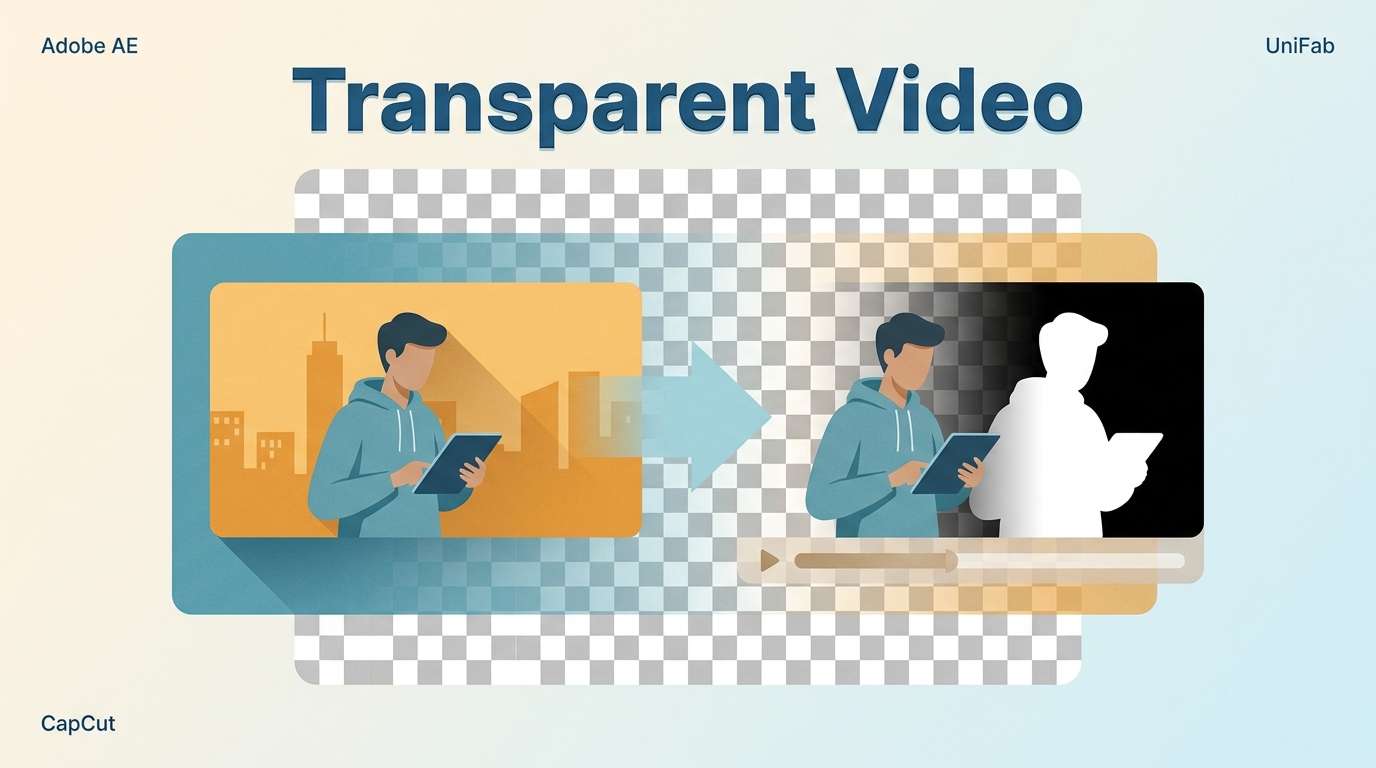
If you need to make a video background transparent for an overlay, the cutout is only half the job. To create transparent video that survives export, isolate the subject, choose a codec with an alpha channel, and test the result in its destination app. This guide covers six practical workflows and the black-background fixes that matter.
- Import or upload the source clip. Start with footage that gives the subject a clear outline.
- Separate the subject. Use AI masking, rotoscoping, or chroma keying, then refine hair, motion, and soft edges.
- Export and verify the alpha. Choose an alpha-capable codec, reopen the file in its destination app, and place it over a contrasting layer.
Transparent Video Depends on an Alpha Channel
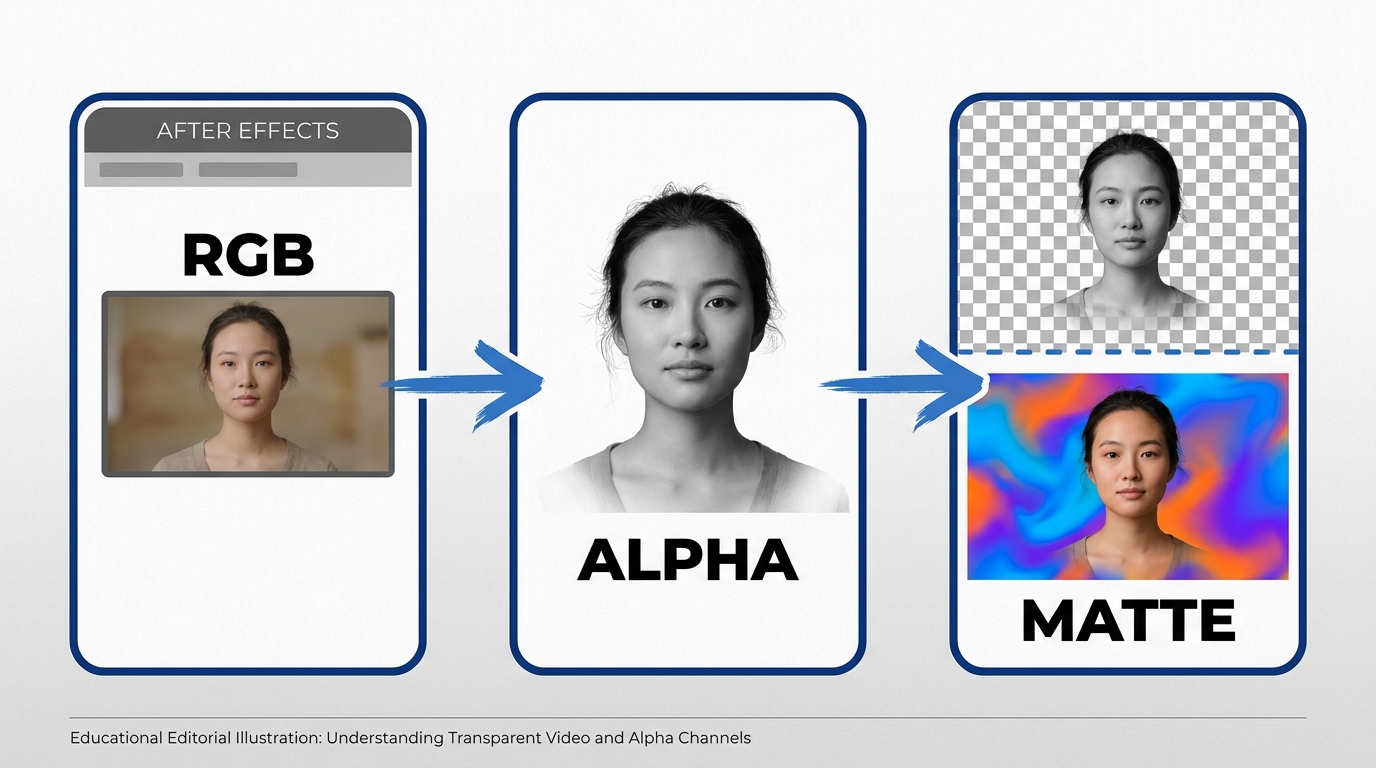
A video with transparent background data contains an alpha channel, a fourth channel that records each pixel's opacity. Removing a background, replacing it with another image, and generating a new transparent clip are related tasks, but they are not the same workflow.
A matte is the grayscale map that tells an editor which pixels are opaque, transparent, or partly transparent. Fine hair and motion blur need partial values so the Edge blends into a new scene instead of looking like a hard cutout. A checkerboard is just the editor's preview; the exported file still needs to store that matte as alpha data.
Background removal starts with existing footage. Background replacement composites the cutout over a color, image, or video. Transparent-background generation creates a new clip with transparency from the outset, an adjacent workflow now appearing in tools such as Adobe Firefly. The main task here is removing an existing background and preserving the result through export.
The practical distinction matters: a clean cutout can be flattened onto a replacement background, while a reusable transparent clip must carry its opacity data into the next app.
Choose an Alpha-Capable Video Format
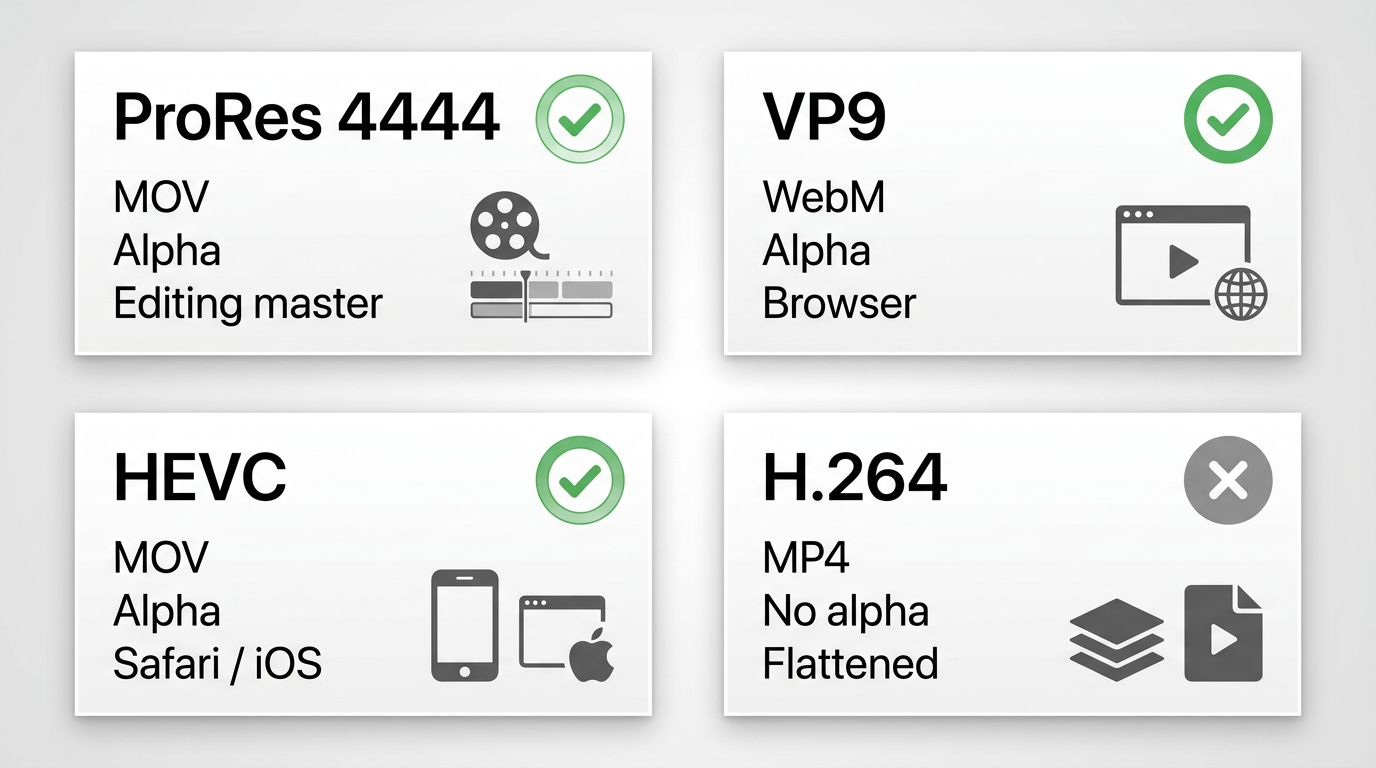
The file extension alone does not determine transparency. A container is the file wrapper, while the codec describes how frames are stored. Standard H.264 in MP4 has no alpha channel, while specific MOV, WebM, and HEVC combinations can retain one.
| Container | Codec | Alpha | Platform fit | Best use |
| MOV | ProRes 4444 | Yes | Windows and Mac editors | Transparent master |
| MOV | PNG or Animation | Yes | Desktop editing apps | Short graphics |
| WebM | VP9 with alpha | Yes | Web workflows | Browser overlays |
| MOV | HEVC with alpha | Yes | Apple platforms | Safari and iOS delivery |
| MP4 | H.264 | No | Broad playback | Flattened delivery copy |
A transparent video MP4 request usually mixes two goals: wide playback support and reusable transparency. Standard H.264 MP4 handles the first goal but not the second. An MP4 alpha channel is not part of that common delivery path, so use MP4 after compositing when the background is meant to be permanent.
For a MOV transparent background master, ProRes 4444 is a common editing choice when both the exporting and receiving apps support it. VP9 WebM suits web overlays, while HEVC with alpha is associated with Apple delivery workflows. Before you export transparent video, confirm that the destination can decode the exact container-and-codec pair.
Match Six Active Tools to the Job
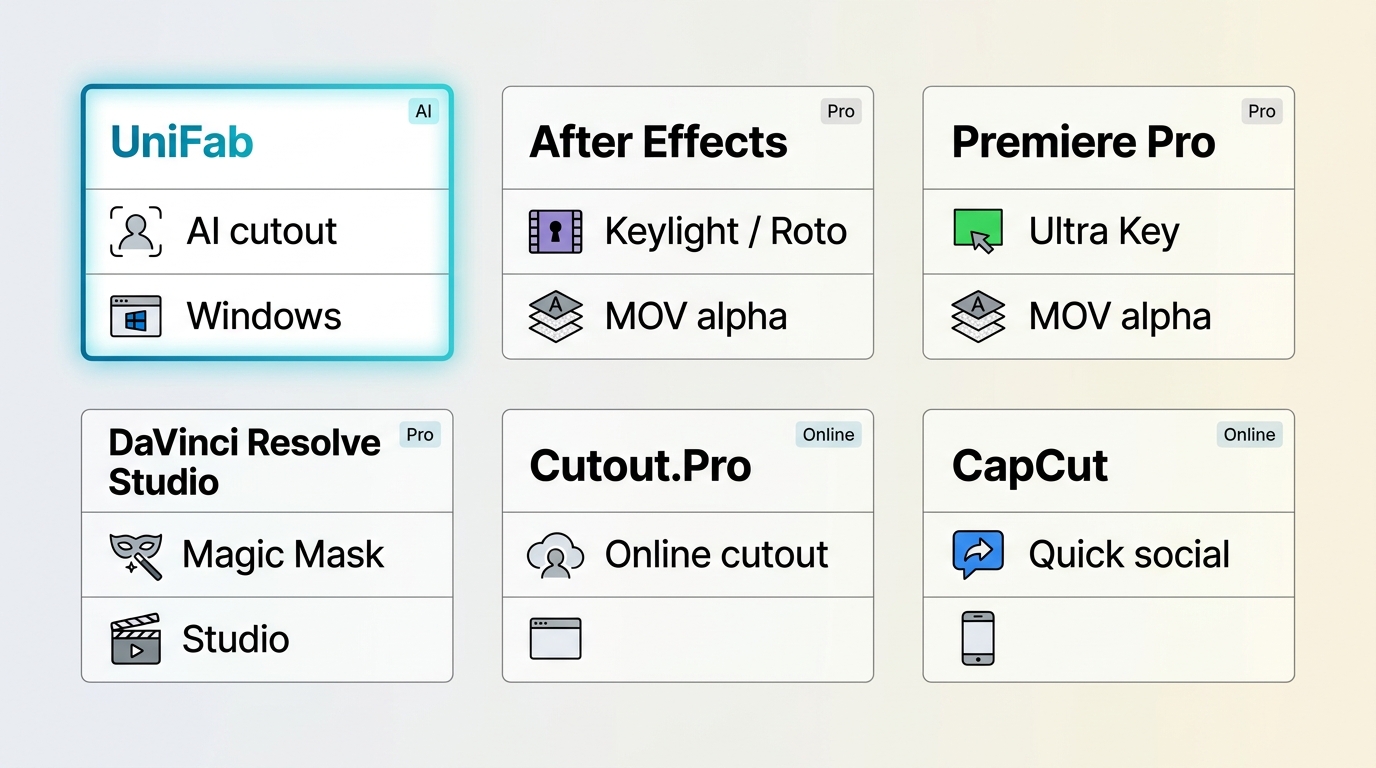
Choose the cutout method and alpha-export method separately. Some tools isolate the subject but do not finish the reusable transparent master; others handle both. The table keeps those jobs distinct so the six active options are easier to compare.
| Tool | Best fit | Removal method | Alpha export status | Platform |
| UniFab | Quick Windows cutouts | AI matting | Use an editor afterward | Windows 10/11 |
| After Effects | Complex edges | Keylight or Roto Brush | Alpha-capable MOV | Windows and Mac |
| Premiere Pro | Green-screen edits | Ultra Key | Alpha-capable MOV | Windows and Mac |
| DaVinci Resolve Studio | Tracked masks | Magic Mask | Editor export stage | Windows, Mac, Linux |
| Cutout.Pro | Short browser jobs | Automatic cutout | Output option varies | Web browser |
| CapCut | Social compositing | Automatic cutout | Version and device dependent | Desktop and mobile |
My decision rule is simple: select the removal method for the footage, then select the export path for the destination. UniFab fits quick Windows cutouts and is not ideal when one application must also deliver the final transparent master.
For footage with smoke, hair, or rapid motion, a broader video background remover comparison is useful because Edge control matters more than one-click speed.
Creators focused on cost can narrow the field through free background-removal methods across PC, browser, and mobile, then apply the alpha-export test used here.
Unscreen Is No Longer Available
The former Unscreen service shut down on December 1, 2025. Unscreen.com now redirects to Canva, and unscreen.io is a different service. The original service no longer provides a current workflow.
Choose a browser, desktop, or mobile option according to the footage and required output. The shutdown also makes old Unscreen pricing, extensions, and export instructions obsolete.
Six Workflows for Transparent Video
Each workflow below identifies the removal stage, the export stage, and a result check. That separation prevents a transparent-looking timeline from becoming a flattened file when it leaves the app.
UniFab for Automated Windows Cutouts
UniFab Video Background Remover AI provides a free, watermark-free cutout stage on 64-bit Windows 10 and 11. Its AI matting targets hair, moving subjects, motion blur, and busy backgrounds, while preset colors handle replacement backgrounds. Complete the reusable transparent master in an alpha-capable editor.
100% Free for Full Features, No Watermark!
- Step 1
Download and open UniFab client, click "All Features" to select the "Background Remover" module. Then, upload the video for which you want to create a transparent background.
- Step 2
UniFab offers four background color options. You can switch to one of the preset colors or customize it to any color you prefer. Additionally, UniFab allows you to trim the video, and choose quality, codec, and output format to suit your needs.
- Step 3
Click "Start" to process the video.
UniFab is best for a quick cutout without a watermark. It is less suitable when the same application must provide detailed manual matte control and the final alpha export. Broader video background removal methods help when the footage needs a different separation technique.
If the final composite also needs restoration or resizing, a separate AI video enhancement workflow belongs after the transparency decision, not in place of an alpha-capable export.
After Effects for Complex Mattes
After Effects combines Keylight for green-screen footage with Roto Brush for subjects shot against ordinary backgrounds. It offers detailed matte refinement and an export path that can retain alpha when the Output Module uses a compatible codec and RGB + Alpha channels.
{{STEP_GUIDE_2}}
The result check is simple: the exported clip should reveal the contrasting layer beneath it without bringing back the original background. After Effects fits shots that need manual Edge control; it is more work than an automatic cutout for a simple, short clip.
Premiere Pro for Green-Screen Footage
Premiere Pro is the direct route when the source was shot on a controlled green or blue screen. Ultra Key removes the selected color, and an alpha-capable QuickTime export can carry the result into another editor or graphics package.
A well-lit screen remains easier to key than a busy scene, which is why choosing among green-screen editing tools starts with the way the footage was captured.
{{STEP_GUIDE_3}}
Premiere fits editing-first green-screen projects. After Effects offers more control for rotoscoping and difficult edges, while a concise After Effects and Premiere Pro comparison helps separate compositing work from timeline editing.
DaVinci Resolve Studio for Magic Mask
Magic Mask is available in DaVinci Resolve Studio, not the free edition. Studio users can track a subject on the Color page, refine the matte, add an alpha output in the node graph, and render through an alpha-capable setting accepted by the destination app.
- Open the clip on the Color page and add a node, which is a processing block in Resolve's correction graph.
- Open Magic Mask, choose the subject mode, and mark the subject so Resolve can track it through the shot.
- Refine the mask where hair, motion, or occlusion causes the Edge to drift.
- Add an alpha output to the node graph, connect the matte, and inspect the result over a contrasting background.
- On the Deliver page, choose an alpha-capable export supported by the receiving app, render, and reimport the file for the final check.
DaVinci Resolve Studio fits editors who already use its Color and Fusion pages. It is not ideal for readers who need automatic subject masking at no cost, because the free edition does not include Magic Mask.
Cutout.Pro for Short Browser Jobs
Cutout.Pro is a browser route for short jobs where upload convenience matters more than detailed matte control. It can automate the cutout and offer background choices, but the available download format and quality depend on the selected workflow.
{{STEP_GUIDE_4}}
Cutout.Pro fits occasional browser work and short social assets. It is less suitable for sensitive footage, long projects, or shots that need frame-by-frame matte repair.
CapCut Requires Version-Specific Export Checks
CapCut can remove a background and composite the subject on a new timeline, but reusable alpha export is a separate question. Availability differs across desktop, mobile, app version, device, and codec, so a transparent preview does not prove the exported file contains alpha.
- Background removal: Automatic cutout can isolate a subject from existing footage.
- Timeline compositing: A new color, image, or video can sit behind the cutout inside the project.
- Alpha import: Some versions can place an existing transparent asset on the timeline even when their export options differ.
- Reusable export: The export panel must expose a codec and alpha setting that the destination app can read.
A CapCut HEVC alpha workflow is not a universal preset. HEVC import, background removal, or a transparent timeline does not establish that a particular PC or mobile version can export HEVC with alpha. Check the actual export controls on that device, then reopen the result in its intended app.
CapCut fits social edits that stay inside the project or end as a flattened video. It is less predictable for delivering a reusable alpha master across devices, so the destination-file test is the deciding step.
Fix Black Backgrounds After Export
A black background does not identify one cause. The file may lack alpha, use a codec the destination cannot decode, or contain valid alpha that the receiving app, material, or layer settings are ignoring.
- Start in the destination app. Place the file above a bright solid layer. A dark player window alone does not prove the alpha is missing.
- Check the container and codec. Confirm that the file was rendered with an alpha-capable codec and that alpha channels were enabled. Renaming an H.264 MP4 as MOV does not add transparency.
- Inspect import interpretation. In Blender, a material can ignore a valid alpha channel; in Vegas, media properties can interpret it incorrectly; in CapCut, an export can flatten a transparent timeline. Review the app's media, material, blend, or alpha settings.
- Compare straight and premultiplied alpha. Straight alpha stores color independently from opacity. Premultiplied alpha stores RGB already blended against a background color, and the wrong interpretation can create bright, dark, or colored fringes.
- Reimport the corrected export. Render a short sample, open that file in the final app, and inspect motion as well as a still frame before committing to the full export.
I trust the exported file only after the destination app composites it over a contrasting layer. The checkerboard in the source timeline is useful, but it is not a delivery test.
Frequently Asked Questions
Can I make a transparent video on an iPhone or Android phone?
Mobile apps can remove or replace a background, but reusable alpha export depends on the exact app, version, device, and codec. A focused list of mobile video background remover apps can help with the cutout stage; for this workflow, inspect the export panel and test the file in its destination before relying on it as a transparent master.
Does AVI support an alpha channel?
AVI transparency support depends on the codec stored inside the AVI container. AVI by itself is not a yes-or-no guarantee. If the receiving application does not document that exact codec-and-alpha combination, use a better-defined alpha workflow such as ProRes 4444 MOV or VP9 WebM.
Can I convert transparent WebM to MOV without losing alpha?
Yes, if the converter reads the WebM alpha channel and writes an alpha-capable MOV codec instead of flattening the clip. This is useful when a VP9 WebM works in a web pipeline but an Apple-focused destination expects MOV or HEVC with alpha. Test the converted file over a color layer.
Why do transparent edges look washed out or too bright?
The usual cause is a mismatch between straight and premultiplied alpha, sometimes combined with different color-management settings between the exporting and receiving apps. Change the alpha interpretation first, then compare the clip over both light and dark backgrounds before adjusting the matte itself.
Export a Transparent Master First
Create one alpha-capable master, test it in the destination app, and make flattened delivery copies afterward. That sequence keeps the reusable transparency separate from MP4 versions intended for ordinary playback.
- Choose the workflow that matches the footage: automatic cutout, green-screen keying, or detailed masking.
- Export the transparent master with a container-and-codec pair the receiving app supports.
- Validate that master over a contrasting layer, then create web, social, or client copies with the final background already composited.
My preference is to solve the master once and derive delivery files from it. If you need to export transparent video for several destinations, keep the alpha master unchanged and make a separate flattened copy for each platform.